|
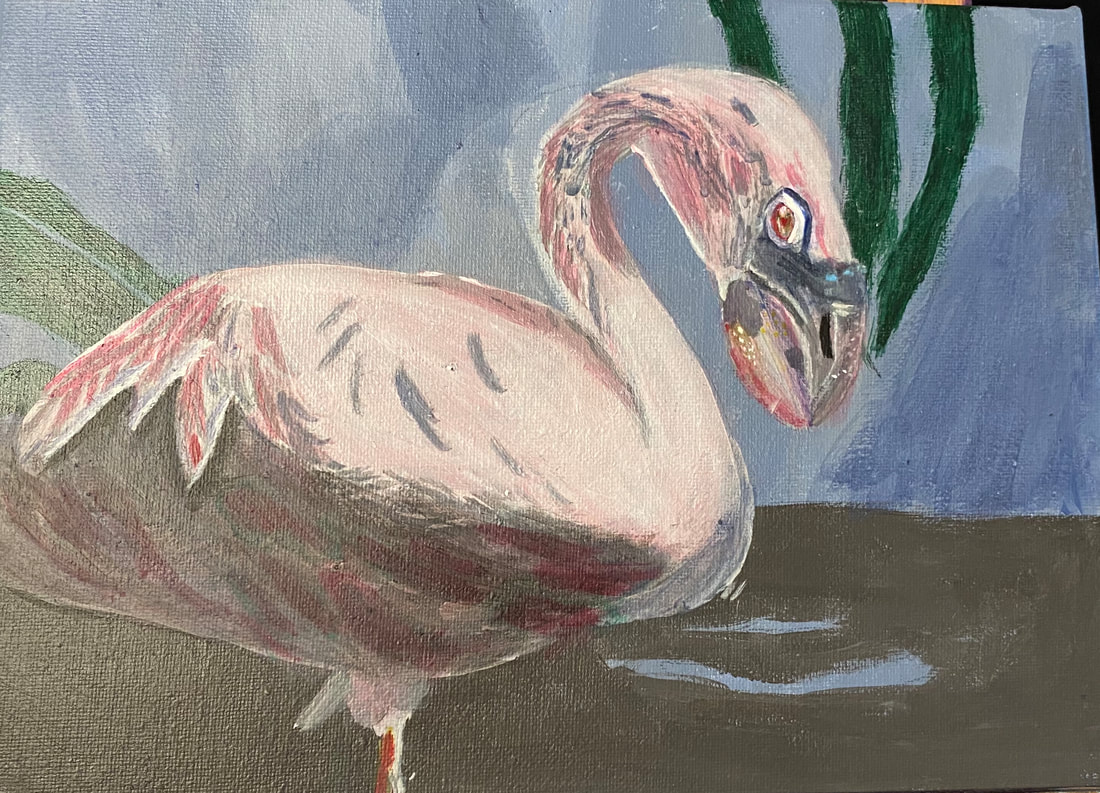
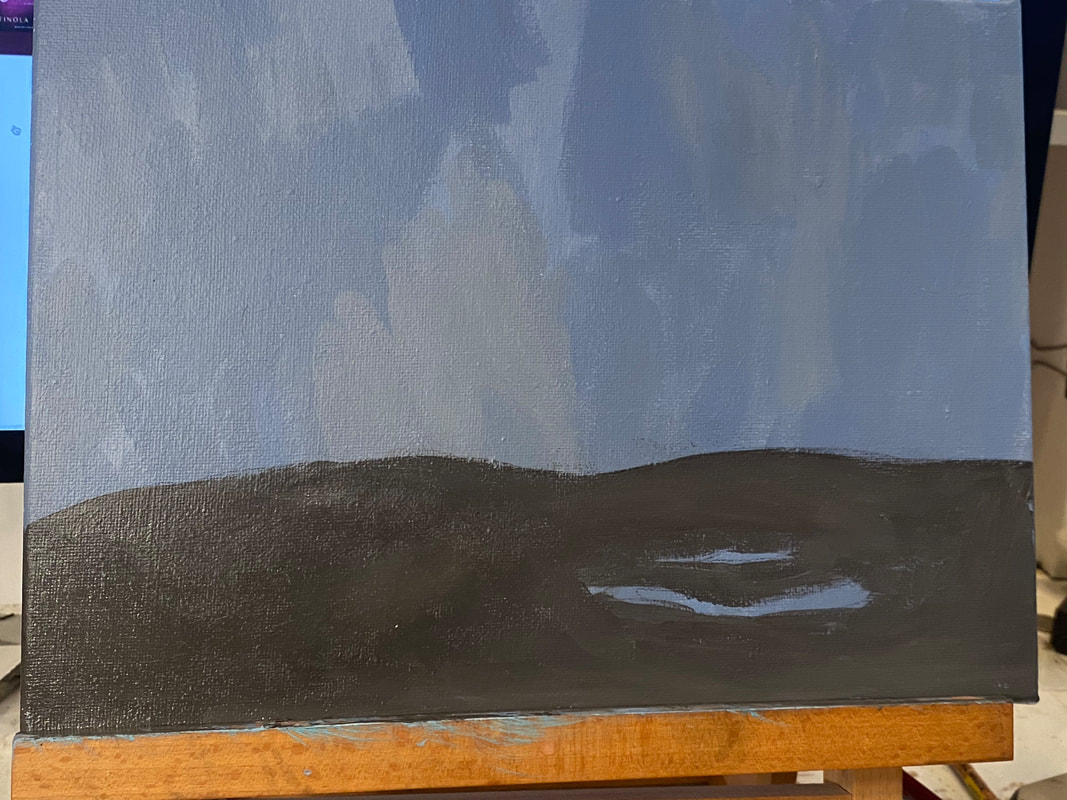
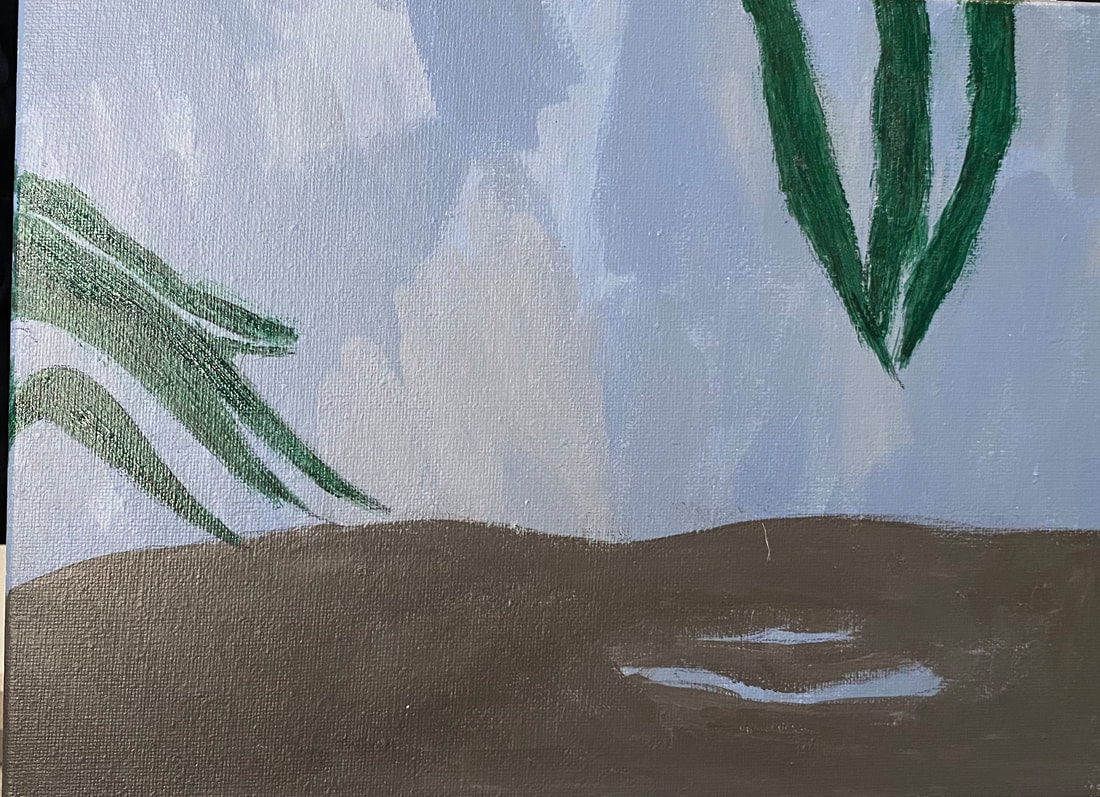
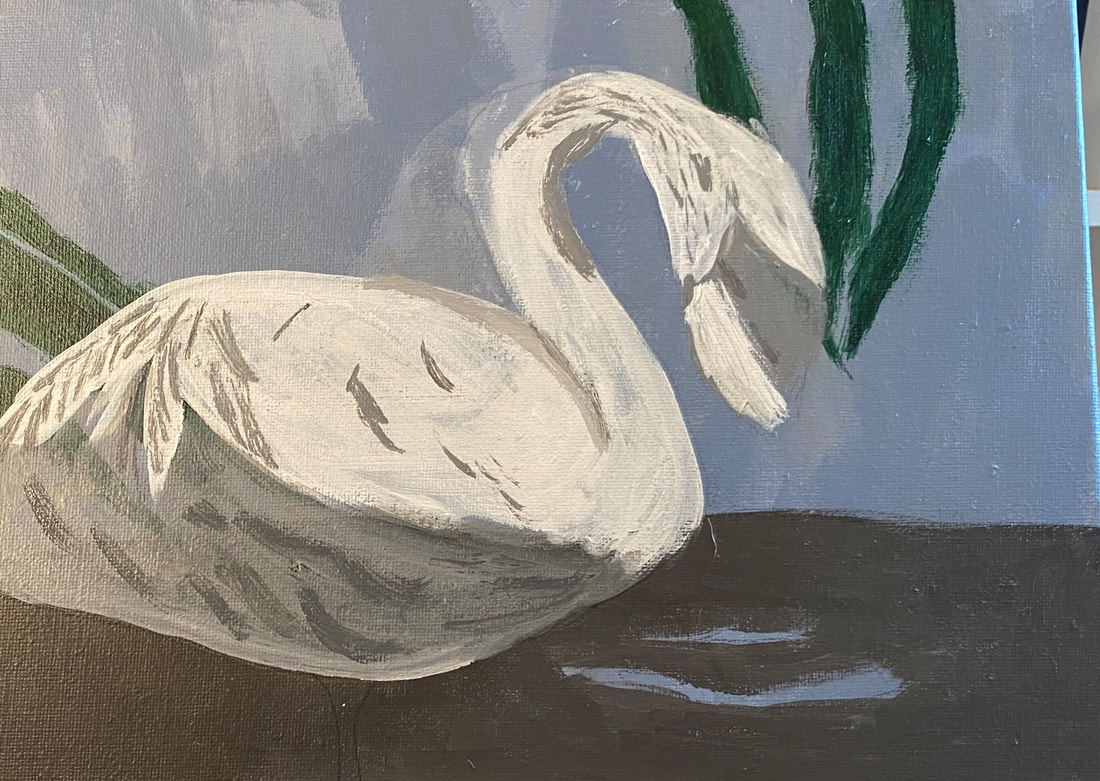
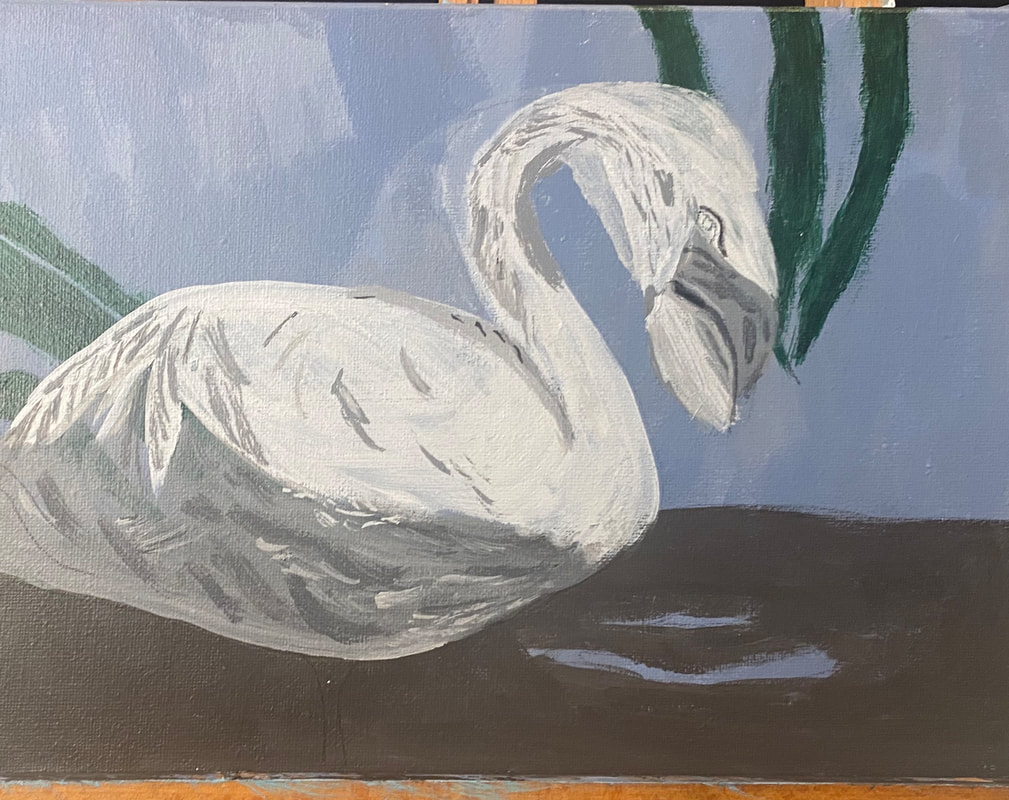
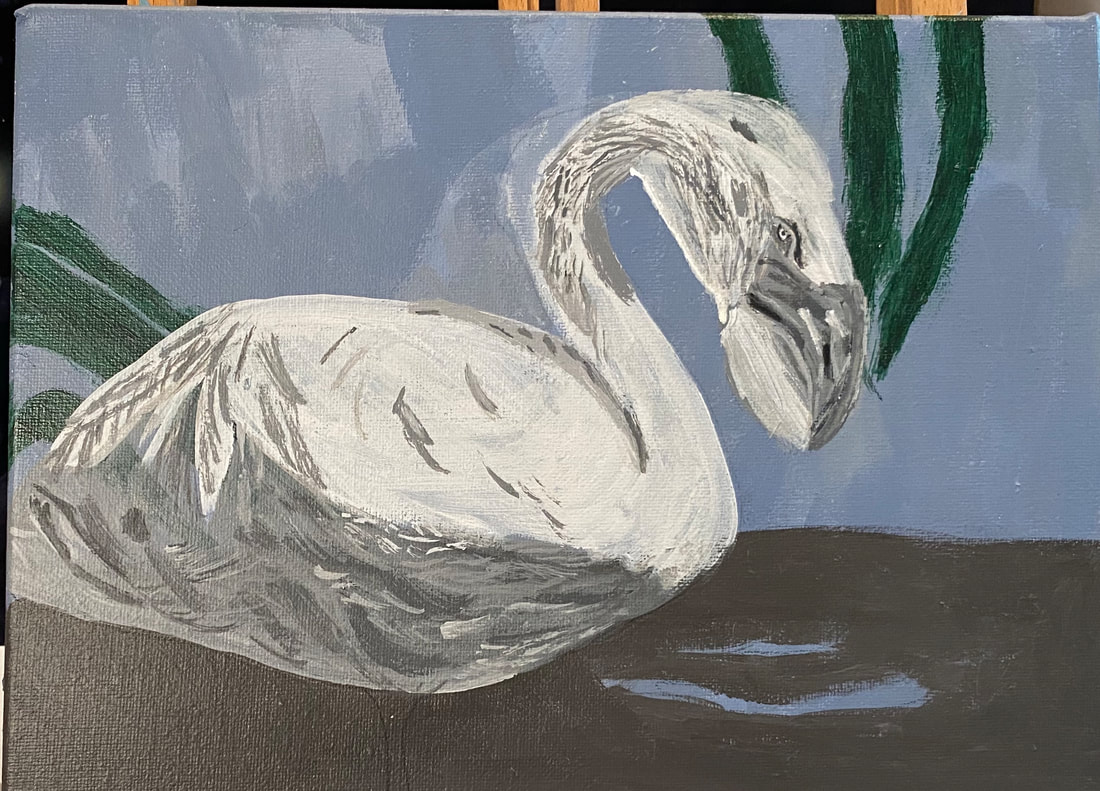
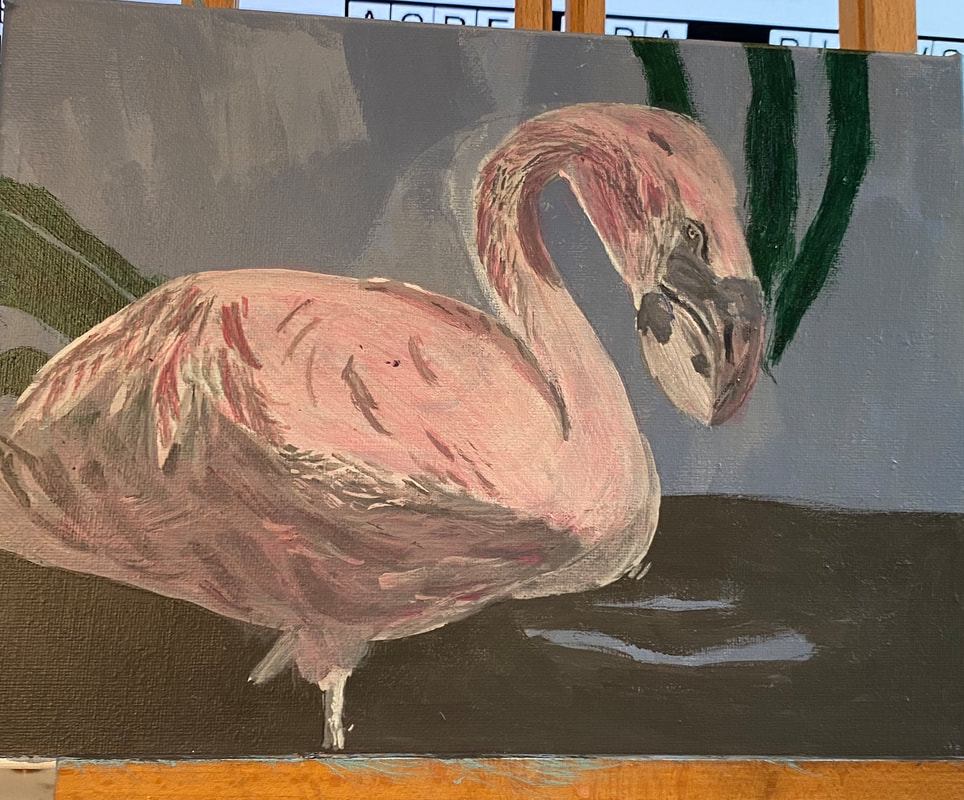
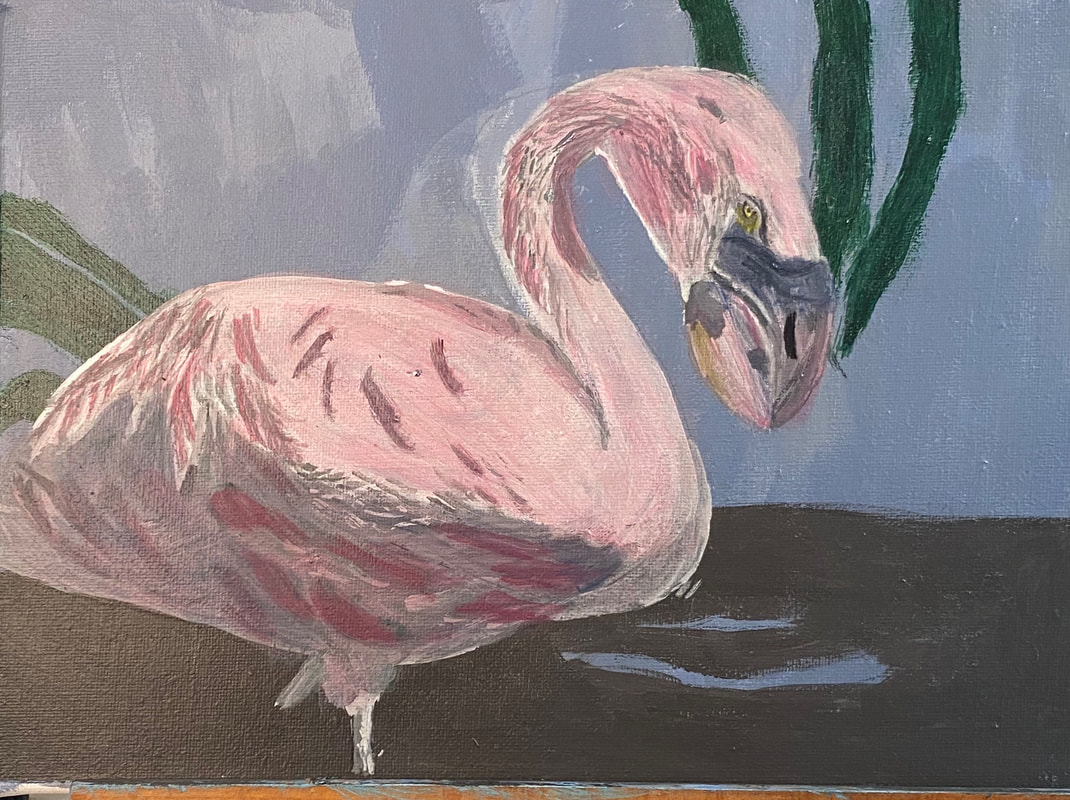
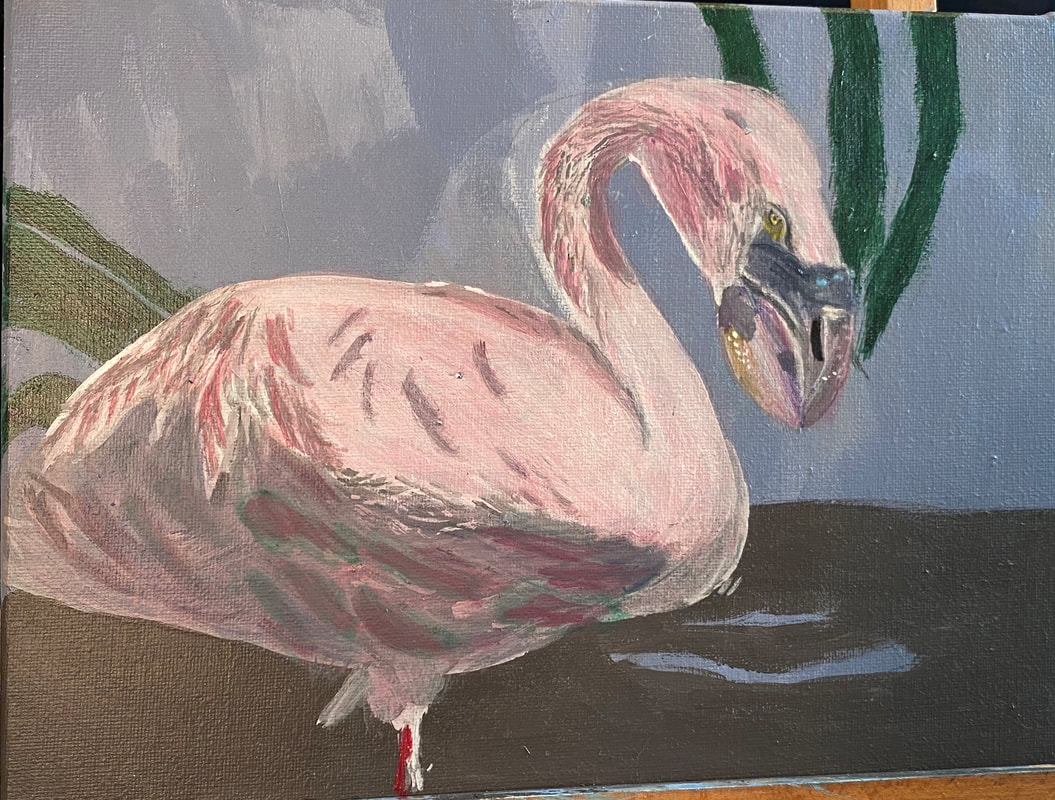
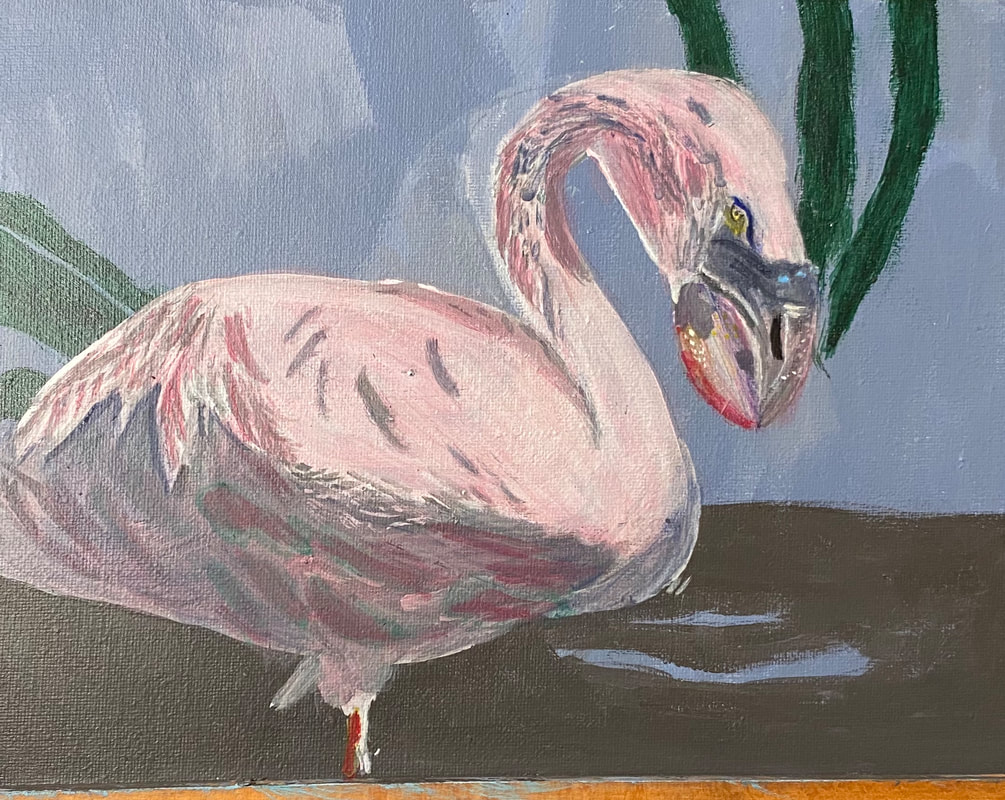
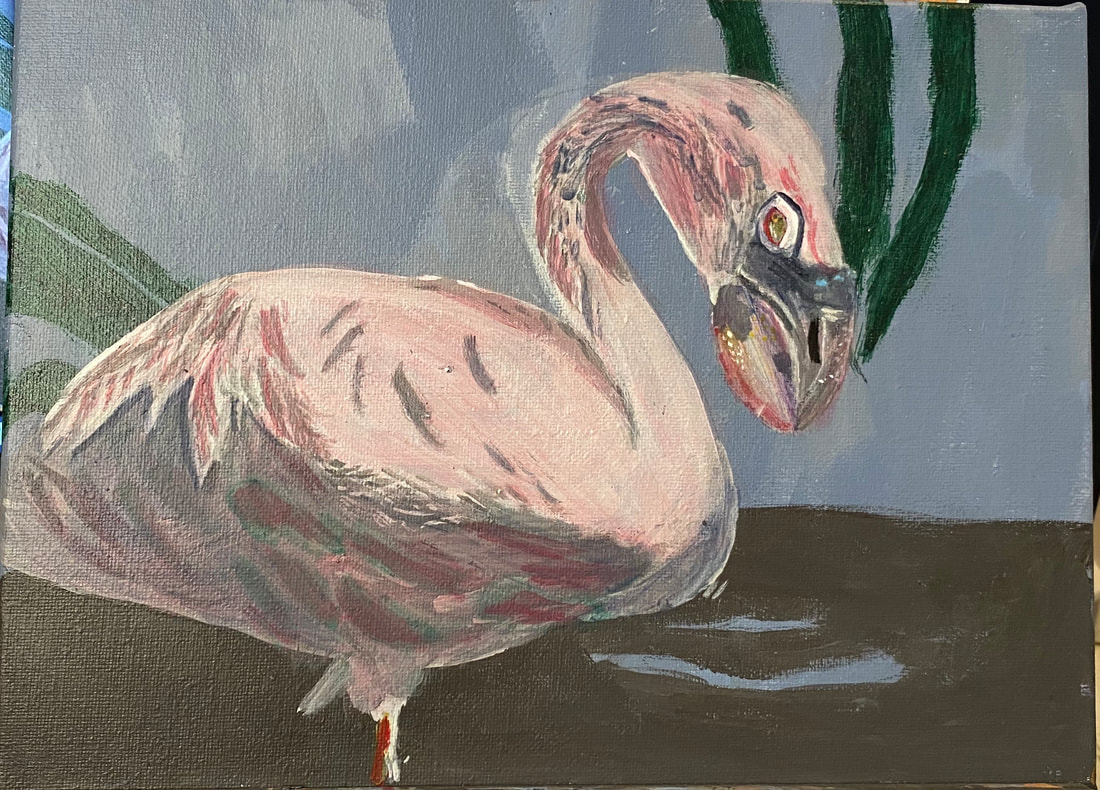
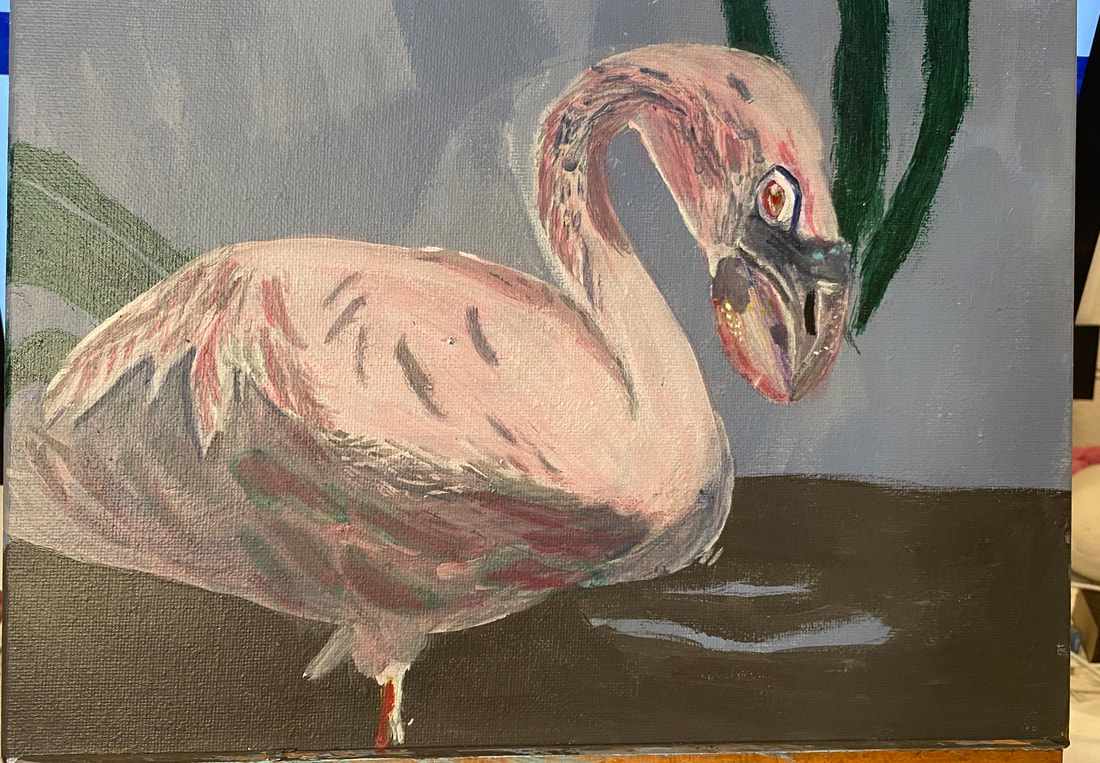
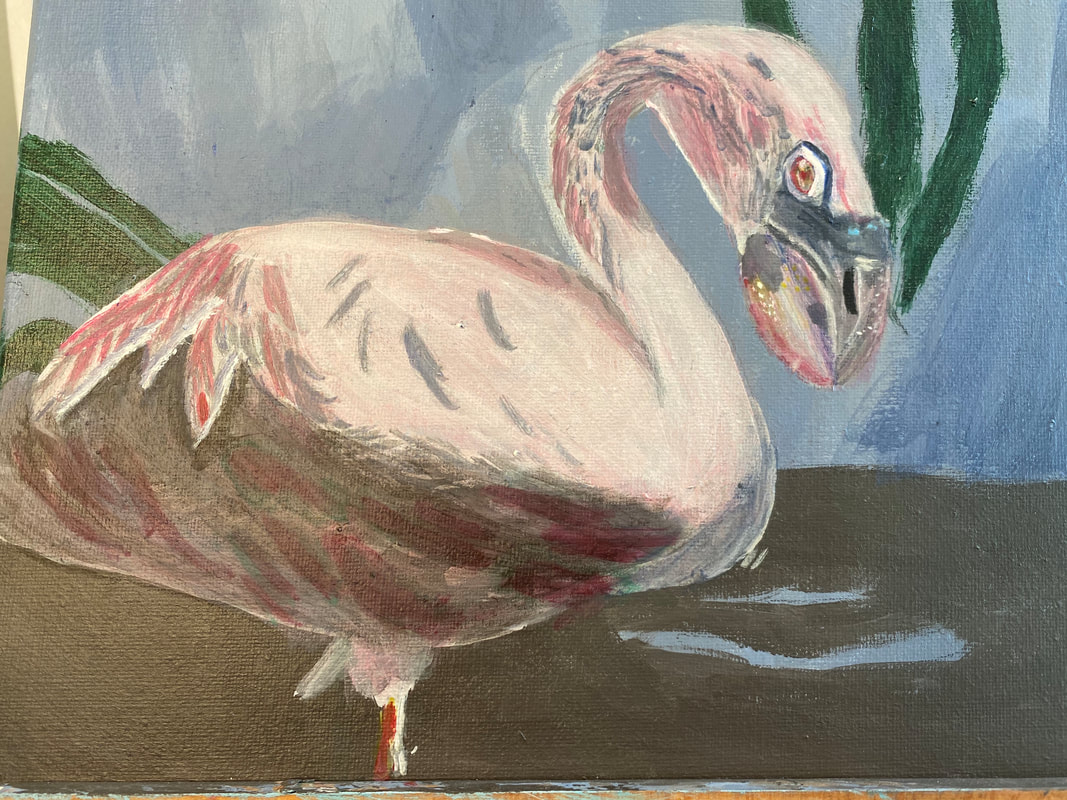
My reference photo for this piece came from Lisa Clough of Lachri Fine Art. I’m starting by painting the whole canvas blue for this painting. I haven’t figured the whole background out yet, but as of writing this, I’ve decided to paint some dirt along the bottom quarter of the canvas, leaving a couple wholes for the blue to show through. Today I painted some leaves on the painting. I used my small round brush for most of the body of the leaves, switching to my liner brush for the tips in order to have more control over the shapes. I worked with my hand back on the brush handle, allowing it to move freely across the shapes of the leaves. This will be it for the background. I’ve transferred my flamingo onto the canvas. I decided to keep things simple to start with when it came to the underpainting. I blocked in the entire body, including the neck, except for the bottom quarter of the stomach, with a very light, almost white, shade of gray, leaving openings for feathers. I blocked in that bottom quarter with a much darker gray. I used my small filbert brush for all of this. Using my small round and my liner brushes, I painted feather texture where I saw it in my reference photo.I used the tip of my liner brush and some dark gray and started to paint some dense feather texture on his head. After taking another look at my reference photo, I saw that there was some pretty apparent feather texture in the flamingo’s belly, so I mixed some more black into the gray I’d already mixed for that section, making it even darker and painted that texture with my small round brush. Except for the tiniest details, I held my brushes with my hand back on the handle and let it move across the canvas in one fluid motion as much as possible. I didn’t worry too much at this point whether the shades were right. I was just concerned with putting my strokes where they should go. Today I continued with the feathers, starting by adding some highlighted ones to his belly. I thought by now that it was time to whip his beak into shape. I started by drawing in the division of the beak with my charcoal pencil. Then, when the paint was dry, I took my liner brush and some light gray paint, and being careful to keep my hand steady, and going slowly, I made one fluid, continues motion down the dividing line. I used that same continuous motion, with my much darker gray, for the shade that was to be on the dividing line. His belly needed more texture, so I mixed a shade that was in between the ones already on it, and looking at the shapes in my reference photo, I took my liner brush and did my best to copy these shapes on my canvas. I had to zone in on a particular square inch of the photo and give my full concentration to it before moving onto the next part. Today I added still more texture to his belly. I find it a challenge at this stage to concentrate on all the details. My mind is lazy and I have to force it to concentrate sometimes. I also turned much of my attention to the eye and beak, working on creating texture in the latter with highlights. This is going to take a lot of work. For my first layers of color, I mixed a bit of yellow into my red and white, because I could see some warmth in the flamingo’s feathers. Using my filbert brush, I glazed light layers of this color all over the flamingo. I kept my hand going in one direction and was careful not to go over the same place more than once while the paint was wet. Today I glazed zinc white over the upper half of my flamingo to create more contrast between it and the bottom third. While that first layer was drying, I decided my flamingo’s beak needed some more contrast. I started by mixing some dark red into the white I already had on my palette and glazed this over the parts I’d already painted pink. I wanted them to have a rosier cast, though, than what they had. The blue part in the upper part of the beak also needed to be darker. I have a feeling I’m going to need a lot of layers in that beak to give it the sleekness I want it to have. Now I directed my attention again to the flamingo’s body. I already had a grayish blue out on my palette, so I added some zinc white into that, thinned it some more with water, and used my filbert brush to glaze it over the flamingo’s stomach, which I knew needed some blue in it. I painted some yellow on his eye and also glazed it along the edge of the pink part of his beak. Today I found a way to tone down those feathers on the stomach that were too bright. I did this by painting green over one feather and then thinning that out with water and using it on as many of the others as I could until I couldn’t see the green any more. When I ran out of green paint, I repeated the process with another feather. His beak needed some more color in it too. I glazed purple and blue over parts of it, being careful to blend out any harsh edges, as I wanted the colors to look hazy. I also used my liner brush and some titanium white to paint some lines and speckles. I’m especially proud of the white speckles I painted in the little bit of yellow I’d glazed on the edge of his beak. Lastly, I glazed a few layers of zinc white over most of the top half of the flamingo’s body. Last night, it was time to glaze some blush gray in the feathers that are showing in the upper half of the flamingo’s body. I directed my attention to the texture on his neck, which up until now, was pure gray. I didn’t think it was suitable to leave it like that, and I still had a ton of grayish blue out, so, I took my liner brush and…you can probably guess the rest. I worked more on the beak. I used my liner brush and titanium white to paint some more speckles. I started to paint a shadow of pink down the edge of the bottom, which is too dark at this point. Last night, I started by glazing zinc white over the pink strip along the bottom of the flamingo’s lower beak. I was delighted at how much of a difference just one layer made. I’d known for a while that his eye needed some red around it and I decided now was the time. I also, saw however, that it had a thick band of pale pink above it, so I painted that with some paint that I already had on my palette. I glazed more yellow over the cornea to brighten it. While working on the eye, I also noticed that there needed to be another pale pink ridge above it, as well as a shadow above that, the latter of which I painted with my liner brush and some zinc white mixed with red.  Today I applied titanium white to part of the outer edge of the rim I’d painted above his eye. I used my liner brush, but pressed harder on the canvas, so my line would be thicker. I saw that the bottom ridge needed to be darker to contrast with the top. I decided I would take care of this by glazing a bluish gray over it. I mixed my color too dark to begin with, but solved this by mixing my concoction into some more zinc white. I painted this onto the lower ridge of the eye with my liner brush. My too-dark color didn’t go completely to waste, though, because I used it to paint the blue streak right above the upper eye ridge. I saw that the blue strip above his eye needed some more blue in it, so I made a muted version by mixing ultramarine with an orange made from carmine and yellow. The blue strip isn’t exactly like it is in the reference photo, but I like it. Today I added more pink to the feathers on his tail, because I thought they were looking a bit dull. I glazed zinc white over the upper half of his body again, and ivory black over his belly to increase the contrast between those two. I also mixed some ultramarine into my gray and glazed that over some of the upper feathers. I thought the feathers toward his tail were looking too flat. I wanted them to look like they were sticking up a bit from the rest of his body. I tried painting some titanium white over the edges of them with my liner brush, first going with the form, then going across it, wiggling my wrist as I went. I also painted some more ivory black right along the outer edges, using that same wiggle motion. After looking at my white lines though, I thought they were too harsh. I wasn’t immediately sure what to do about them, though, so I took a break. It was while doing a crossword puzzle on my phone, that I got the idea to glaze some more blue gray over part of my white marks. To finish it off, I painted some layers of black under these feathers for more contrast.
0 Comments
Your comment will be posted after it is approved.
Leave a Reply. |
Sara MillettPainter of portraits and wildlife Archives
November 2023
Categories
All
|
