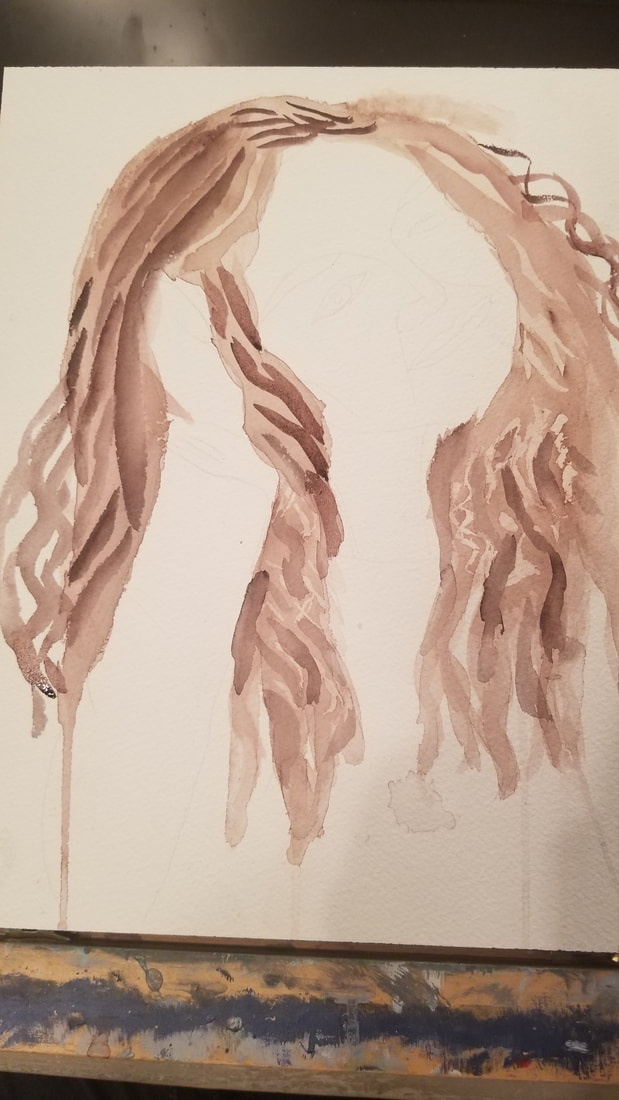
 I've started with a wash of what's going to be the lightest shade all over the hair. With watercolor, you always want to work from light to dark because your lightest layers are your most watery layers and if you put a layer with a lot on top of a layer with very little water, the layer underneath can lift. 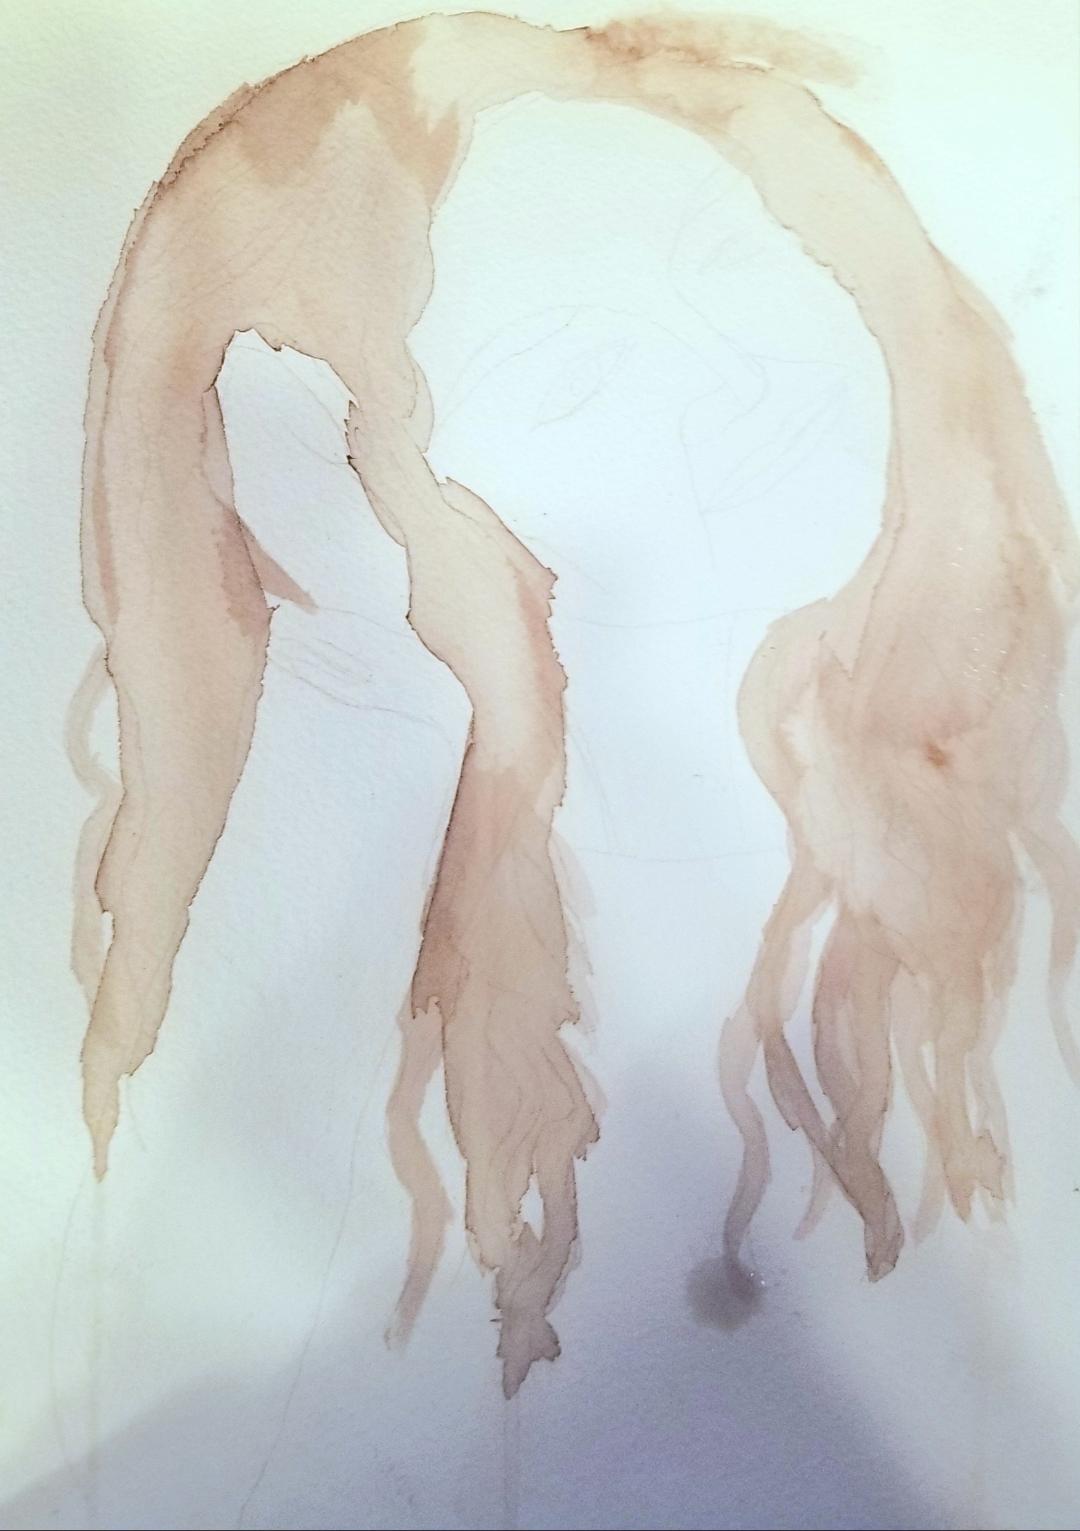 Before I painted the second and third layers, I took a needle and, using the thimble end of it, I put masking fluid where I wanted highlights to be. That's how I got that pattern that you see. I was almost painting with the masking fluid. I find a needle to be very convenient for when I want to keep my masking fluid areas very small. Even the smallest brushes can be too big a lot of the time. It's also important to have a lot of masking fluid on the needle. That was the only way I was going to be able to make the strokes that I did. 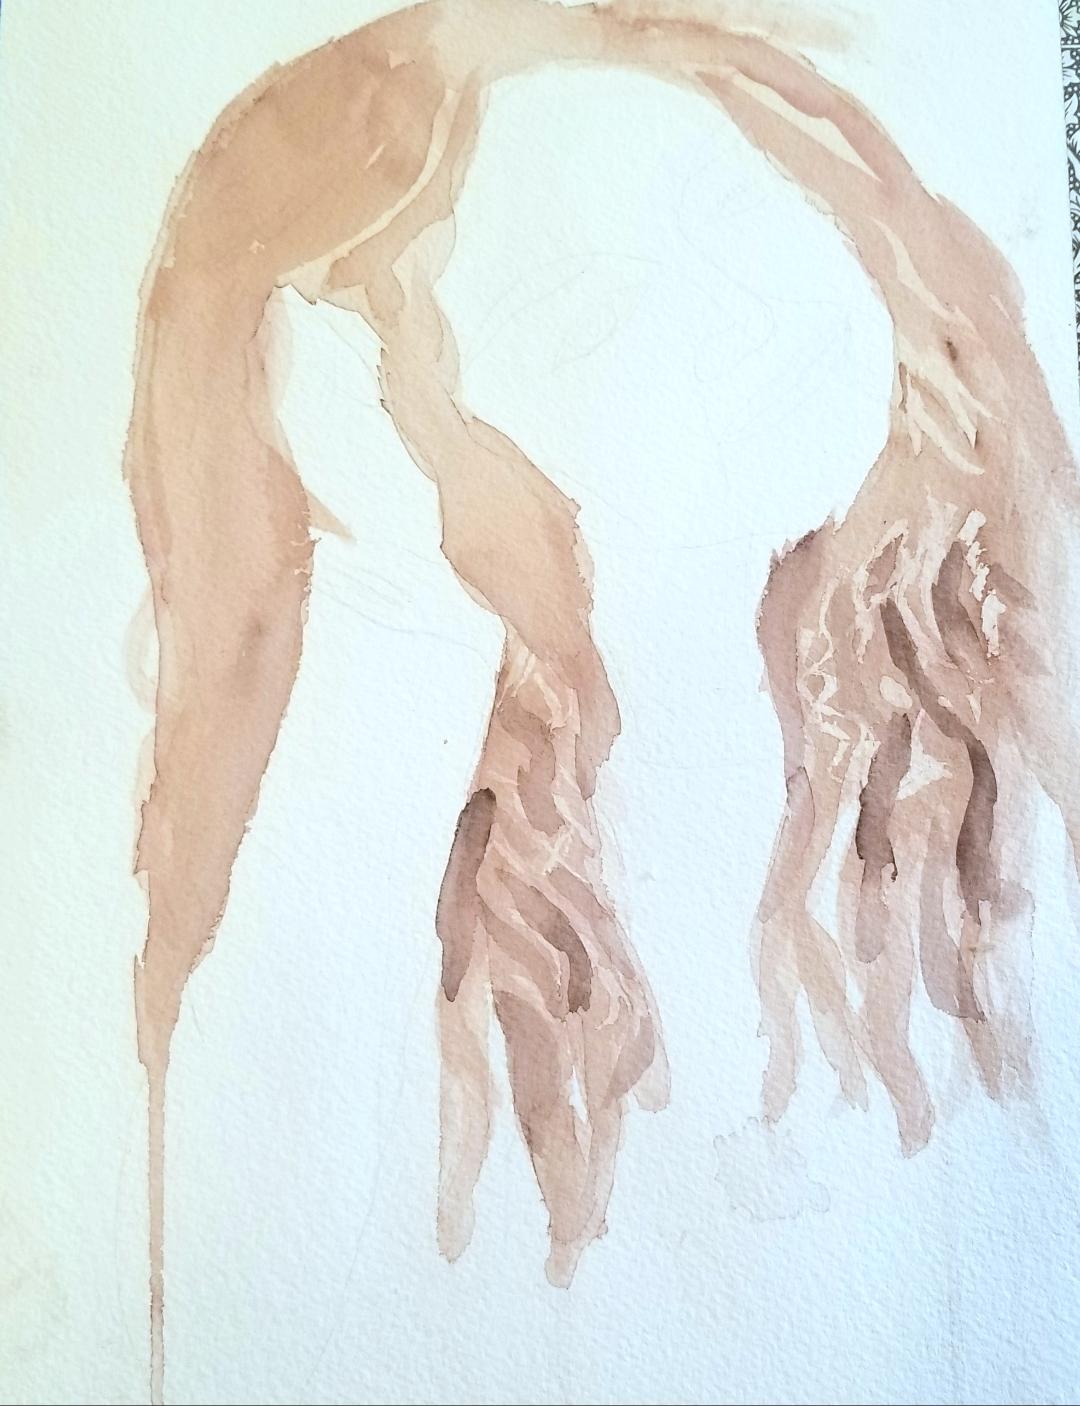 Here's what it looks like when I add more of the darkest colored strands. I was careful to follow the direction and copy the appropriate shapes I saw in my reference photo. Making curly hair is not about drawing lots or loops or spirals. In other words, it's not this. 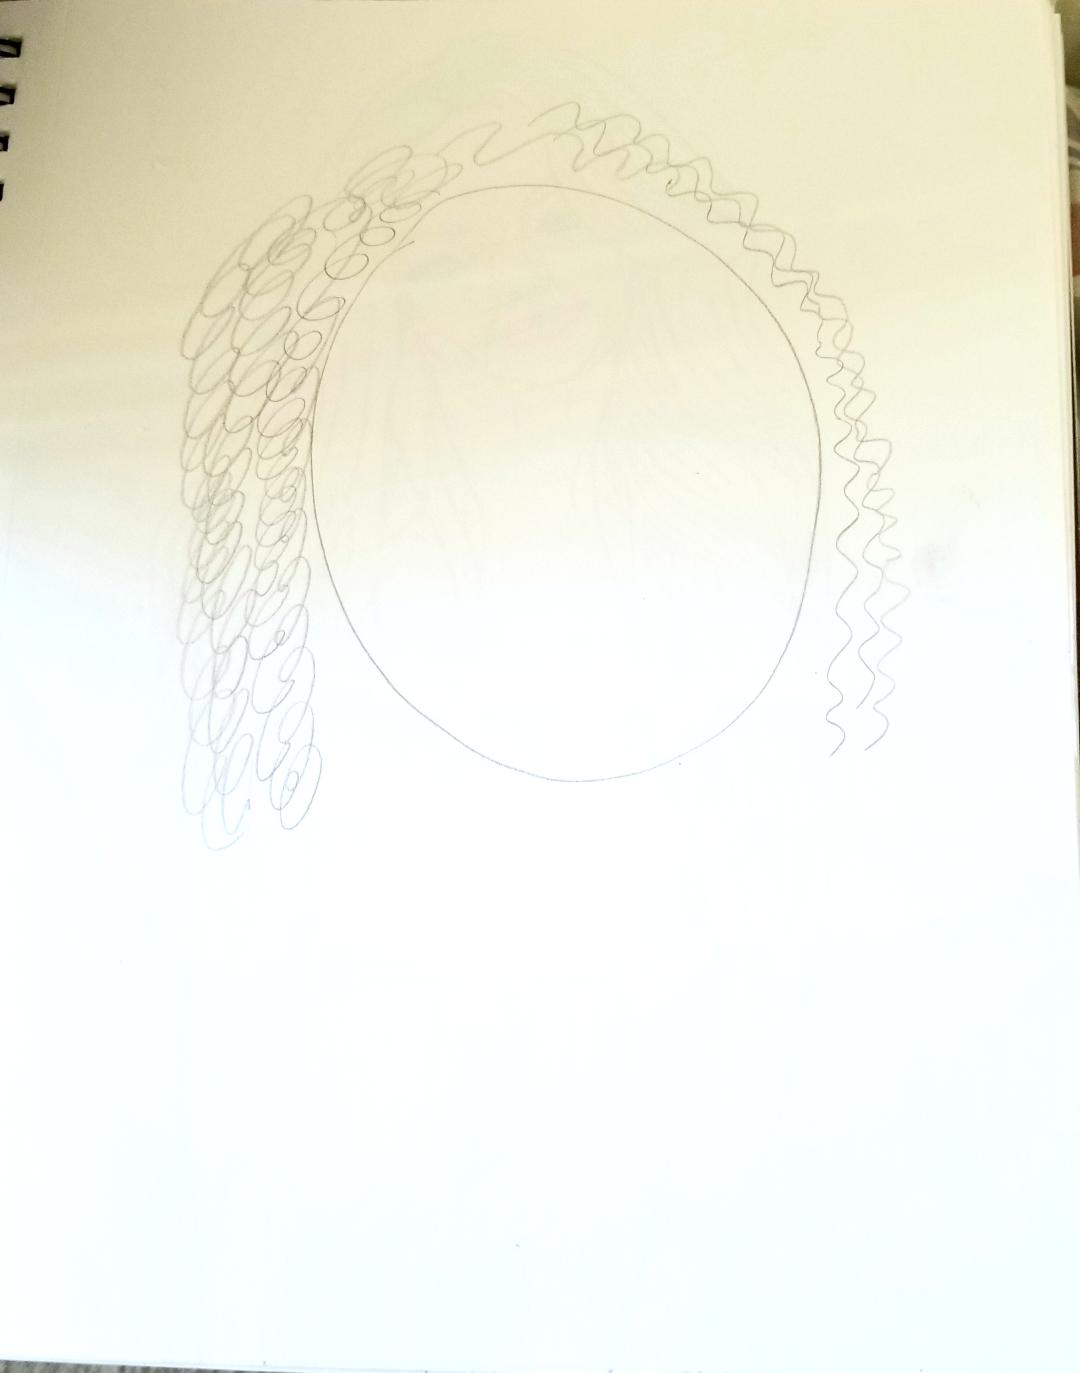 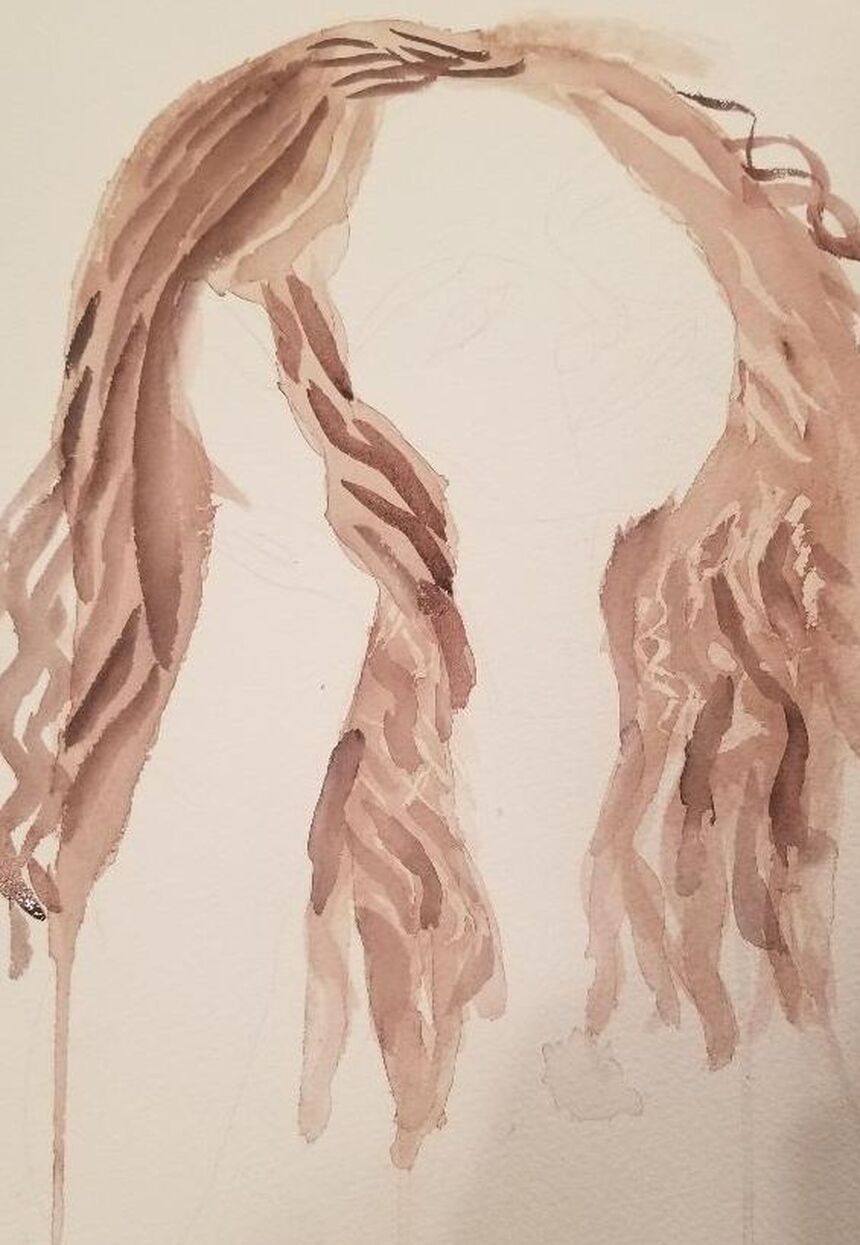 Also, because I wanted the hair to have some lift, I made sure my marks near the top of her head were slightly curved. I also needed to make sure the paint underneath was dry before I added more layers on top. This was so that I could get hard edges and therefore make each stroke look like an individual hair piece. If I'd painted wet on wet, the each stroke would've looked like different shade of the same mass. That would be fine if I was painting straight or maybe even wavy hair, but curly hair is usually more textured than that. You can hear even more details in this video I'm posting.
0 Comments
|