|
Id' like to give you a little back story on this painting. In the Spring and Summer of 2018, my parents and I went on a road trip across the United States. We saw twenty-five states in all, including Texas. While we were there, we saw the Alamo, and after that, we went on a river walk around the San Antonio River, which is where I took the photo that I'm making the painting you're seeing from. 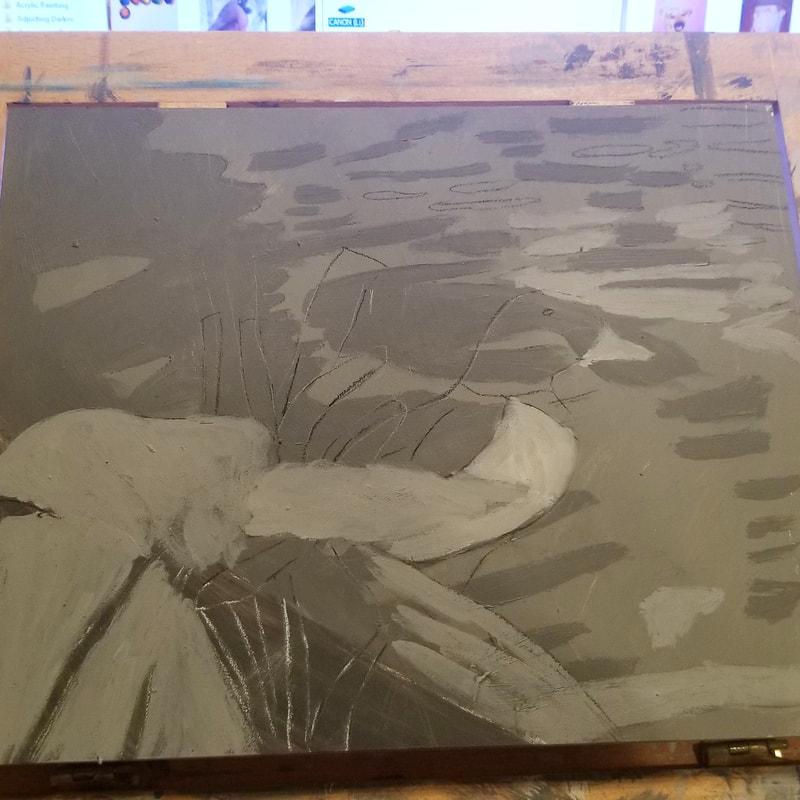 Day One I’m really going to enjoy working on Ampersand boards. I could tell that from the first stroke. I thought, why is the feel of my brush so pleasant on this? Is this really what Ampersand boards are like? 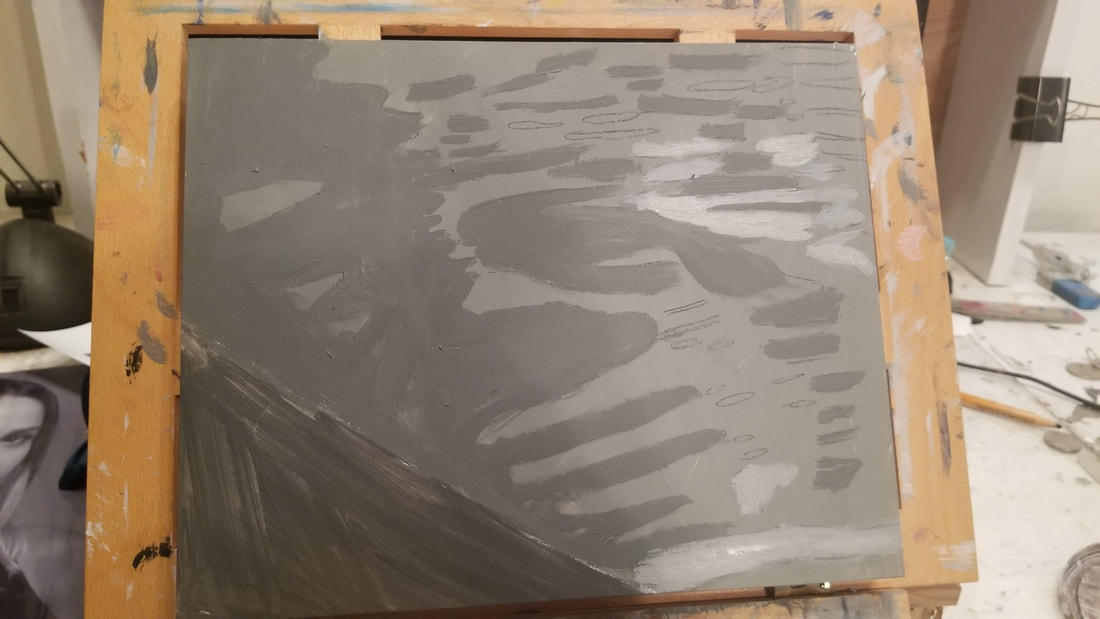 This is what the painting looked like before I added the duck and leaves. I started by blocking in most of the canvas with a medium dark gray, making a small sliver in the bottom left hand corner a much darker gray, closer to black. The large blocked out section will be the river. I took a charcoal pencil and drew the shapes of the ripples in the water and set about painting them different shades. Going back to what I was saying about some of these ripples being lighter and some being darker, trying to paint every ripple exactly like the reference photo is another one of those things that can stress you out. Unless that’s really what you want to do, I don’t recommend putting that kind of pressure on yourself. As for me, I’m not worried about making every ripple the exact right shade. I’m just trying to get some variety in here. Then I drew the duck and leaves on using tracing and transfer paper. Back to the topic of these boards, the cool thing about Ampersand boards is that they’re wooden boards that are pre-gessoed. That’s a big deal because a lot of wooden boards are not pre-gessoed. So if you wanna try working on wood, but don’t want to have to gesso your surface, Ampersand is the way to go. 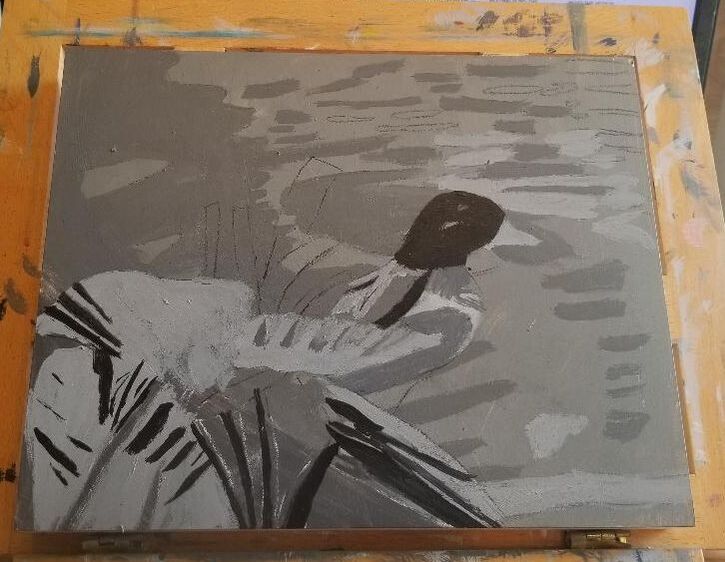 Day Two Today I decided to fill in the extra dark, almost black shadows of the leaves and duck. After painting a few of these, which included the duck’s head, I noticed there was a shadow on the duck’s stomach, which I’d painted a very light gray. The shadow was a good bit darker than the base of shade of the stomach but much lighter than what I’d been using. I went on and used the same shade on one of the leaves. At this point, the light values in his wings started to catch my eye and I decided they needed to be painted. I painted them using my liner brush. I thought the color was too light to start with, so I went over it with a slightly darker shade. 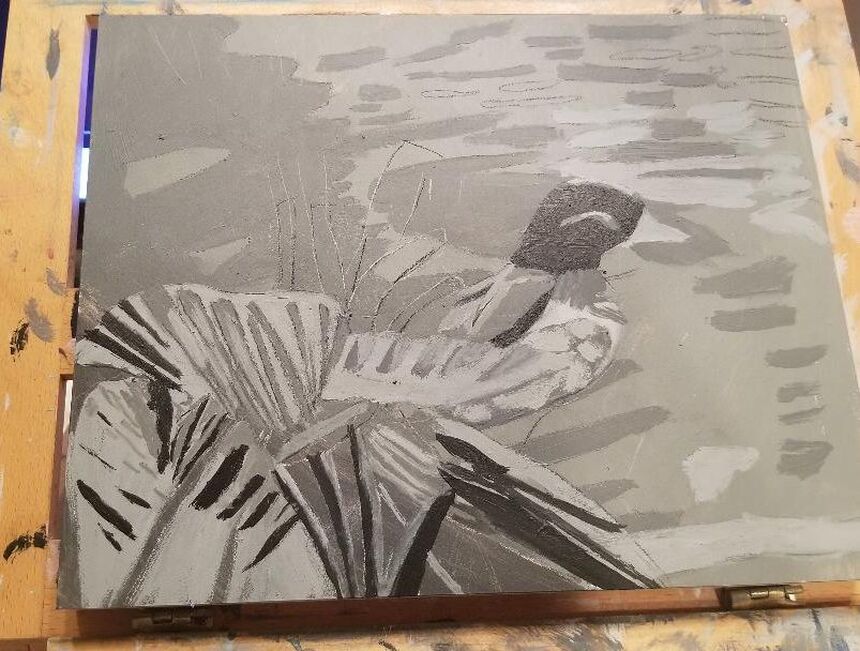 I painted some more of the ridges in this big leaf, using a much lighter, but still dark gray. ‘Painting more shadows on the leaves. Then I painted highlights on the duck. What I painted on his chest is meant to depict the fluffiness of his feathers. 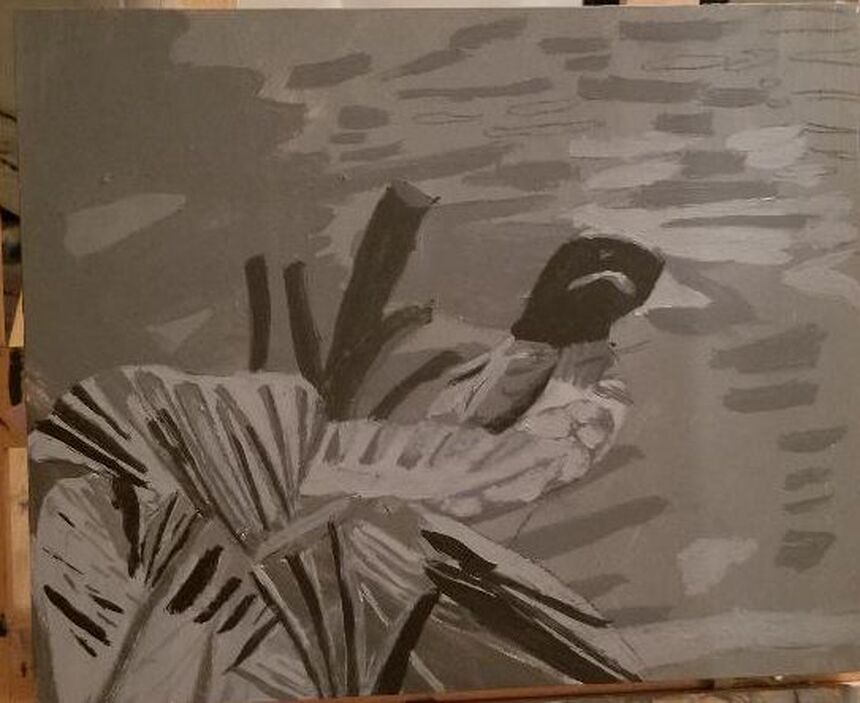 I reach a point twice, at least, in the process of every painting where I know I'm not done, but I don't know what else needs to be added. I was at this point with this painting until I realized I hadn't painted those big stalk things. How could I forget that?! All in all, the gessoboard from Ampersand, which is what I'm using for this painting was a great buy and one I would recommend. I'm including an affiliate link if you're interested. If you buy from this link, I get a small percentage of the purchase price. https://amzn.to/2ZWPQr5
0 Comments
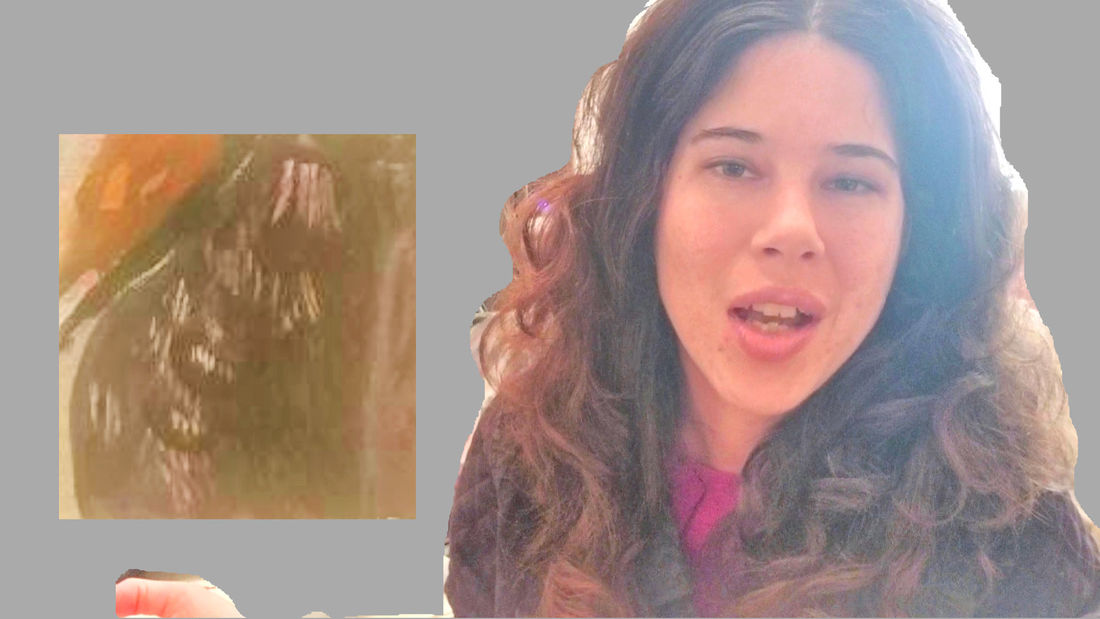 In the above video, I'm walking you through how I painted the feathers on a duck's chest in acrylics.
|