|
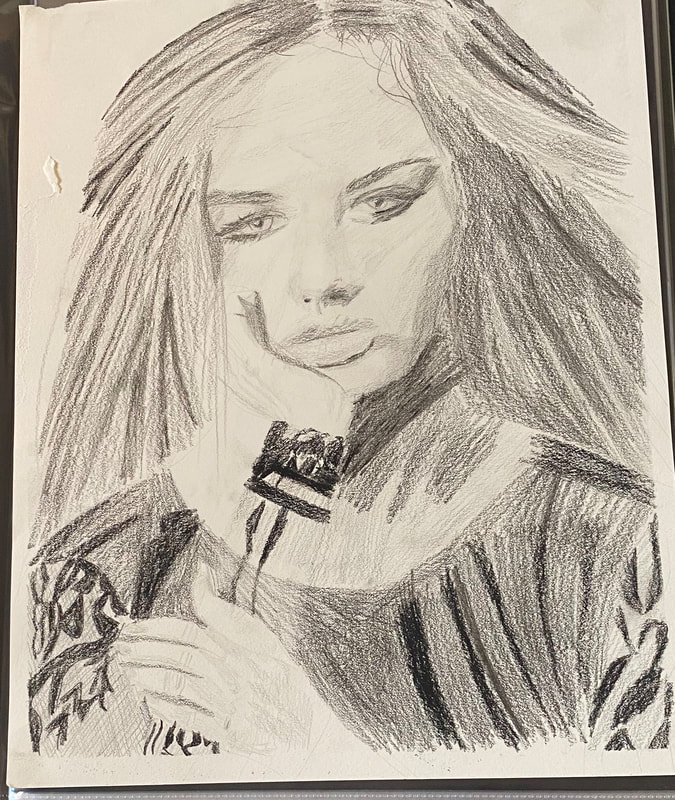
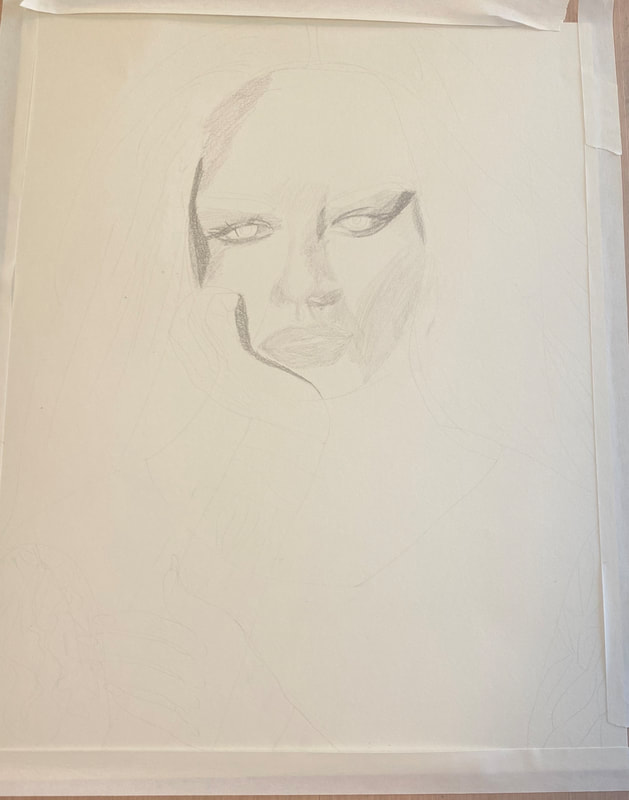
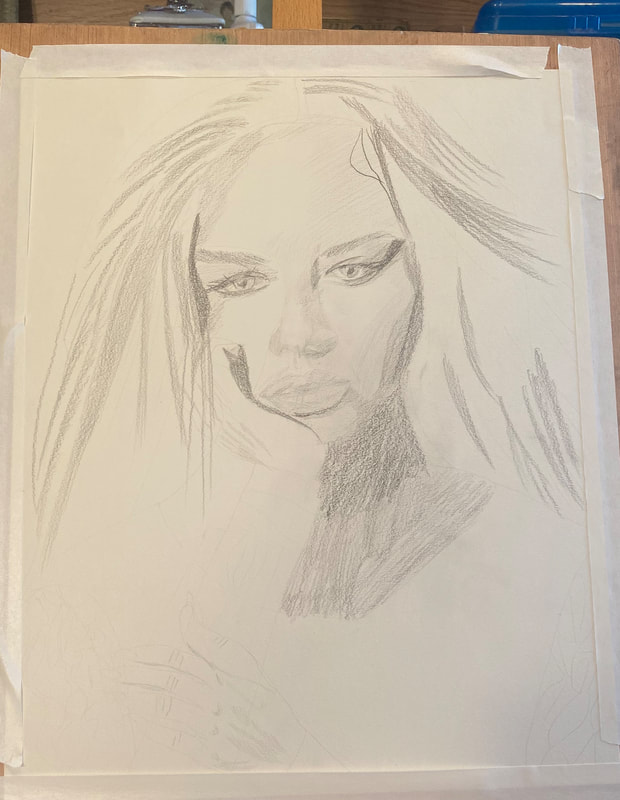
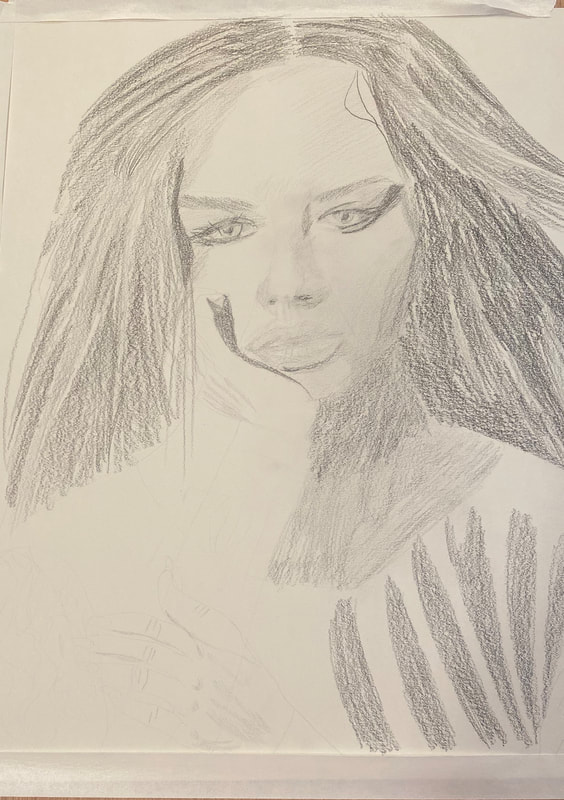
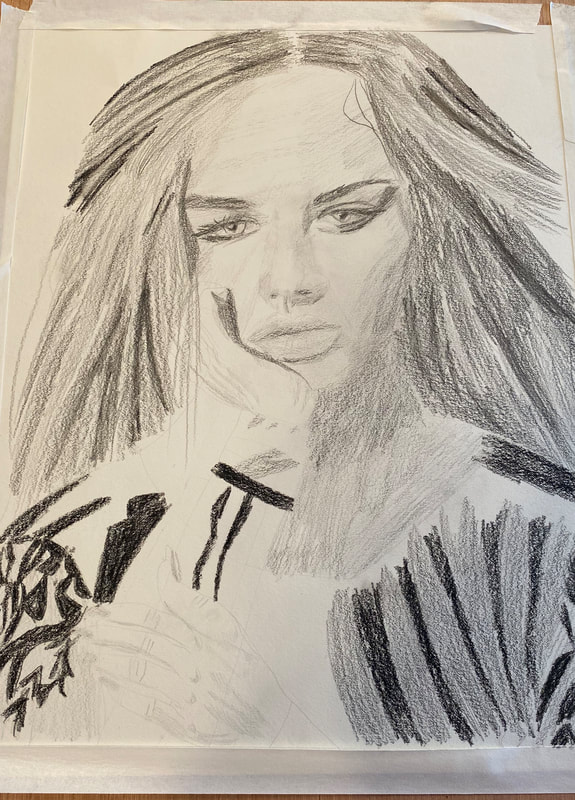
I drew her face using techniques I discussed in this video. I’m looking at the first picture in the gallery and at this stage of the drawing, here eyes look like those on demon children in movies, because they’re surrounded by darkness, but inside, they’re totally white. Her lids are heavy, so I made sure to draw the shadows they were casting.
I left part of her bottom lip unshaded and drew the lines in her lips, with the side of my pencil, not the tip. After I finished drawing those lines, dimension in the lips appeared before my eyes. Adding the shadows under the bottom lip helped to further push them out from her face. When it came to her hair, I started with the highlights. Although her hair looks black in the photo at first place, I didn’t want to jump in with the black right away as I thought this would look too harsh, so I started with my 9b pencil and added the black in later in the form of small streaks, using my one of my carbon pencils. I started off with my 2b carbon pencil, but I switched to my 4b when the 2b didn't show up well enough.
0 Comments
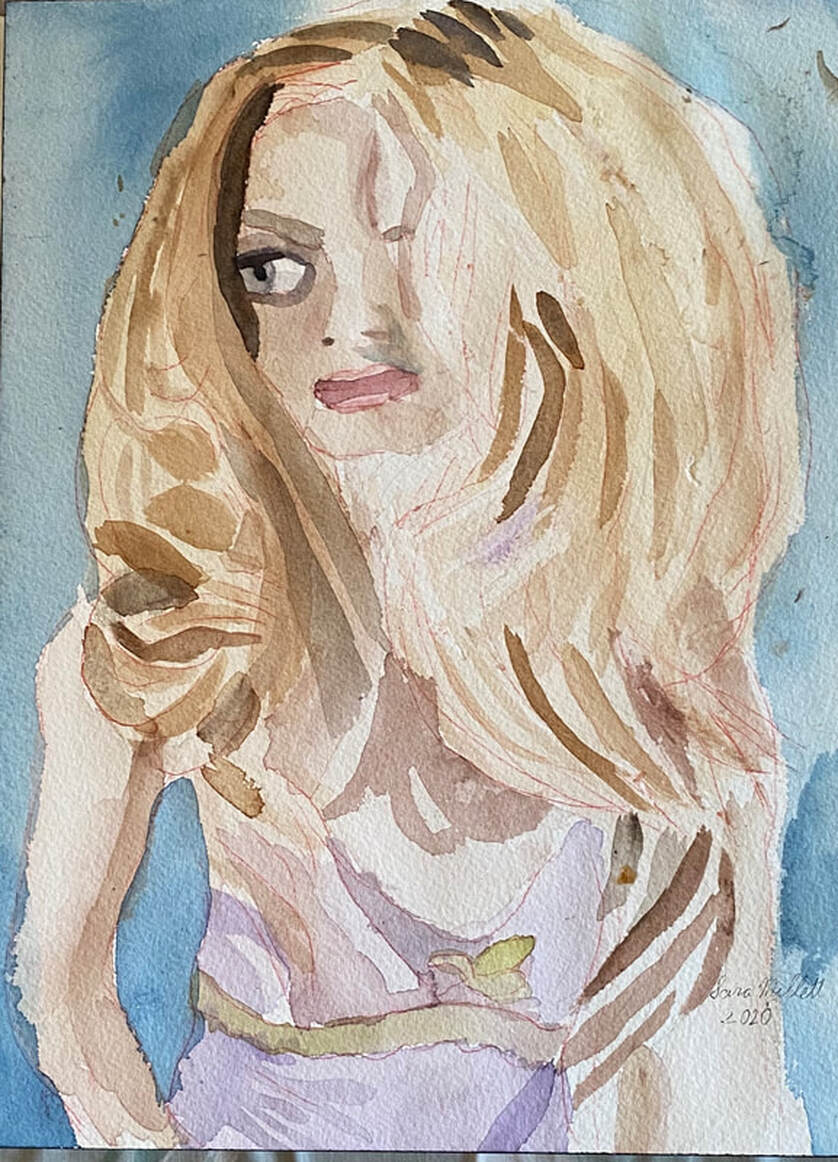
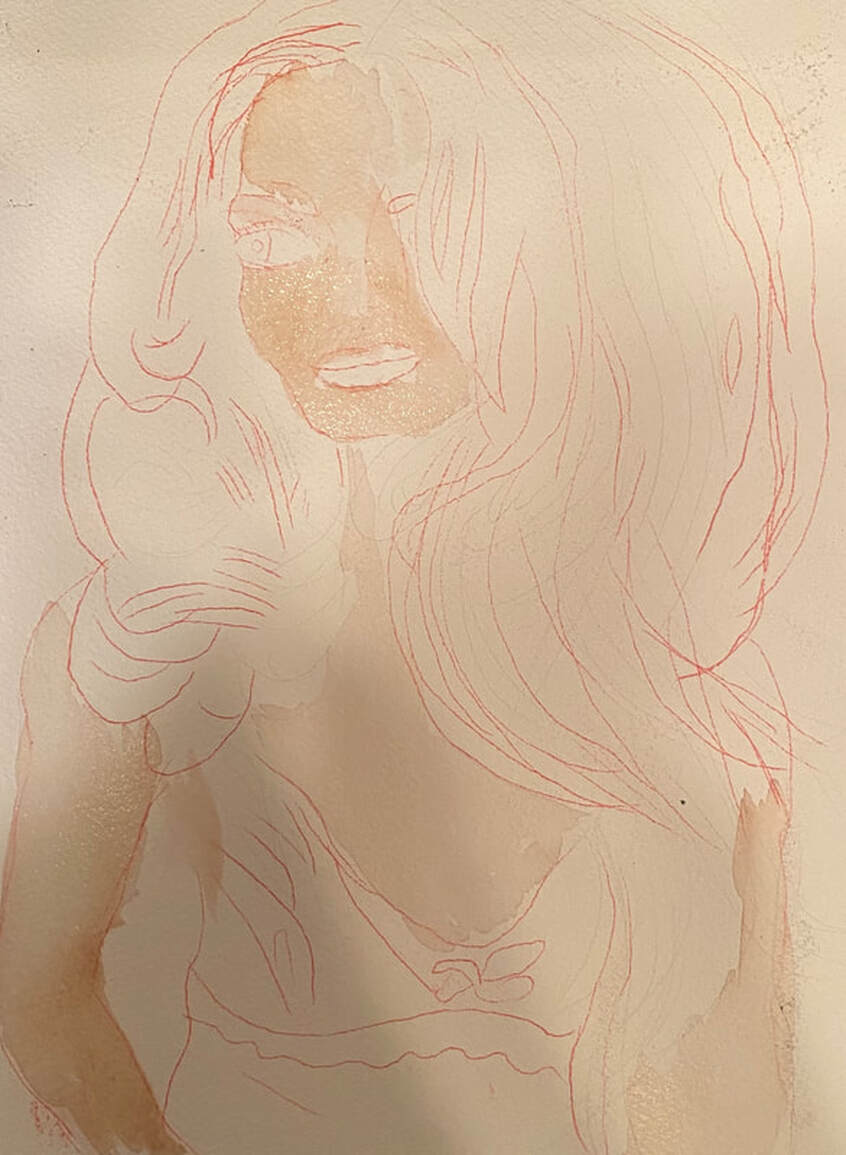
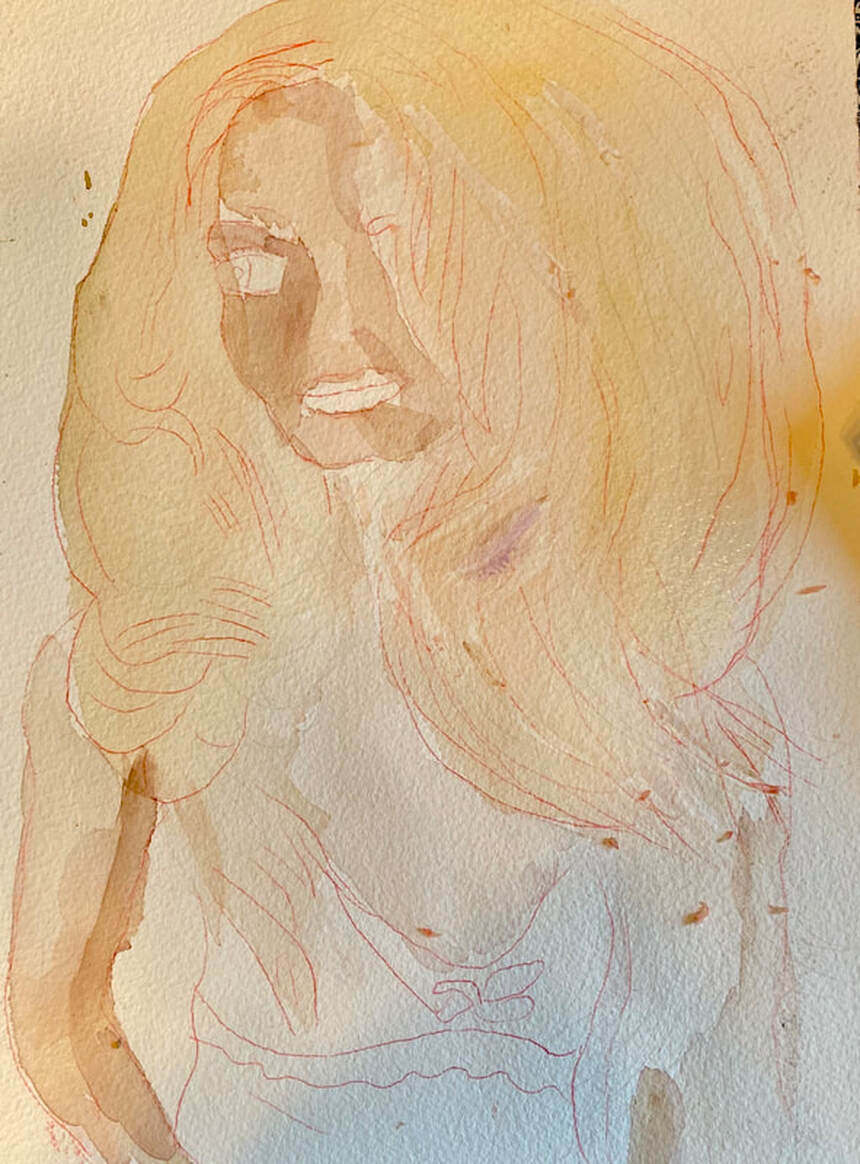
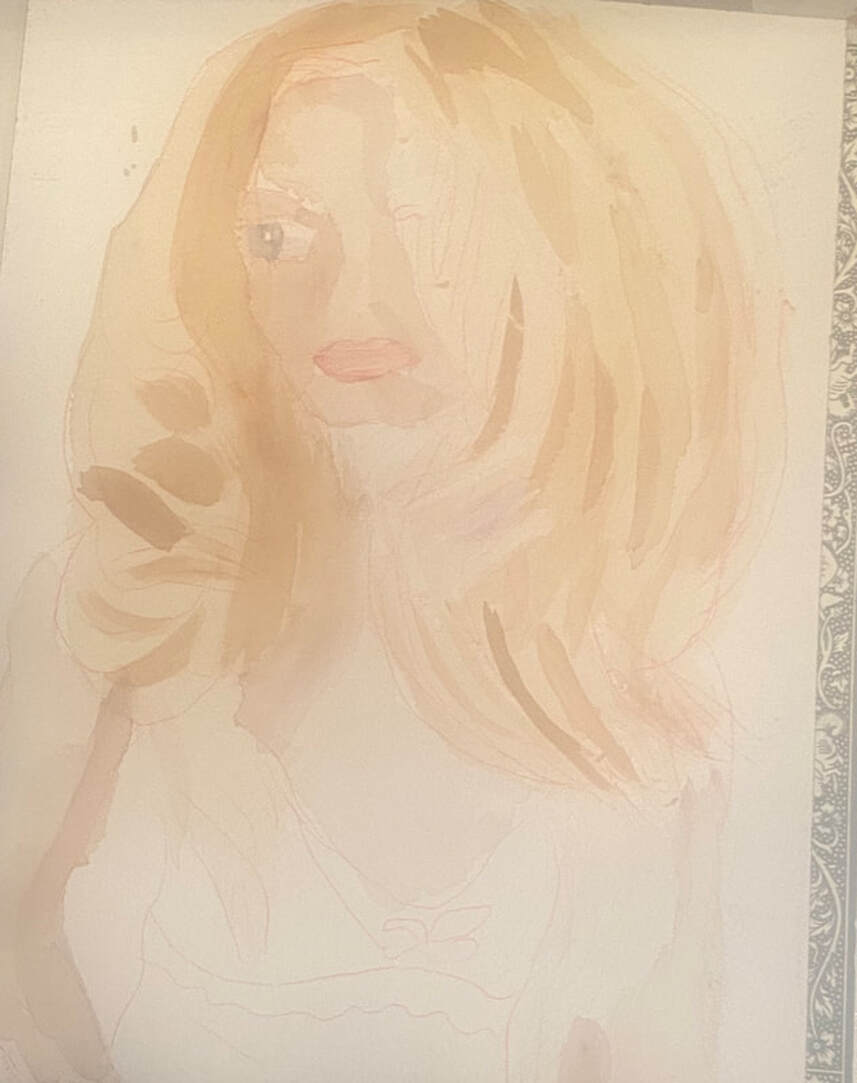
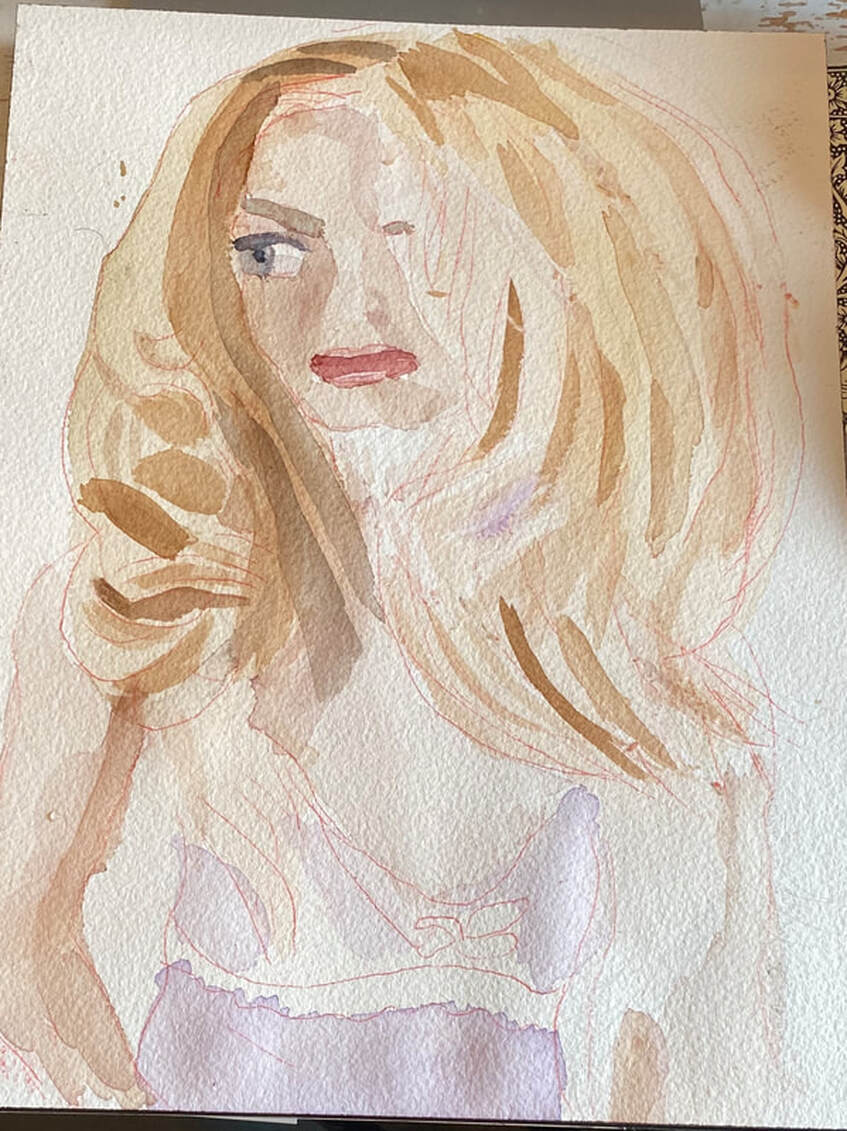
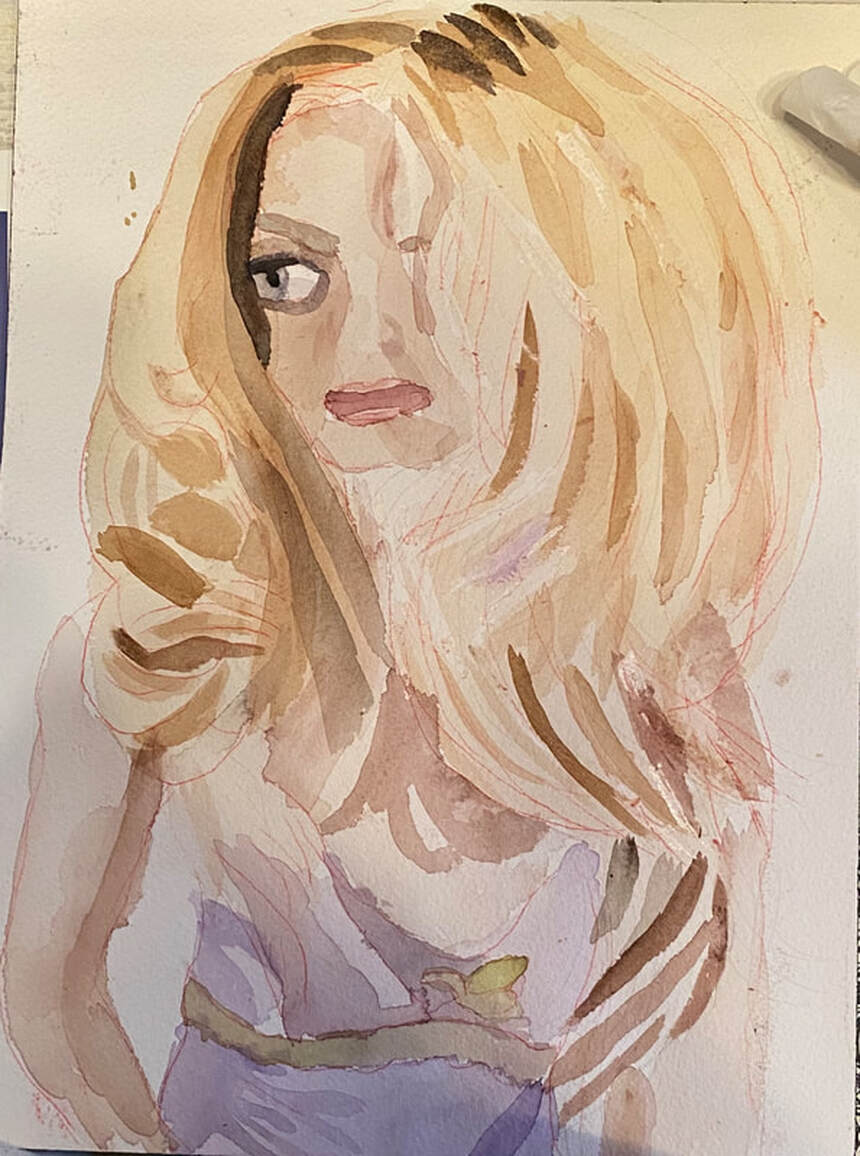
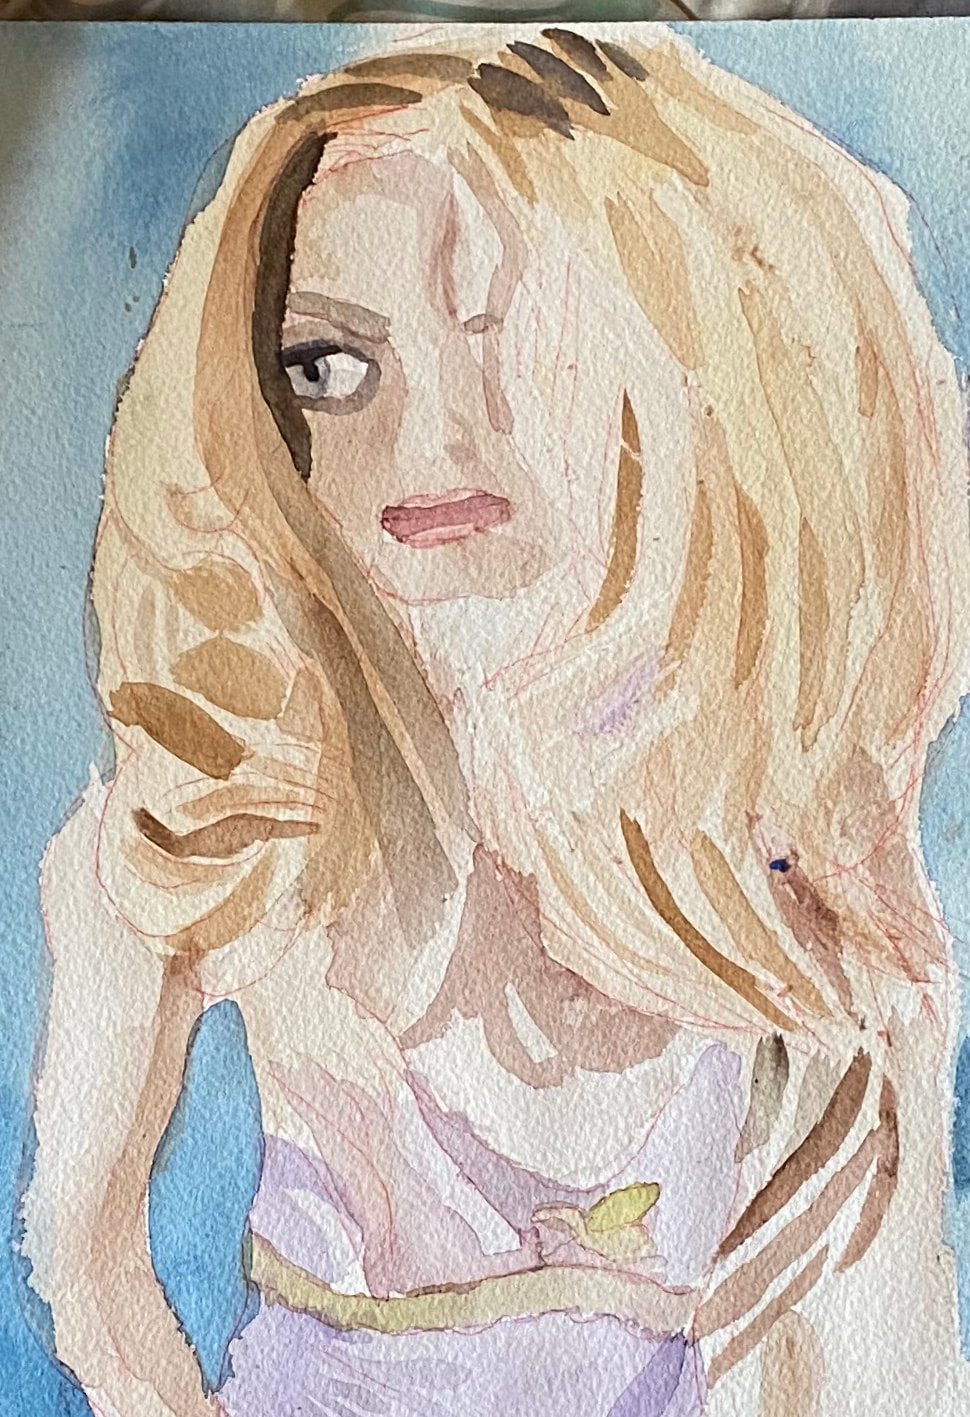
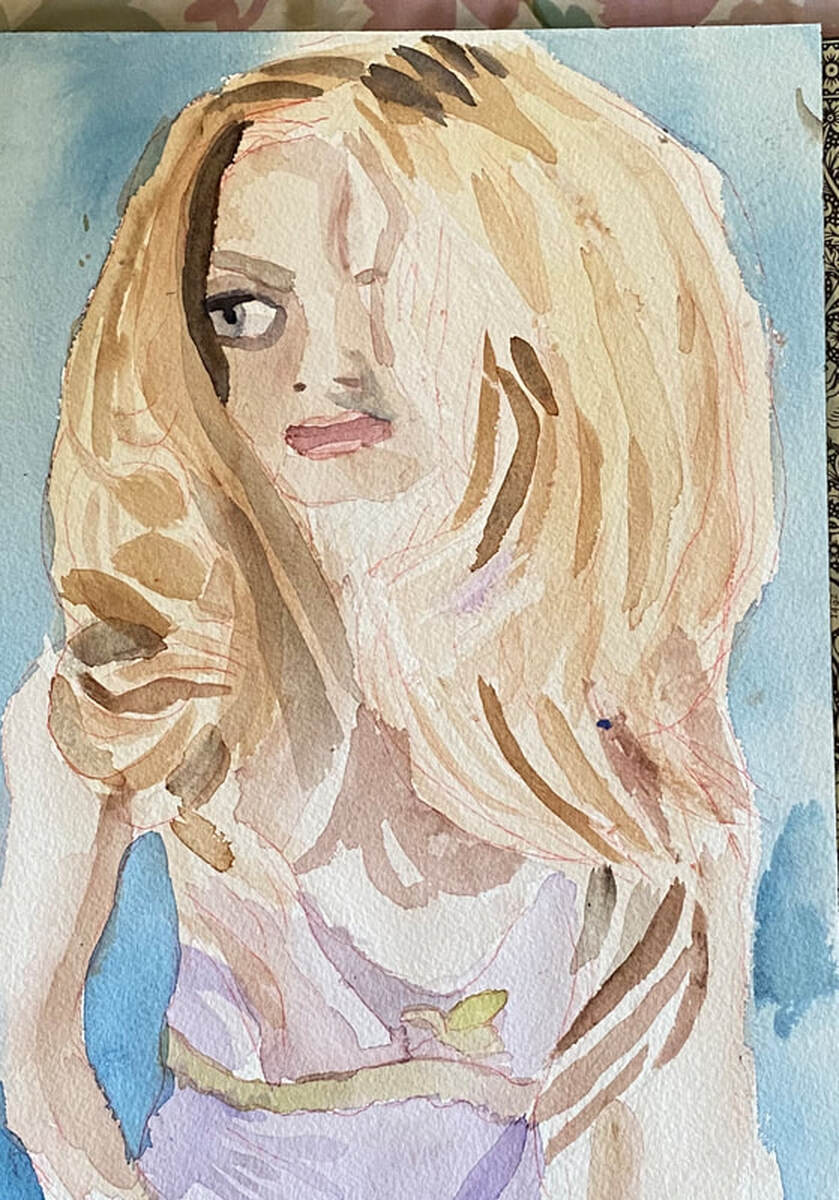
I chose a peachy color for her skin tone. Note to self: Stop trying to mix skin tone with colors already in the palette. It just creates frustration. Start fresh. Anyway, I mixed yellow, purple, red, and green, using quite a bit more of the yellow and purple than the red and green. The purple and green were there to tone down the yellow and red and keep the overall tone more natural. For the shadow on the right side of her face, I mixed a teensy bit more red into my base color because I saw it needed a bit of rosiness. For her hair, I did not use straight yellow. Instead, I used mostly yellow ochre and mixed that with a tiny bit of yellow. After laying down strategically placed masking fluid, I painted on my base layer for the hair using wet on wet and my flat brush. For the darker tones in her hair I added brown to my base color. Starting today, I'm experimenting with putting a thin layer of water down, and I emphasize the word thin, on just the part where I want my paint to go. This is to help ensure that my edges will be soft and even, but that the paint won't go all over the place. I used this method for her the shading on her hair and for the darkest parts of her mouth. Speaking of her mouth, I filled in with the lightest color first, then painting a darker red around that, allowing the base color to show through as a highlight. This helps to give her mouth the shine it's meant to have. Today I decided it was time to start painting her cami, starting with a light purple. I also added some black to my base color for her hair and painted more shadows. I thought her mouth needed more contrast to bring out it's shine, so I made the darker shadows even darker. For the pupil of her right eye, I made a "black" by mixing burnt umber with ultramarine blue. I recommend playing with the ratio of blue to brown until you get a tone you're happy with. It seems to work best if you use a bit more blue than brown, though. I added still more shadows to her hair. At one point, I had to lighten the shade back up again with red and yellow ochre and then darken it after that with my burnt umber and ultramarine blue mixture. I think adding the extra dark shadows that I did around her face and the roots helped give her hair lift and dimension. I painted her hair casting a shadow on her chest. Paying attention to details like this goes a long way to making a lifelike portrait. I love this kind of dark blue background for people with light skin and light hair, so I decided to use it again. I gave her some nostrils and added some more shadows to her hair. I think I'm going to call it finished now.
|
Sara MillettPainter of portraits and wildlife Archives
November 2023
Categories
All
|
