|
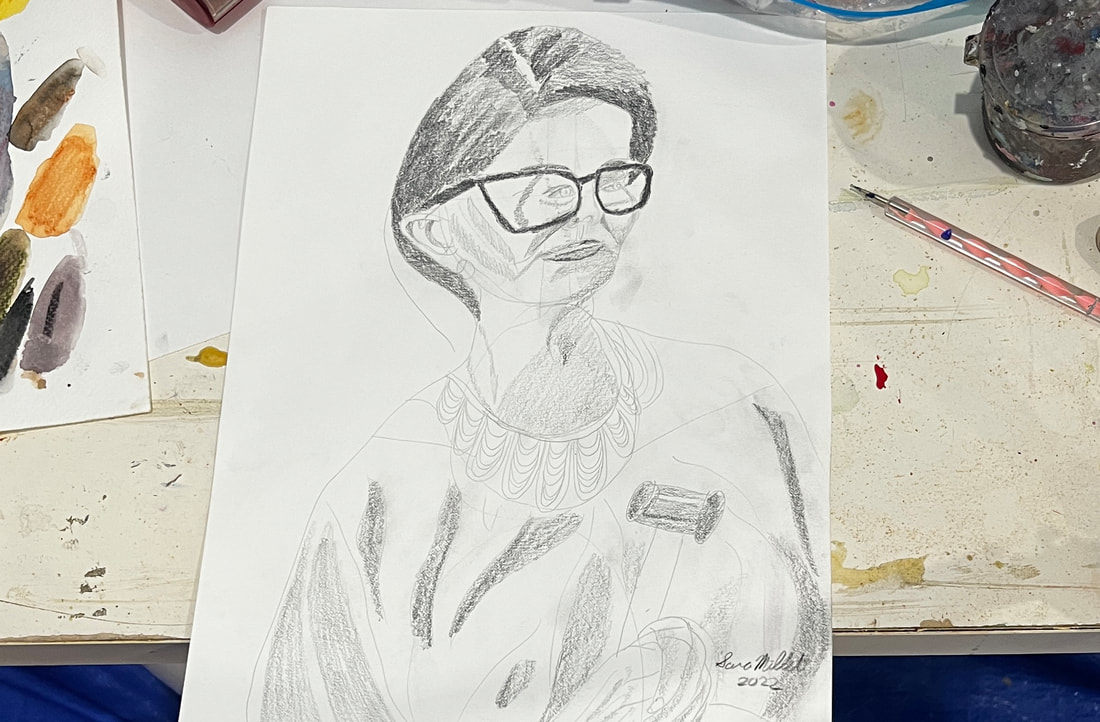
When I'm drawing, I can find myself making the wrong line over and over sometimes. This usually happens when I spend more time looking at my paper, then at my reference photo or model. Looking at your paper while you’re drawing is logical. After all, we need to make sure everything is where it should be, right? But your paper doesn’t show you what you should be doing. Your reference photo or model does. This was brought into sharp focus for me when I drew from a live model in a free class last week. I struggled with her left cheek. I would look at the model for a second and then try to recreate what I saw. I’d be unhappy with it, erase it and try again. I must have done this three or four times at least. Then I decided I was going to look at the model as I was drawing. What do you know, it turned out right this time. There have been times I’ve had my eyes fixed on a model while my pencil is on the paper and I just quickly glance at my paper to make sure I’m in the right place, which is the complete opposite of what I described before, which is just glancing at the model and then keeping my eyes on the paper. This is especially beneficial when you're working on small details. I only recommend doing it for a few minutes at a time, though, as staring at fine detail can hurt your eyes. At least, it hurts mine.
2 Comments
Sometime ago I made a video for my youtube channel about changing the color in a painting from what it is in a photo. Now, I’m faced with changing how things are laid out. I have this photo that I took of some crows. There are three crows in the frame, which fits with the “rule of odds”, but one of the crows is off away from the others. I’m thinking, bringing him in between his friends and slightly down, will make for a better painting. Just because you have a subpar photo doesn’t mean you can’t have a pretty good painting. Take this painting, for example. 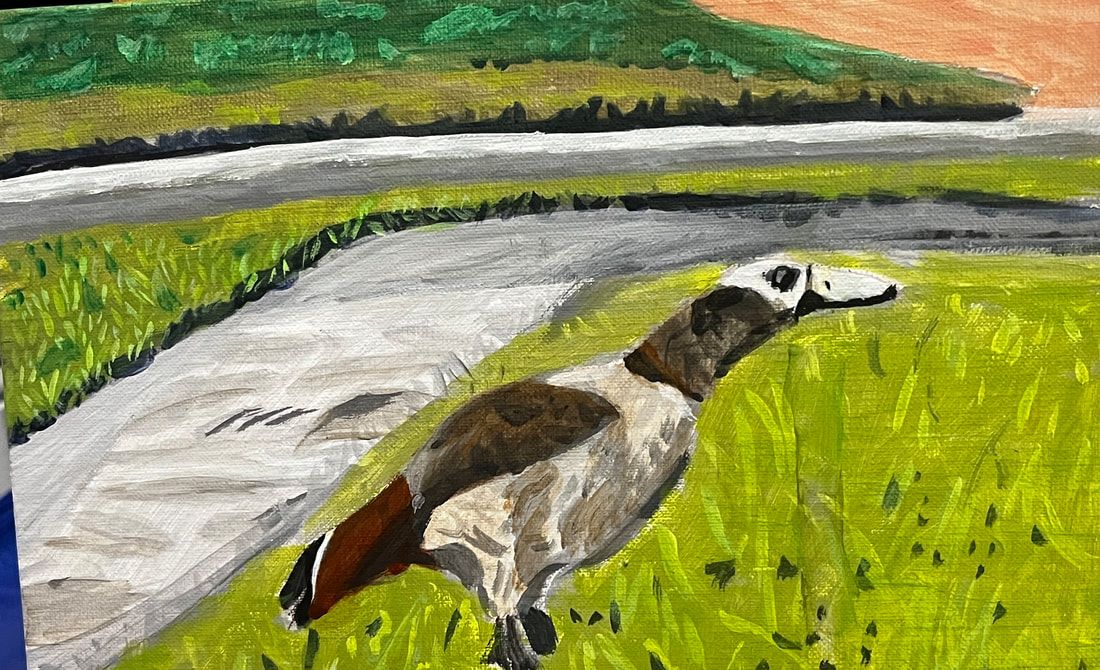 The photo includes another goose, but I chose to leave it out of the painting. When I started to make the drawing, I thought it looked better with just the one goose. Your painting doesn’t have to be an exact copy of your reference photo. Do what you think will make your painting look the best.
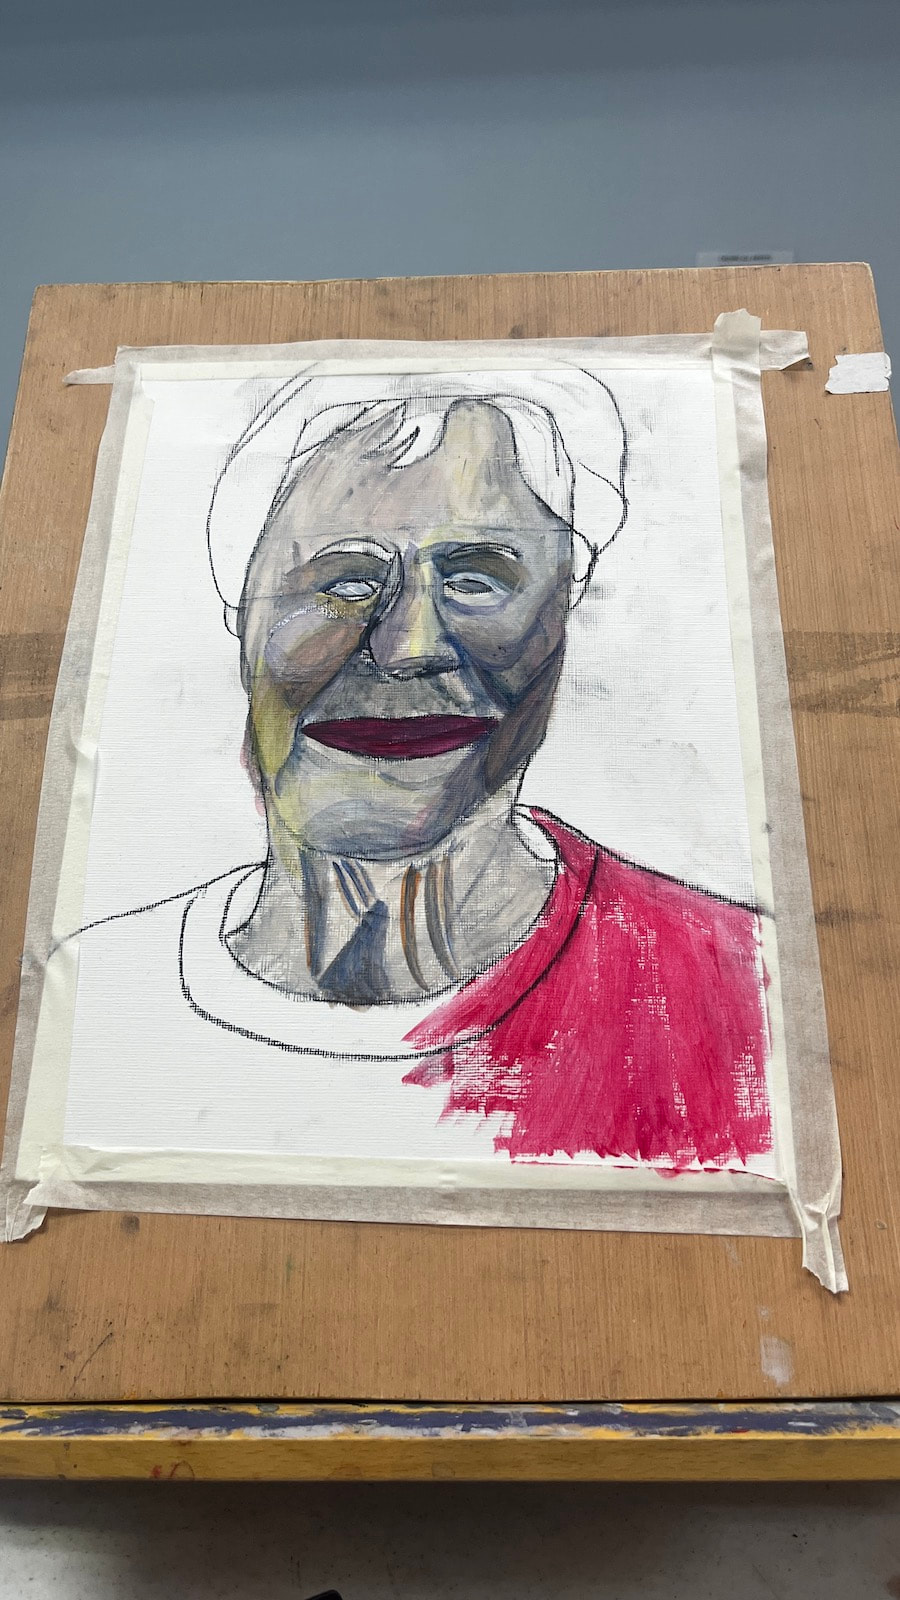
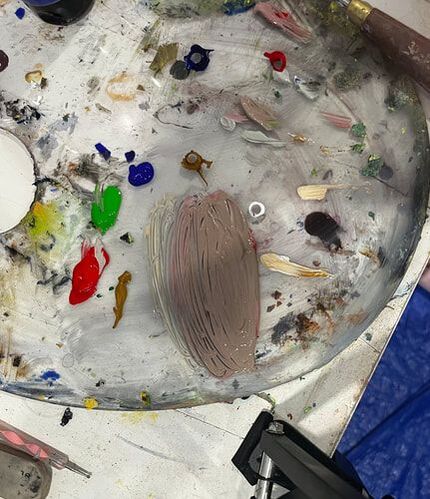
If you’re like me, you put a lot of pressure on yourself to get your color right when mixing skin tone for a portrait and, if you’re like me, you fail a lot at first. I should note that things like the type of light the person is under will affect how the color of their skin looks, so, technically, there’s no such thing as a perfect or “correct” skin color. Nevertheless, you’ll probably find that something’s look off to you. What now? Do you just throw the whole painting out and start over? Of course not. There’s always something you can do. Most art teachers, and I agree, would probably tell you to add color in slowly a little at a time because, well, you can always add more, but you can’t take the color out once it’s in there, they say. They’re right, you can’t take a color out once it’s mixed in. But you can neutralize it by mixing it with its complement. Red is an easy color to mix too much of, because it’s so strong and when that happens, I mix green in with it. I do agree with trying not to add too much in the first place, but mistakes do happen despite out best efforts. If you mix too much blue into your skin tone, the effect it can have on it is making it look gray. To counteract this, I mix a bit, just a bit, of red, to liven it back up. What if you don’t notice anything wrong until your paint is on the canvas? Don’t worry. You can still use complementary colors via glazing. If you’re looking at your reference photo or model and just can’t figure out what colors to use, I encourage you to just come up with the best approximation you can. Once you see what you’re working with, it’ll be much easier to know which of the tricks above you need to employ to improve it. You can edit a rough draft, after all, but you can’t edit something that doesn’t exist.
|
Sara MillettPainter of portraits and wildlife Archives
November 2023
Categories
All
|
