|
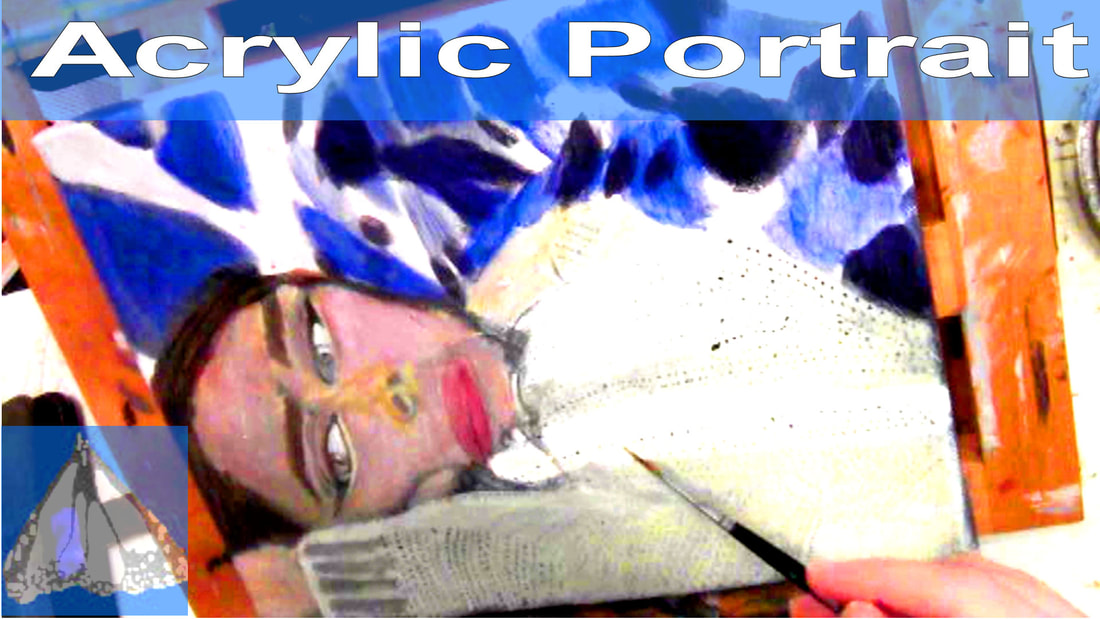
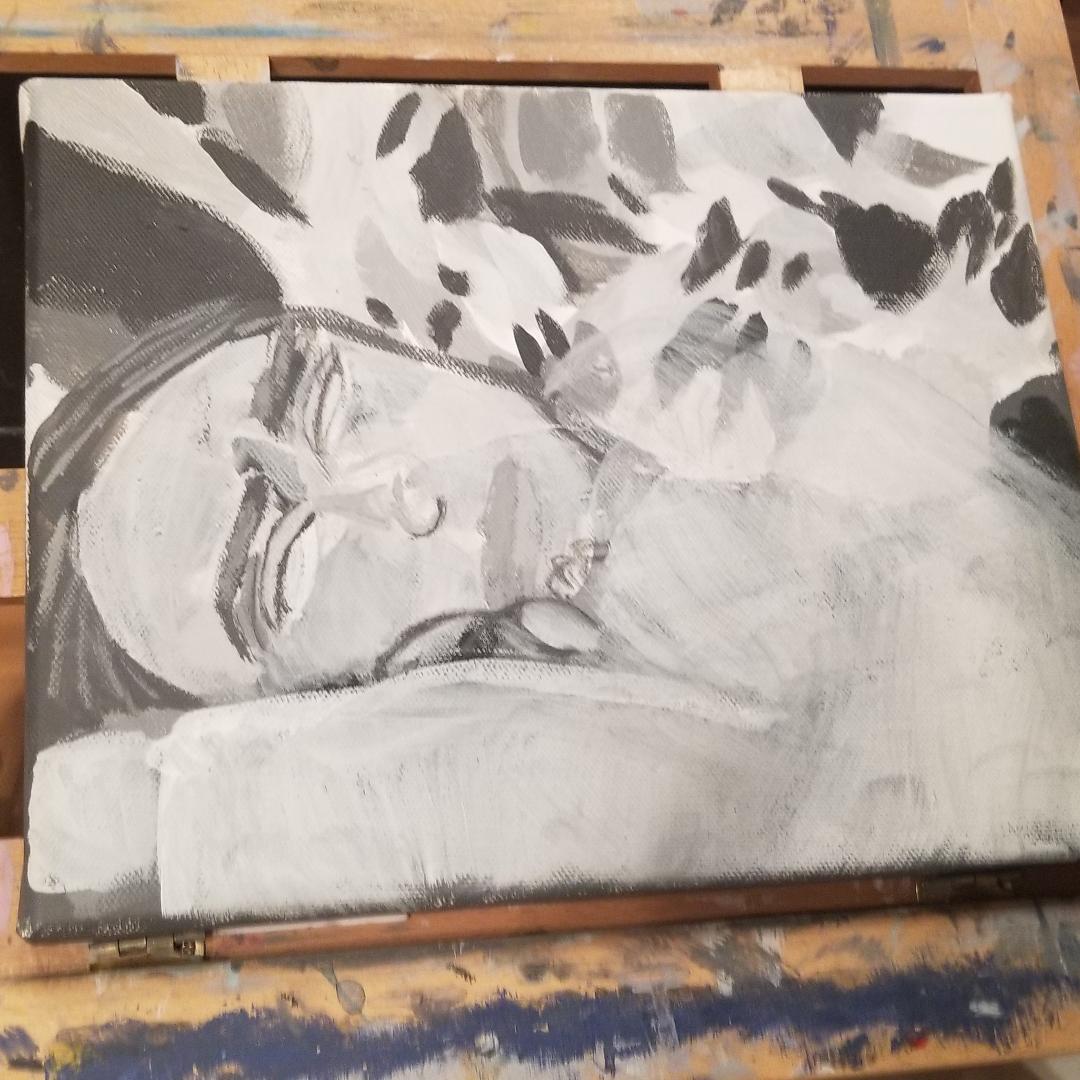
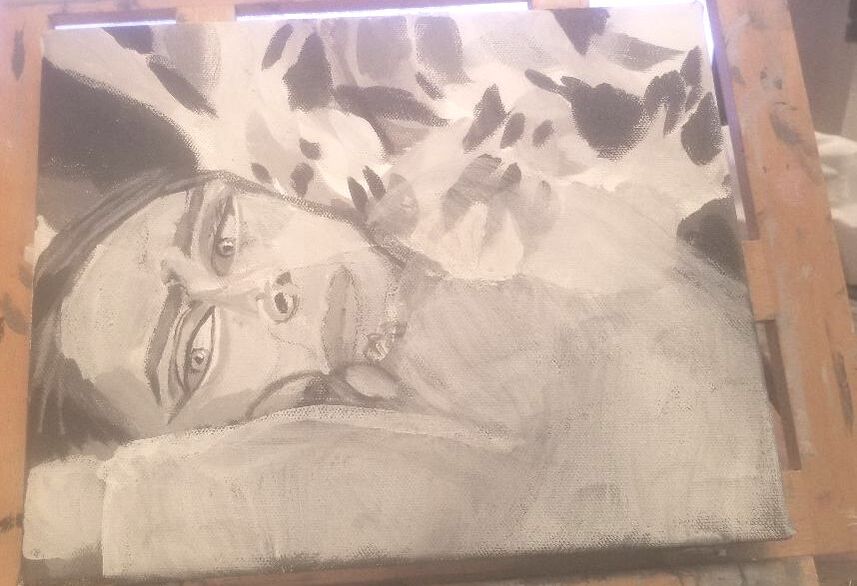
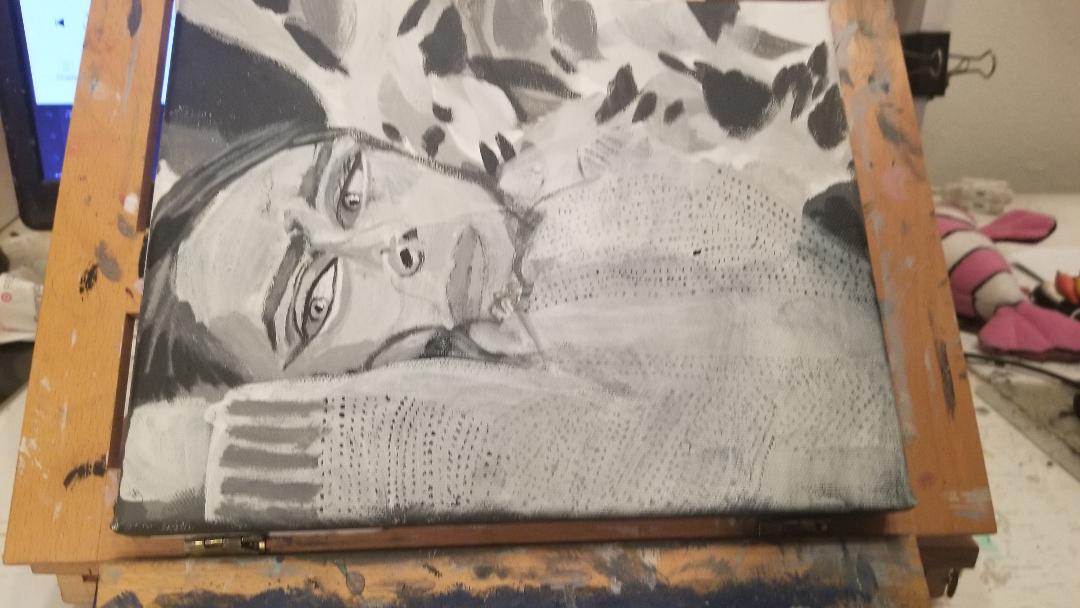
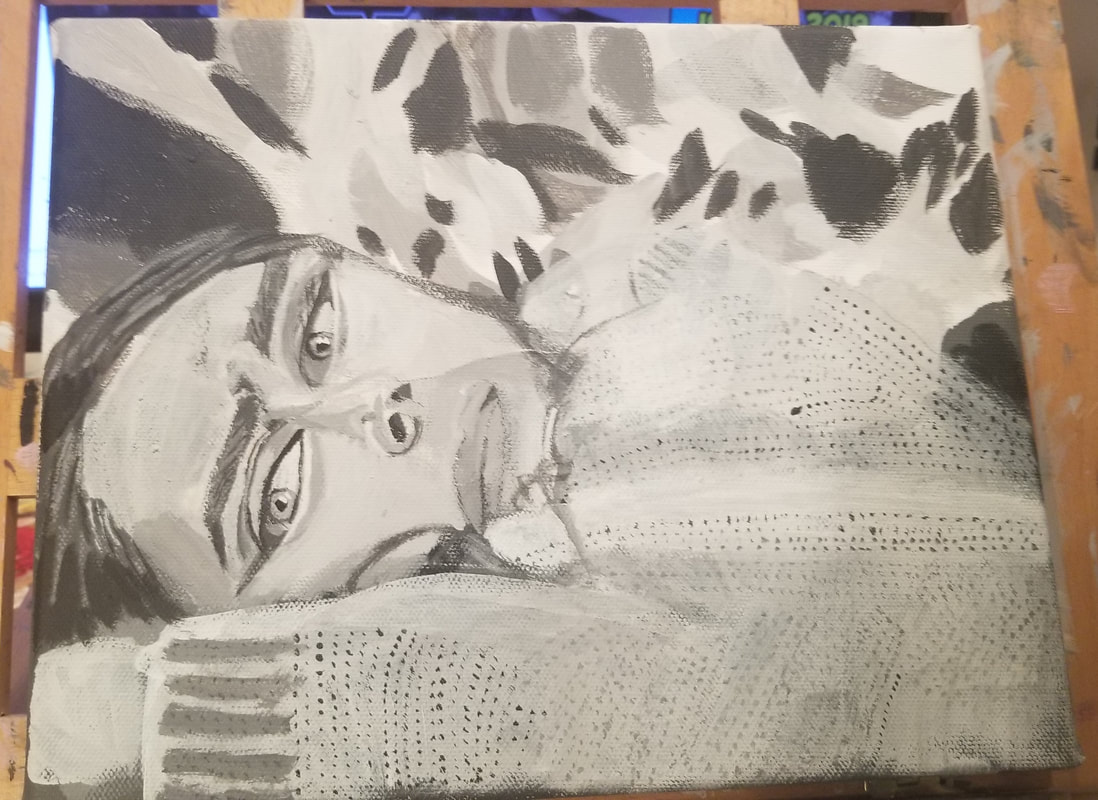
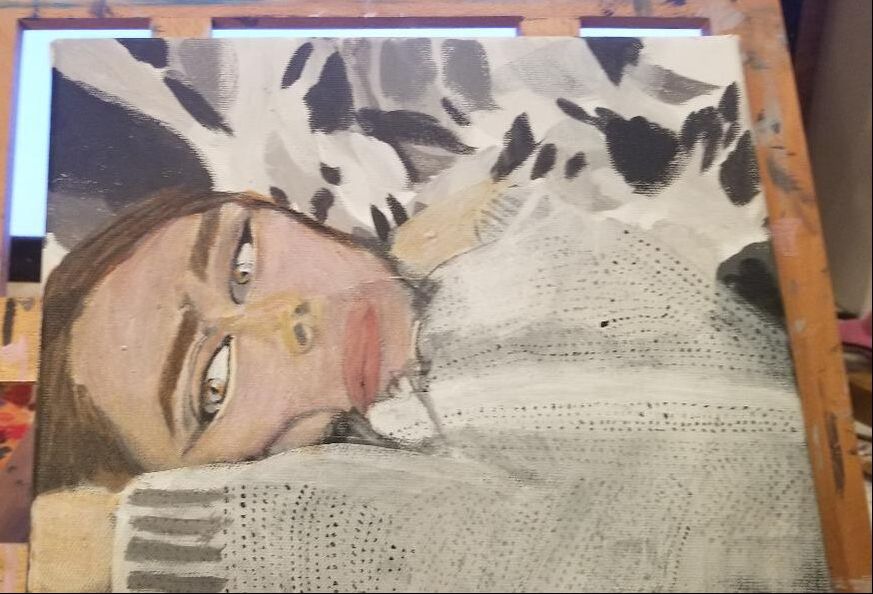
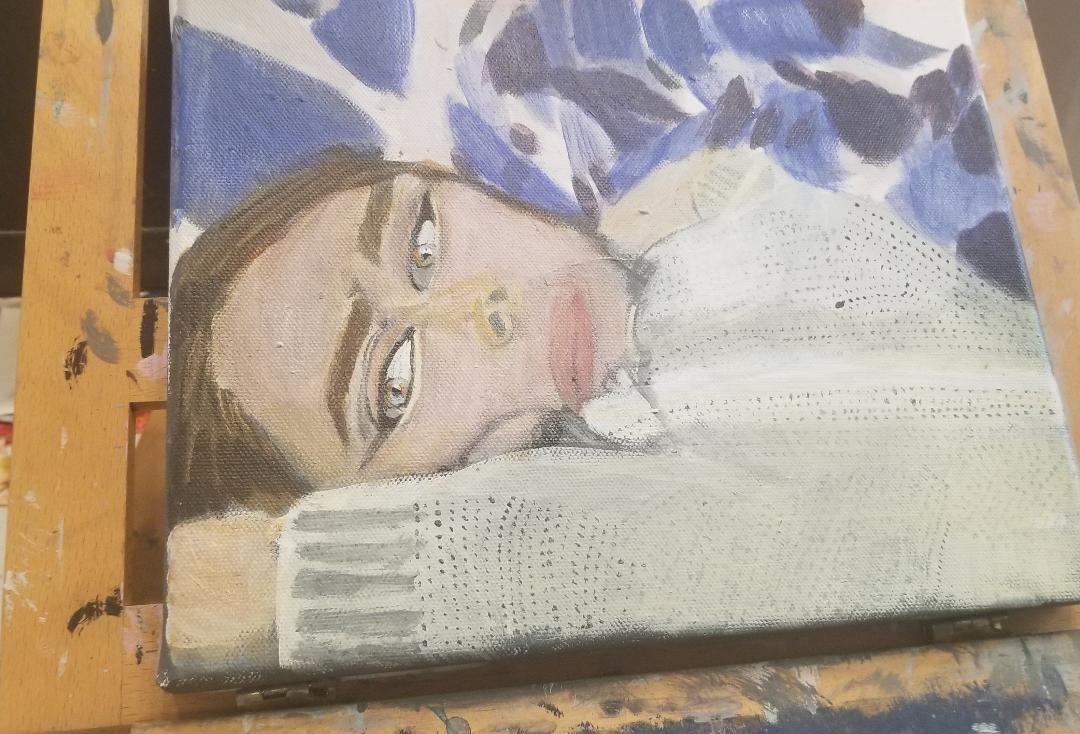
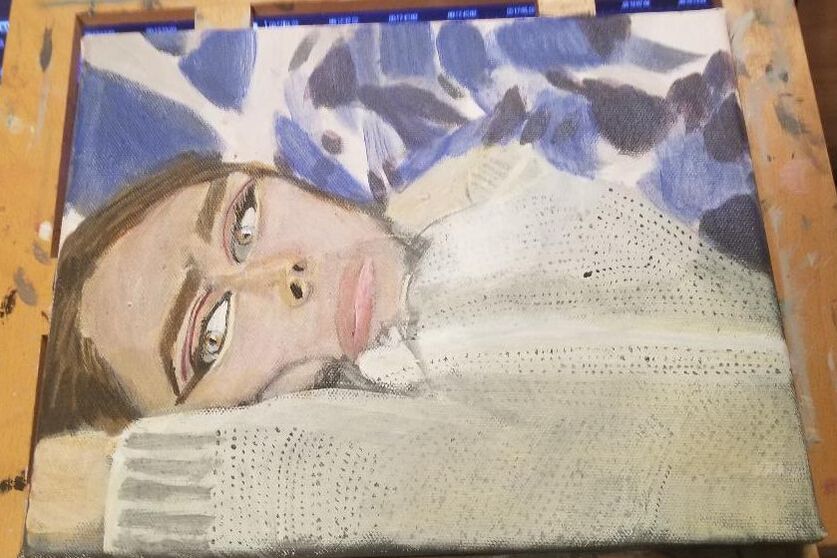
This Monday, I bought a Blue Label Ultrasmooth canvas from Fredrix. I'd heard one of my favorite artists on the internet, Lisa Clough of Lachri Fine Art rave about it many times, so when I saw that one of my go-to art stores, Artist & Craftsman was starting to stock them, I had to get myself one and try it out. I'm going to paint a girl lying down in a grassy field. This is what she's going to look like. Right now I'm getting in my values and blocking in my shapes. I've decided to paint right over her irises and I'll redraw them later to make things easier for me. I'm really happy with the way I made the shape of her eyes. That comes from me taking a liner brush and painting thin, dark lines around her eyeballs and lids, varying thickness as necessary. This is days three and four. I've gotten to what's probably one of my favorite parts of a portrait and that's painting the irises, you know that colored part of the eye. I don't feel like a face is really alive until I paint the irises. For this particular subject, I was determined to get enough contrast between the main part of the iris and the rim around it to depict the brightness and intensity I saw in my reference photo. Adding white highlights in the right place also helped. If you've read my blog before or watched my youtube videos, you might have heard me say that the white of eye is not really white. Well, I'm going to repeat myself here. You'll see that on the inner corner of her left eye and the outer corner of her right eye, I've actually painted a pretty dark shade that sharply contrasts with the rest of the corneas. I've painted highlights in her upper and lower lids and every time I add a light shade next to a dark one, I feel like it brings out that feature that much more. Sweater Texture Painting the texture of her sweater was something I wasn't looking forward to doing, because I knew it would be very repetitive and boring, but it's something I think the painting really benefited from after I was done. The way I did was to make tiny dots using the tip of my liner brush. I made these dots very close to each other in rows that were likewise, making sure to vary how light and dark they were while also making some of the dots go go in different directions other than straight across. This is all to add more realism to the piece. I added some individual hairs to her eyebrows using the tip of my liner brush. Her sweater needed some highlights. I'd painted it light gray rather than white to start with, specifically so I could use white for my highlights. I started on the color today. I first used a simple mixture of transparent mixing white and transparent raw sienna for her skin, which I wanted to be very pale. The first layer went on too light, so I knew I would have to go over it. I had other stuff I had to do before continuing, though, so I put my paint in a jar and went on with things. When I got back to painting, though, and scooped it out, it had mixed with some green that was in the jar. Long story short, my attempts to return the color to a neutral tone resulted in a color that was way too yellow. I exacerbated the issue by absentmindedly putting even more yellow on top. I finally got back on track and layered purple, mixed with yellow so it wouldn't be too strong, over her face. This gave me the neutral color I needed but now her face was way too dark. That problem was solved with a couple of layers of transparent mixing white. While I was still trying to figure out her skin, I decided to tackle her eyes for a bit. Now a major advantage to using a reference photo on a phone, rather than one that's printed, is you can enlarge the picture and zoom in on particular parts. That's what I did to figure out how to paint this woman's irises. I decided to paint them with a wash of light blue to start with. I later went through with touches of yellowish brown and muted green in the inner half of the left iris. I painted her hair and eyebrows with a wash of grayish brown. Her lips were a bit of a challenge. I thought I needed to add green into the pink but this made the mouth blend in too much with the rest of her face. It didn't stand out until I glazed over it with pure red that was thinned out of course. For the last part of today's painting session, I took the same red that I'd painted her lips with, added some green and white to it, and used that to paint her cheeks. I finally got some color on the background! I used a pale pink for my lightest shade, a slightly lightened ultramarine blue for my midtone and a dark purple for my darkest shade. I also saw that her sweater had a peachy tone to it, which I got by mixing transparent mixing white with yellow and a tiny bit of red. I'm only putting one layer on because I like the gray showing through this time and, I don't want to risk covering up all those dots, ie, texture, that I spent so much time on. Today's painting session started with the need to neutralize the shadows around her nose. The yellowness of them had been bothering me, so I glazed purple over them. After that I looked at her gray creases and wondered if I should add some color to those. It turned out, when I looked at my reference photo, I saw that they were indeed a violet color. I painted that with my liner brush. I also extended her right eyebrow, glazed some grayish brown over the wing on that eye, and gave her some eyelashes using my liner brush and some mars black. Lastly, I saw that her bottom lip needing a highlight. After a few failed attempts to create this highlight by glazing transparent mixing white over the lip, I decided to add an opaque layer by mixing transparent middle red with titanium white. I finished by glazing transparent middle red over that to darken it a bit and blend it more with the rest of her mouth.
0 Comments
|
Sara MillettPainter of portraits and wildlife Archives
November 2023
Categories
All
|
