|
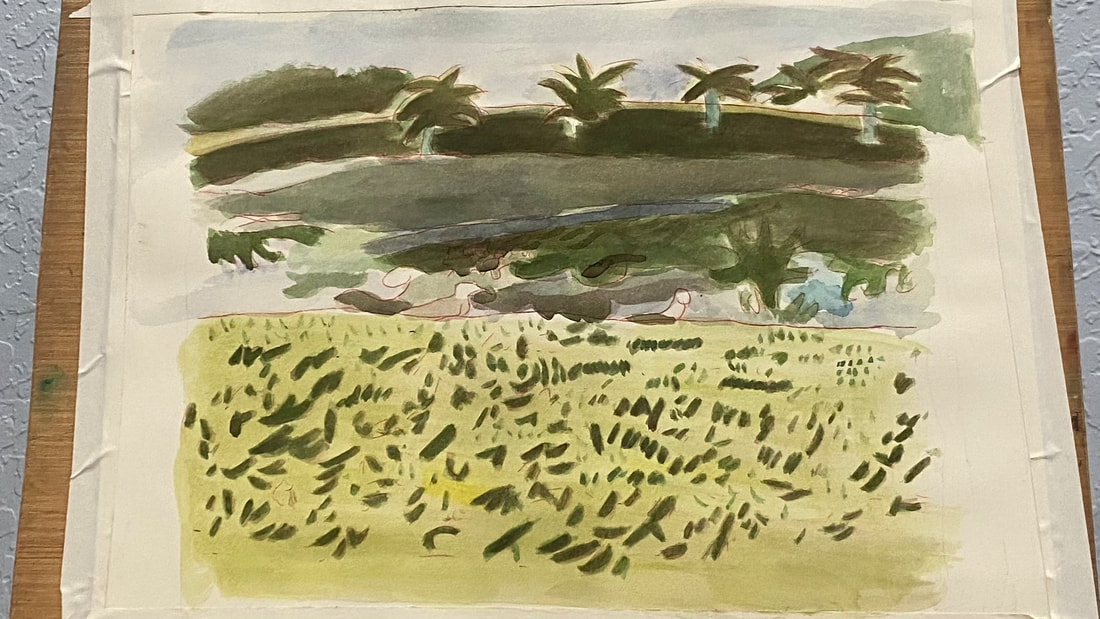
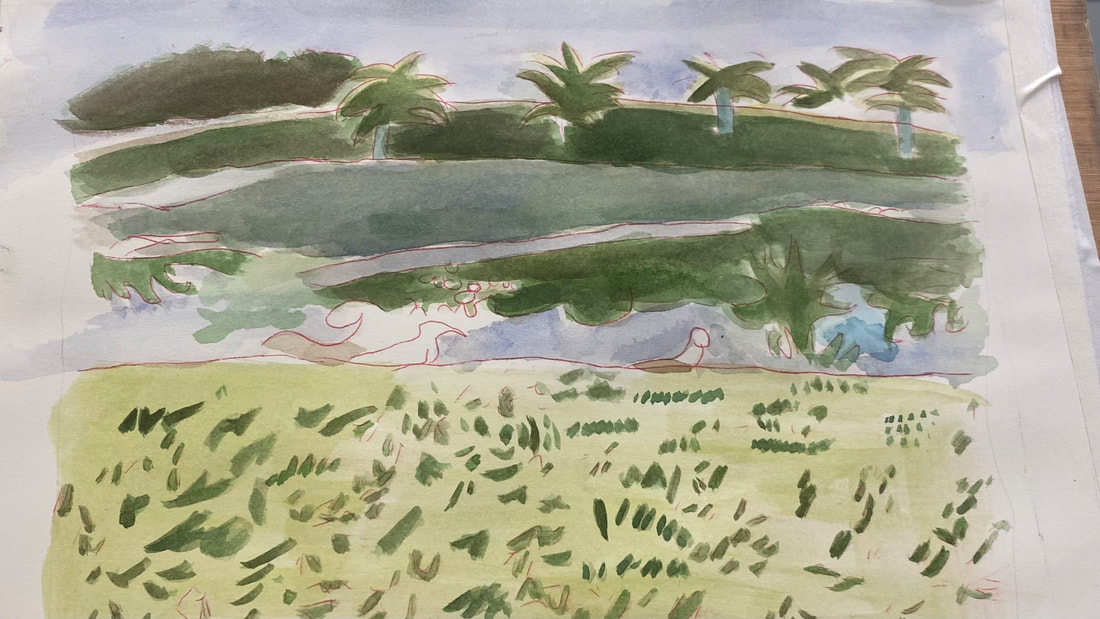
I’d been thinking about glazing red over the green of the bushes and trees to darken them and push them further away. I was scared, though because red is a very intense color and can easily overwhelm other colors that it’s mixed with or put on top of. I came up with a plan of mixing green into some red only applying a little bit of this to the paper. When I first put my red/green mixture on, I thought, already it was getting to be too much. I took a wet brush and thinned that out. I only dipped my brush back in the paint two or three times for to get the color across the entire length of the bush. The rest was pulled along with water. Layering this red/green mixture over my trees and bushes in the background helps to create the illusion that they're farther away, by making them less bright. It also makes the little bit of the light part that I leave showing more noticeable, creating the look of light hitting those parts. Day Five
Today I painted more of the red/green mixture onto the dark blades of grass and extended the reflection of the trees and bushes into the water.
0 Comments
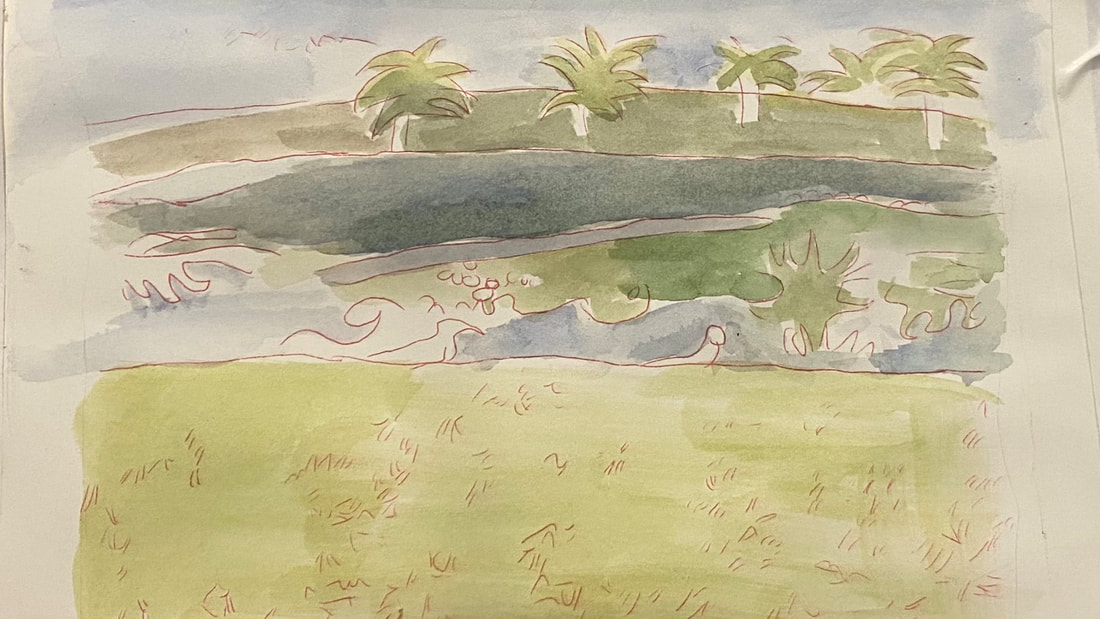
Day One I’m experimenting with my French ultramarine from Winsor & Newton. I was a bit alarmed by how dark it looked coming out of the tube. I knew I would have to wet my paper to lighten it. As you can see, thanks to this water and the water in my brush, my blue came out nice and pale. I made sure to mix some orange with the blue too. I'm using a mix of cool blue-greens and warm yellow-greens for the grass, buses and trees, adding more yellow or blue to the same mixture that was on my pallet, depending on what I needed. I painted the palm trees with a layer of very light yellow green and later when that was dry, I painted my darker color, letting the original layer show where it needed to. Where I left the yellow green showing is of course where the sun is hitting the trees. Day Two I’m concerned with working on creating as much contrast between the shadowy parts of the bushes and trees and the parts where the light is hitting. To achieve this, I’ve been mixing red into green to darken and mute it and applying layer after layer of this onto the parts of my trees and bushes that are in shadow. I’m using this same mixture for my blades of grass, which I'm making a warmer color overall because it's closer to the viewer. By making the buses and trees duller and darker, I'm pushing them further back.
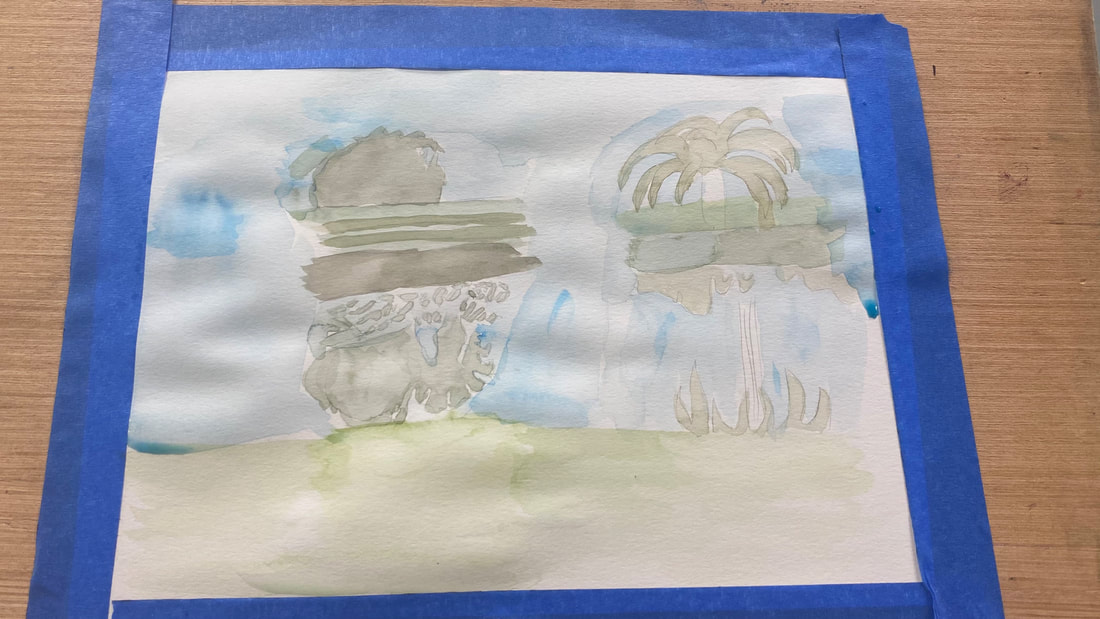
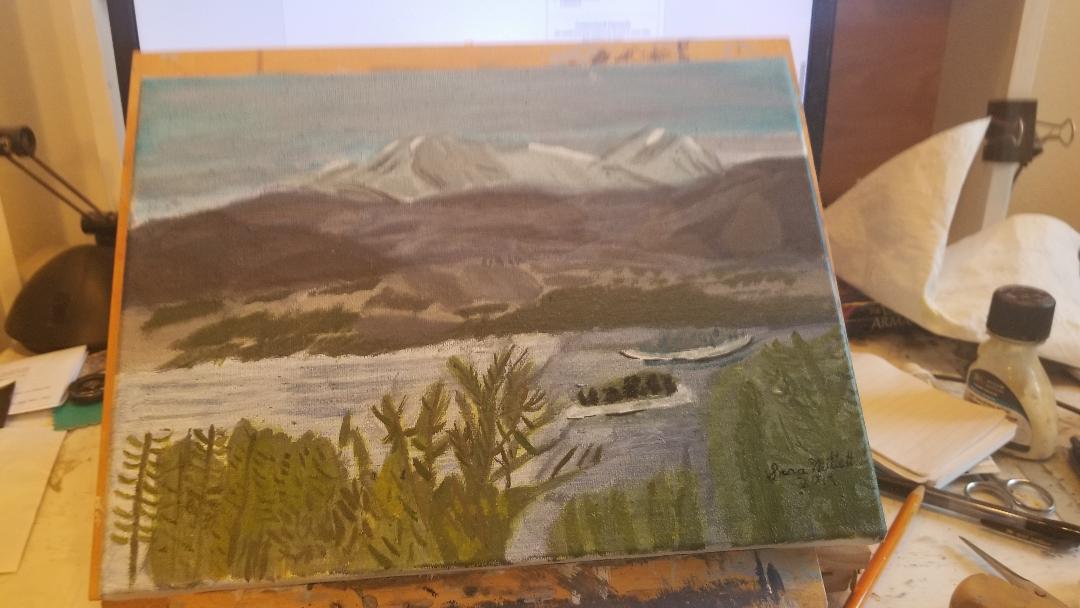
I’m feeling intimidated by the painting I want to do next. That’s why I’m easing into it by doing practice, or what you might call, thumbnail, pieces. A couple weeks ago I wrote about practicing doing a smooth wash. This last Thursday, I made two small sketches of bushes and trees reflected in water on paper from a mixed media pad. Making these trial paintings gives me more confidence that I can do the real thing. You can just jump into a painting. I do that a lot. But taking baby steps can take enough of the fear out doing a difficult piece for you to actually have the confidence to do it. I like doing pieces that scare me and I encourage you to do pieces that scare you, because those are the pieces that really help you grow. One of those pieces for me was this one, since I'd never done a landscape before. I’ve had a habit, for quite a while of drawing my subject onto a piece of scratch paper before starting my actual piece. This is so I have something to transfer onto my canvases, but it also is a sort of dress rehearsal. I give myself practice drawing those lines without putting pressure on myself. Making these practice sketches also helps you stay in the habit of painting or drawing, which improves your skill and confidence.
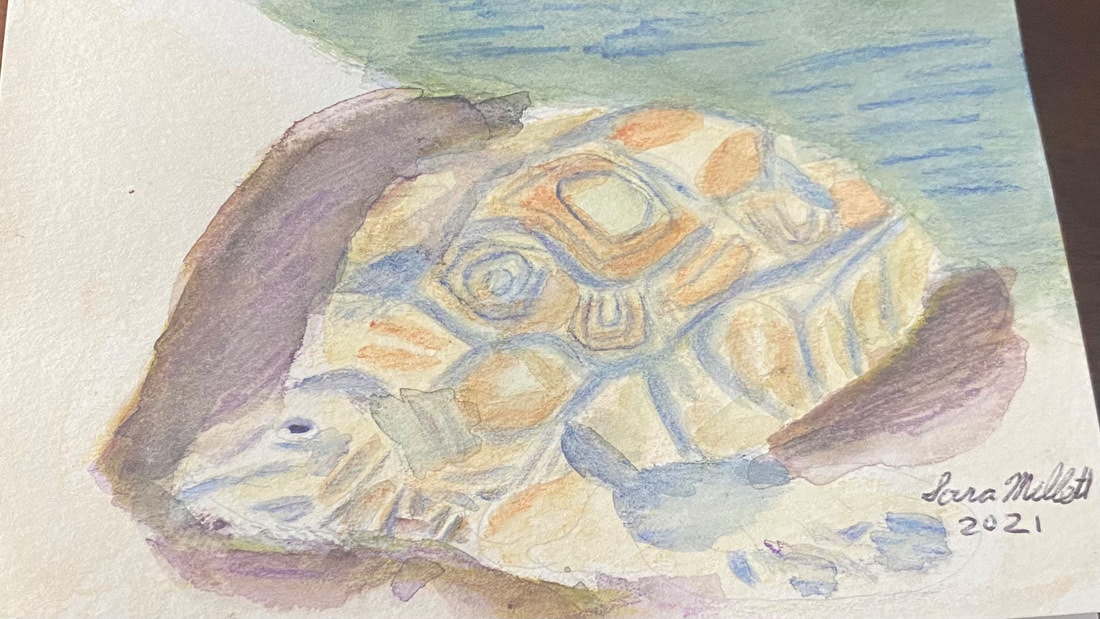
When I started on this painting, which is for my mom’s birthday card, and I looked at the rocks the turtle was coming out of in the reference photo, I thought, what if that was the ocean. My mom loves the ocean, so I chose to paint the rocks to look like the waves were washing up on the shore and the turtle was crawling out of them. I’m using my set of Kimberly watercolor pencils. I don’t have a lot of colors, so I have to rely on layering to get the colors I need. Putting green on top of blue was how I colored made my sea. I saw a couple of times that I needed to add more layers of blue after my paper had dried. I used a tan shade all over for the turtle and blue for the edging around his scales. I painted my tan layer, waited for it to try, then shaded in my blue, then blended that with water, and waited for it to try. If I’d shaded in the tan, then the blue, and blended them all at once, the colors would’ve all run together and the the blue needed to be in a distinct pattern. I wanted the turtle to look as three dimensional as possible, so I drew a purple shadow around him. Layering yellow and black over this shadow helped to get it just right. This time, I started layering colors while my paper was still wet. This was to intensify the shades and make them blend more thoroughly. I added more layers to the blue on the turtle’s shell sections to give them more oomph. The shell sections had a darker brown pattern on them, so I used my terra cotta pencil. Adding extra layers to reinforce certain shades adds a lot to my painting, even if it doesn’t necessarily look like that in the reference photo. If you’re looking at your piece and thinking, should I add more color here, should I make this darker, go for it. I could see that there were some pencil marks on my ocean that didn't seem to want to blend out. Rather than fight these, I chose to make them work for me by turning them into ripples, ie, I emphasized them. I shaded some small “triangles” around the turtle’s neck. The negative space between them created a pattern of wrinkles.
|
Sara MillettPainter of portraits and wildlife Archives
November 2023
Categories
All
|
