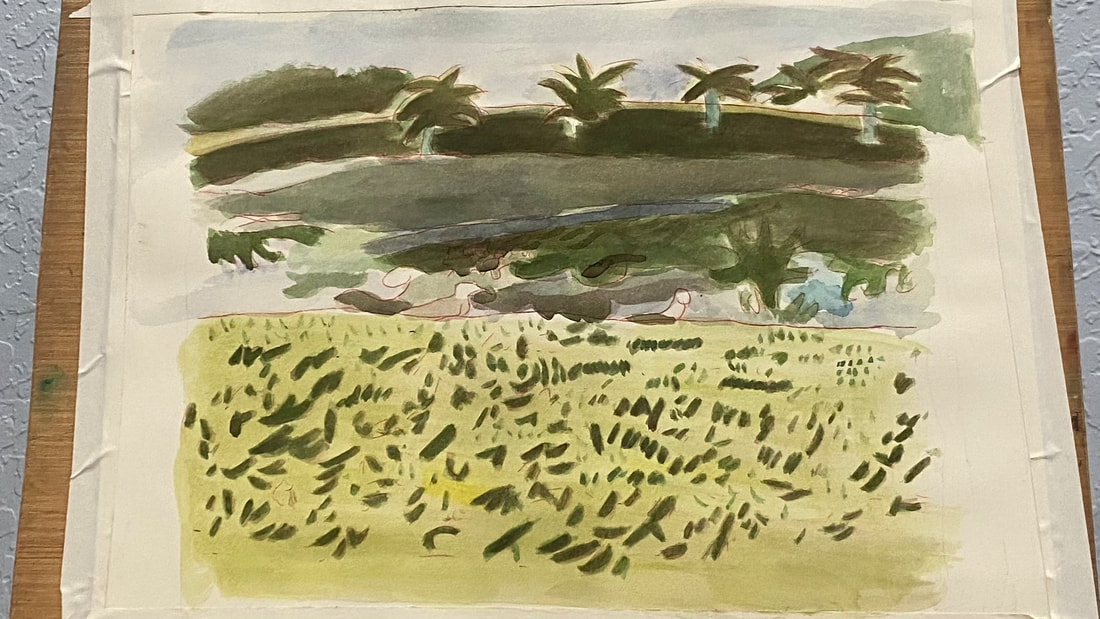
 I’d been thinking about glazing red over the green of the bushes and trees to darken them and push them further away. I was scared, though because red is a very intense color and can easily overwhelm other colors that it’s mixed with or put on top of. I came up with a plan of mixing green into some red only applying a little bit of this to the paper. When I first put my red/green mixture on, I thought, already it was getting to be too much. I took a wet brush and thinned that out. I only dipped my brush back in the paint two or three times for to get the color across the entire length of the bush. The rest was pulled along with water. Layering this red/green mixture over my trees and bushes in the background helps to create the illusion that they're farther away, by making them less bright. It also makes the little bit of the light part that I leave showing more noticeable, creating the look of light hitting those parts. Day Five
Today I painted more of the red/green mixture onto the dark blades of grass and extended the reflection of the trees and bushes into the water.
0 Comments
The painting I want to do next requires me to do a smooth wash. I recently practiced this in watercolor. When I was almost finished, I accidentally dropped a big bead of water on the paper and I got a bloom. Now I understand that blooms happen when I get too much water in one area and to avoid them, I need to keep my water even. I wouldn’t have noticed this if I’d been working on a full project. When I'm also focused on all the elements of a piece, there's no way I'm going to see that that unsightly edge was the result of more water being in that part of the paper than the rest. But since all I was focused on were the strokes for this wash, I clearly saw that bead drop and create that bloom. Stripping back to the basics adds clarity 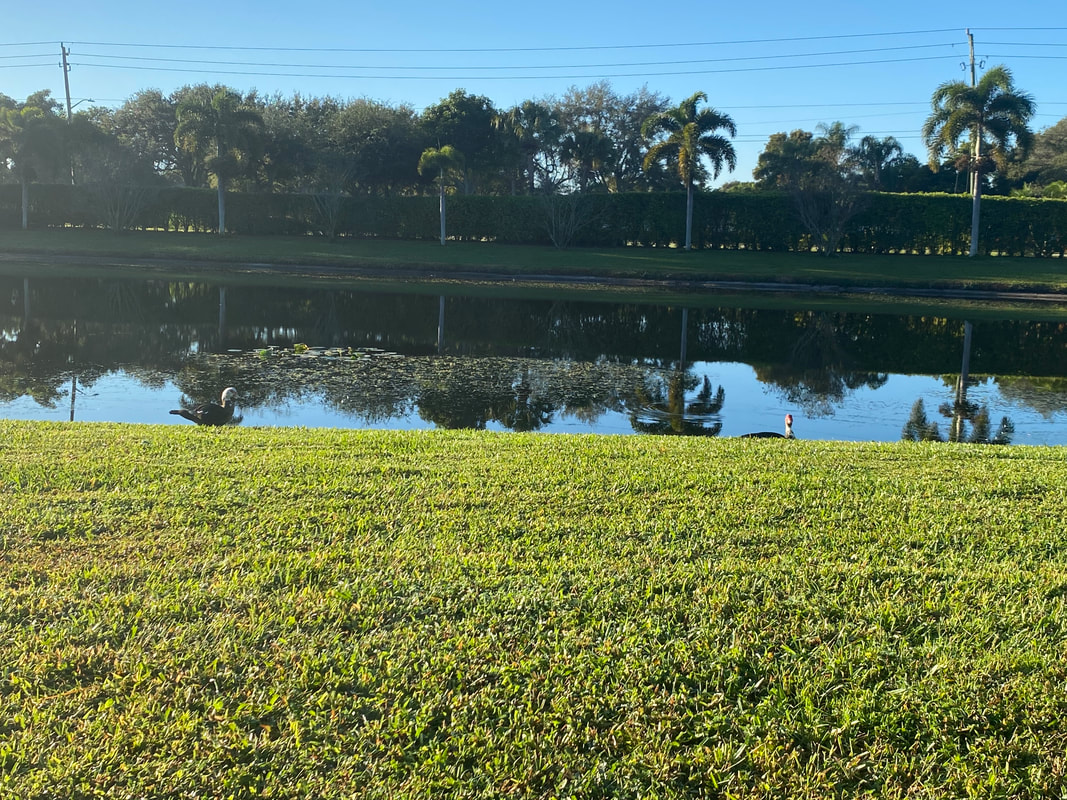 This is the painting I want to do, by the way. You can see why the wash has to be so smooth. ;) Also, don't touch your paper while it's wet.
 I’m learning things about painting clouds in watercolor while working on my current painting. At first, I just followed what I saw in my reference photo as best I could. After I put down a few shapes, though, I wasn’t happy with my results. My edges were too harsh. I tried wiggling my brush back and forth, thinking this would help me get the soft edges I was looking for. It helped, but it wasn’t enough. Then I thought to myself, you know, this is probably the perfect time to use wet on wet. Wet on wet is for when you need soft edges, which of course, is what I needed here. I thinly wetted the area I was going to paint and when I did, boy did I love the results. The paint was a little runny, but those soft, almost smokey edges seemed to almost create themselves. It takes a lot longer to build up your darkest darks using this method, but it’s worth it, as I’m finding. Note: After I've built up a few layers, I find that I can start using wet on dry again for the darkest shadows. Here's an updated picture. 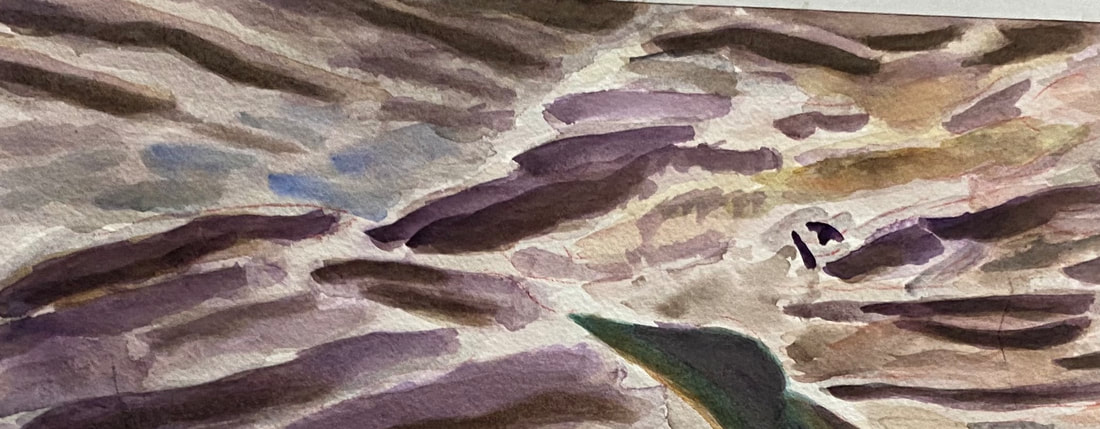 In Other news Mixing with Alizarin Crimson I found out that alizarin crimson makes a beautiful orange when mixed with cadmium yellow and a gorgeous purple and violet when mixed with cobalt blue. I found this out while experimenting with these colors in my mixed media art book in the 2nd craft studio of my community’s clubhouse, a room my family has unofficially dubbed the art room. 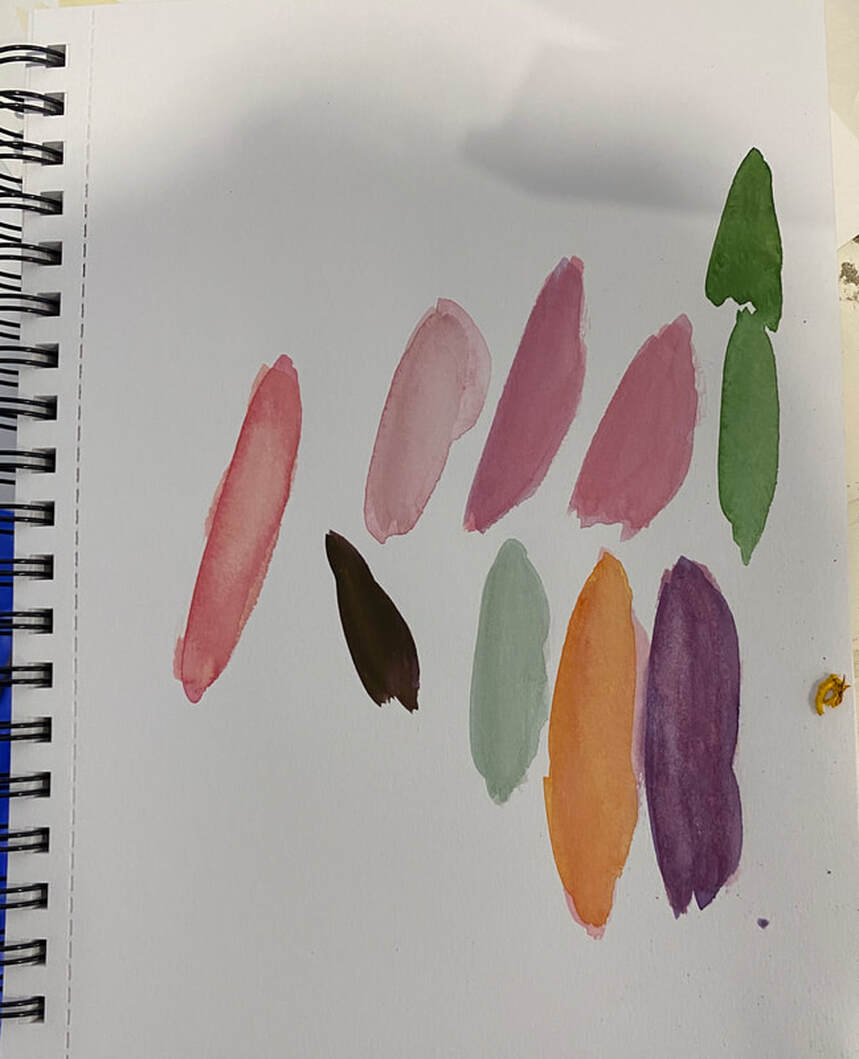 Changing My Mind About The Bird In My Painting My goal for my bird in my painting has changed. You may remember me saying I wanted him to be stark black. Well, having seen how it’s coming along, I’m starting to think a more iridescent effect would be cool. I’m doing this by increasing the warmth of the purple and the coolness of the green, because it’s that contrast that’s going to give me shimmer. Also, because the essence of iridescence means that an object reflects the colors of the other objects around it, I’m bringing some of the orange of the pumpkin into the bird.   Jul 14 On Monday, Tuesday, and Thursday of this week, I’ve been taking a virtual workshop in painting animals in watercolor and I’d like to tell you a bit about what I’m learning. The class is taught by an artist named Alicia Farris. Lesson number one: Don’t use so much water I have the habit of relying on using tons of water to lighten a color. After all, it’s called watercolor, right? But in this workshop, I’ve learned to use proportionally less paint if I want my color to be lighter. In this way, I don’t have to use so much water and I have more control over my colors. I also don’t get that dreaded dark ring around lighter color that happens from there being too much water on the paper and the paint migrating toward the edges. Lesson number two: It’s better to build up dark colors by layering on the paper itself than by trying to mix them on the palette This is something I’d kind of already observed in my own work, but now I know not to be frustrated if a color doesn’t seem to mixing as dark as I want it. Lesson number three: I can use more than one complementary colors I’ve known about complementary colors and how they work together for a long time, but I’d been stuck on exact combination; ie, red and green, blue and orange, and yellow and purple. In this workshop I’m learning that I can use other color combinations to achieve the effect of combining complementary colors, as long as my color combination includes a warm and a cool color. For example, in working on my cow, I used burnt Sienna and raw Sienna to mute ultramarine and cerulean blue. Don’t layer two primary colors, though, unless you’re trying to make a secondary color, ie, don’t layer blue and yellow, if you don’t want green. Warm your blue with orange or maybe burnt Sienna. Lesson number three: Combining analogous colors creates a more vibrant color Like complementary colors, I knew what analogous colors were before I took this workshop. I had never thought about their potential to brighten other colors, though. I realize now that I’ve been using this principal, subconsciously in one of my favorite color combinations, cerulean blue with ultramarine blue. You can hear more about how I use this combination and why I love it here. Lesson number four: Think of each segment of the piece as it’s own entity This is another concept I already knew, but probably needed to be reminded of. This means just focusing on the area you’re painting and, for the time being, ignoring the rest of the image. You see, I’ve known this is tremendously helpful for a long time. I’ve even talked about it on my YouTube channel. But I still fall into the trap of trying to figure out how I’m going to paint an entire piece at once and getting overwhelmed. This obviously makes painting more stressful than it needs to be. Jul 14 Today we had the day off from the class, but Alicia was kind enough to hold a q&a to give us an opportunity to ask questions. I wasn’t sure if I was going to participate, but since I was sitting at my computer anyway while it was going on, I decided to pop on the q&a, even if it was just to listen to other people’s questions. I got some tips on mixing black and how to avoid blooms. The first one involves mixing ultramarine and burnt Sienna. I can use green to intensify or red to warm. The second one requires waiting until my previous layer is at least semi dry before adding more paint on top of it. During final hour of the broadcast, Alicia did a demonstration of on using negative painting to depict trees and I worked on my crow with pumpkins and storm clouds painting. I tried to keep what I learned about water in mind. 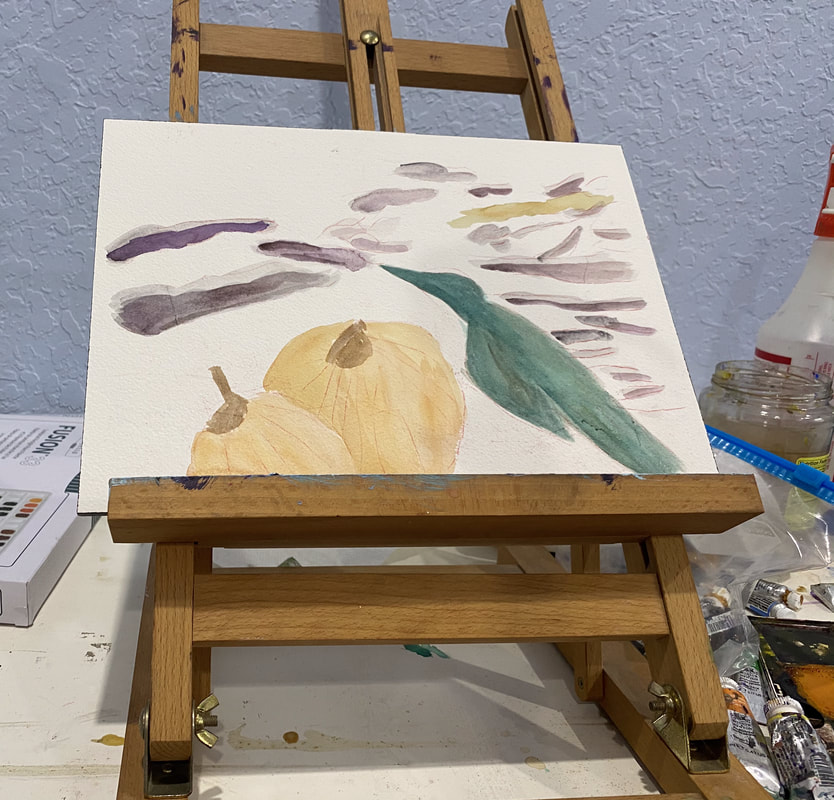 Jul 15 Today was the last day of the class. We added some finishing touches to our cows and spent most of the class working on our dogs. I touched on this in my comments on lesson number three, but this time I was more conscientious of how the color I was putting down was going to effect what was underneath it. I had some blue in my dog and while I wanted to soften the blue, I didn’t want it to turn green, so instead of using yellow, I used raw Sienna instead. Ways This Workshop Inspired Me After taking this workshop, I want to practice negative painting more. I also want to do a series of painting dog’s eyes in watercolor, like the one's I did in acrylic. I think this workshop is going to change the way I think about the painting process going forward. I’ve always incorporated warm and cool tones into every painting, but I now I think I’m going to have it my head as I’m painting what temperature the color I’m putting down is. In my current project, the bird is green, which is a cool color and the pumpkins are orange, which is warm obviously. When I work on it again, I’m going to be thinking about if I want to put any warm tones over the bird and any cool tones over the pumpkins. If you're reading this at the time of posting, Ms Farris is holding this same workshop again in September. Like the other workshop, this one will also be virtual, through Zoom. I can't guarantee that spots will be available by the time you read this, but I thought I'd share the link, just in case.
 I'm painting a bird called an anhinga, which I must say, has a very interesting wingshape. In this post, I want to write a little bit part of my process of painting separating the feathers of those wings. As I was getting near the end of painting the anhinga, the wings were still bothering me. I knew I needed more separation between the feathers. I could not get by with just the pencil lines. My first thought was to add shadows, but that wasn’t right. The wings weren’t separate by shadows, but by highlights. I couldn’t make the edges of my feathers any lighter, though, so I made the other sides of them darker. That way the edges would look lighter by default. Here's what the anhinga's wings looked like before I added the darker shade to them. 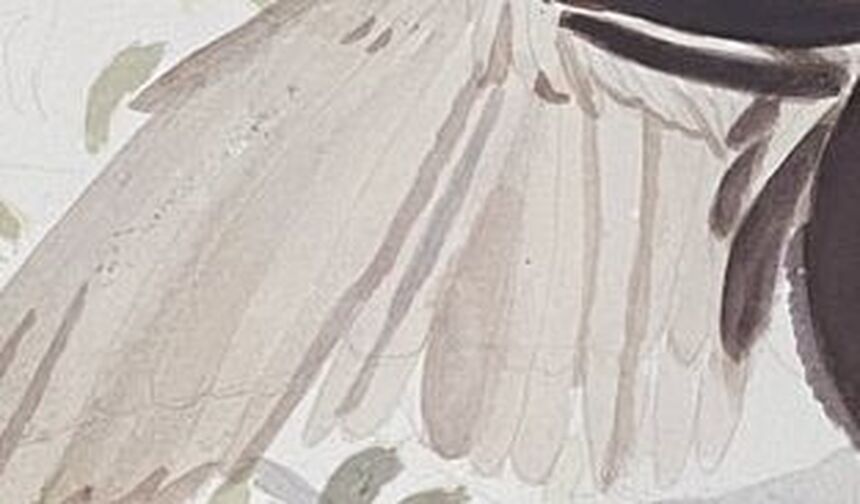 You can see what they looked like after in the pic at the top of this post. I used a small brush and one fluid motion for each wing. If I’d stopped and started, my edges would’ve been ragged. I couldn’t have that, since these the shapes of these highlights determine the shapes of the feathers, which needed to be straight. As soon as I put my first stroke down, I could see the wings coming to life. It was like depth was being infused into them. To think I almost skipped this because I was lazy. A way I could’ve made it better would be to have a more consistent amount of water in my brush throughout the project. There were times when I had more water in my brush than at others and this caused the paint to pool in those areas, so it wasn’t as even as I would’ve liked. The hardest part was getting super close to the edge, while still leaving that little sliver. By the way, here's the full painting, so far,  and the reference photo. 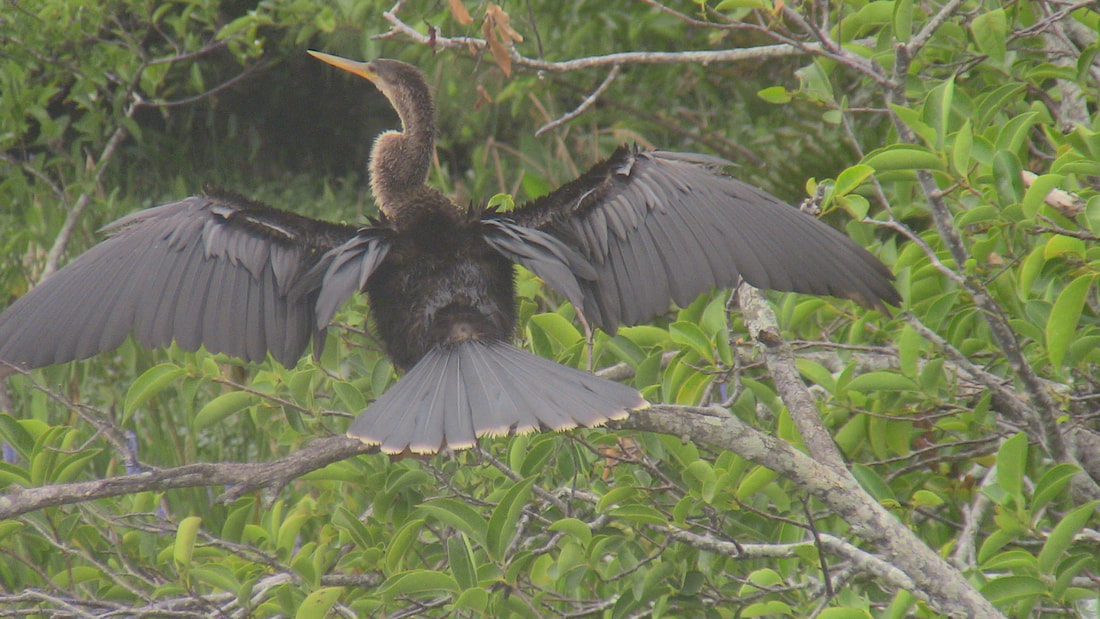 If you've found this post through google, I'd love it if you'd consider signing up for my email list. That way, you can get all my future posts sent straight to your inbox.
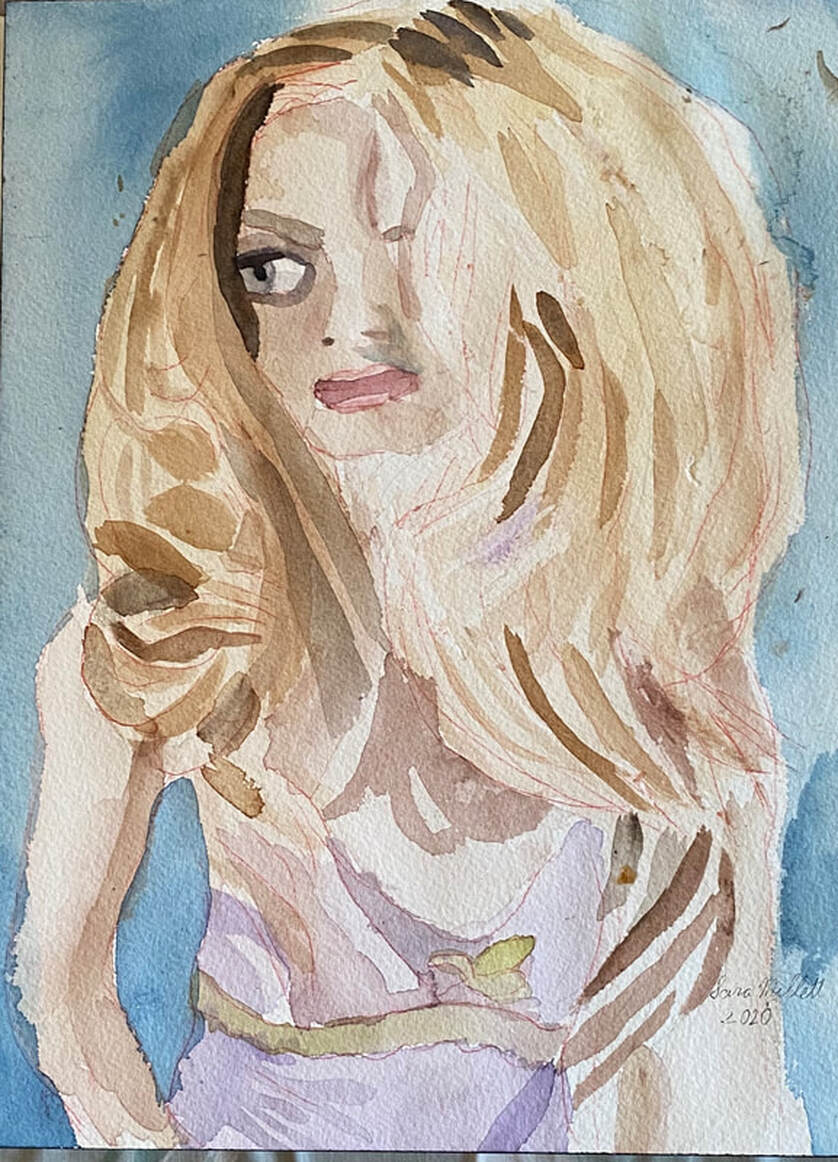 I chose a peachy color for her skin tone. Note to self: Stop trying to mix skin tone with colors already in the palette. It just creates frustration. Start fresh. Anyway, I mixed yellow, purple, red, and green, using quite a bit more of the yellow and purple than the red and green. The purple and green were there to tone down the yellow and red and keep the overall tone more natural. For the shadow on the right side of her face, I mixed a teensy bit more red into my base color because I saw it needed a bit of rosiness. 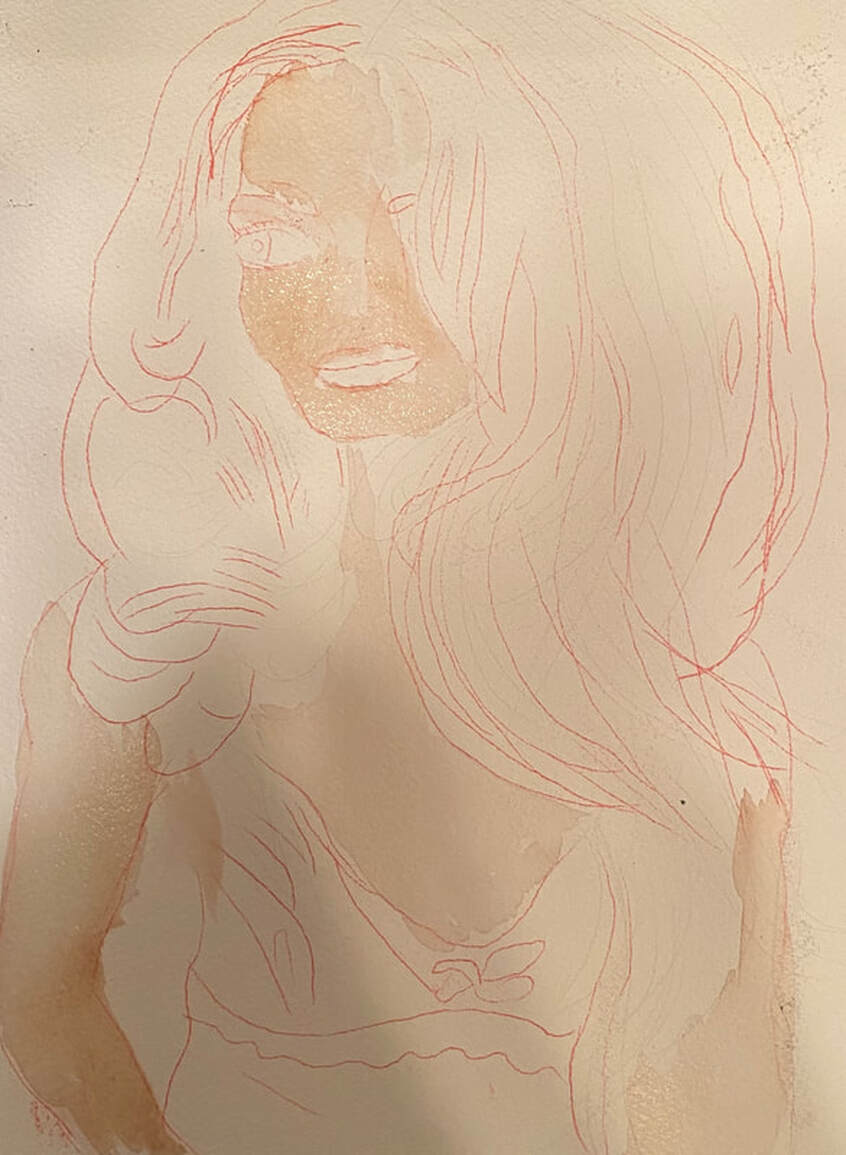 For her hair, I did not use straight yellow. Instead, I used mostly yellow ochre and mixed that with a tiny bit of yellow. After laying down strategically placed masking fluid, I painted on my base layer for the hair using wet on wet and my flat brush. 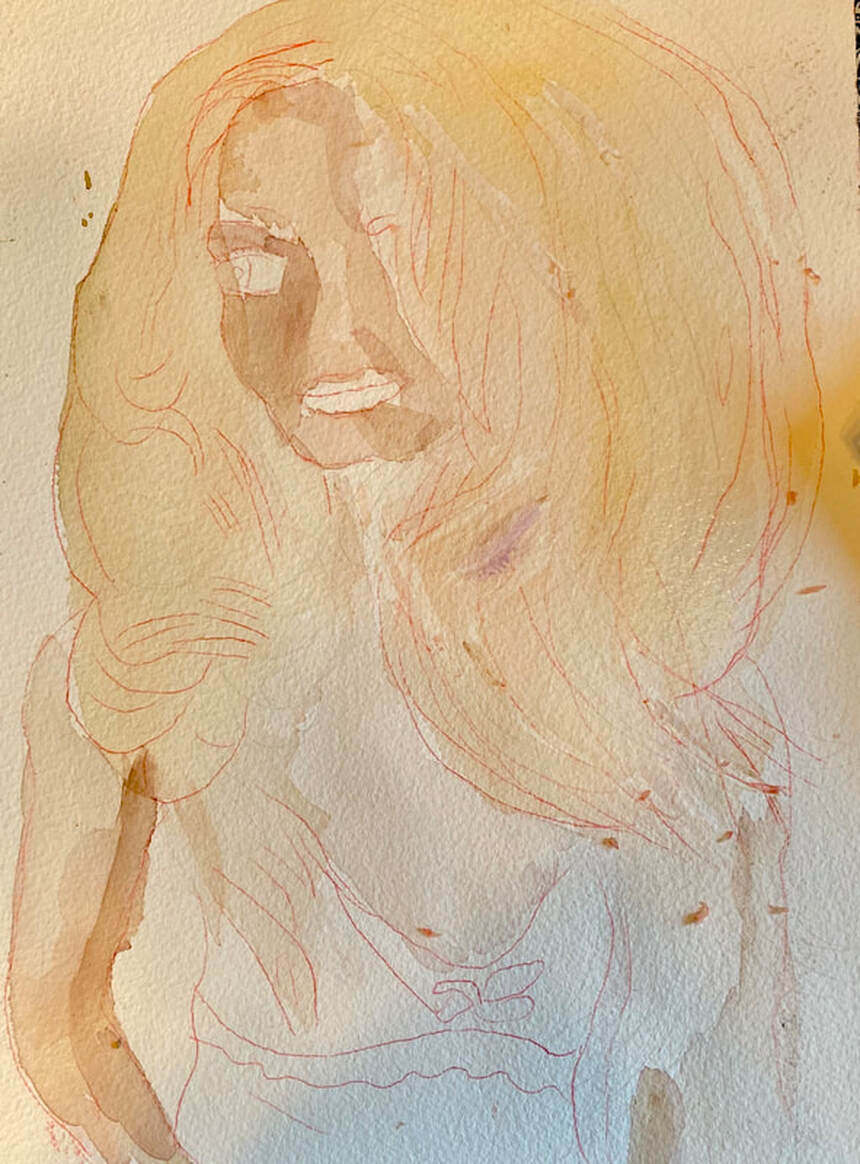 For the darker tones in her hair I added brown to my base color. Starting today, I'm experimenting with putting a thin layer of water down, and I emphasize the word thin, on just the part where I want my paint to go. This is to help ensure that my edges will be soft and even, but that the paint won't go all over the place. I used this method for her the shading on her hair and for the darkest parts of her mouth. Speaking of her mouth, I filled in with the lightest color first, then painting a darker red around that, allowing the base color to show through as a highlight. This helps to give her mouth the shine it's meant to have. 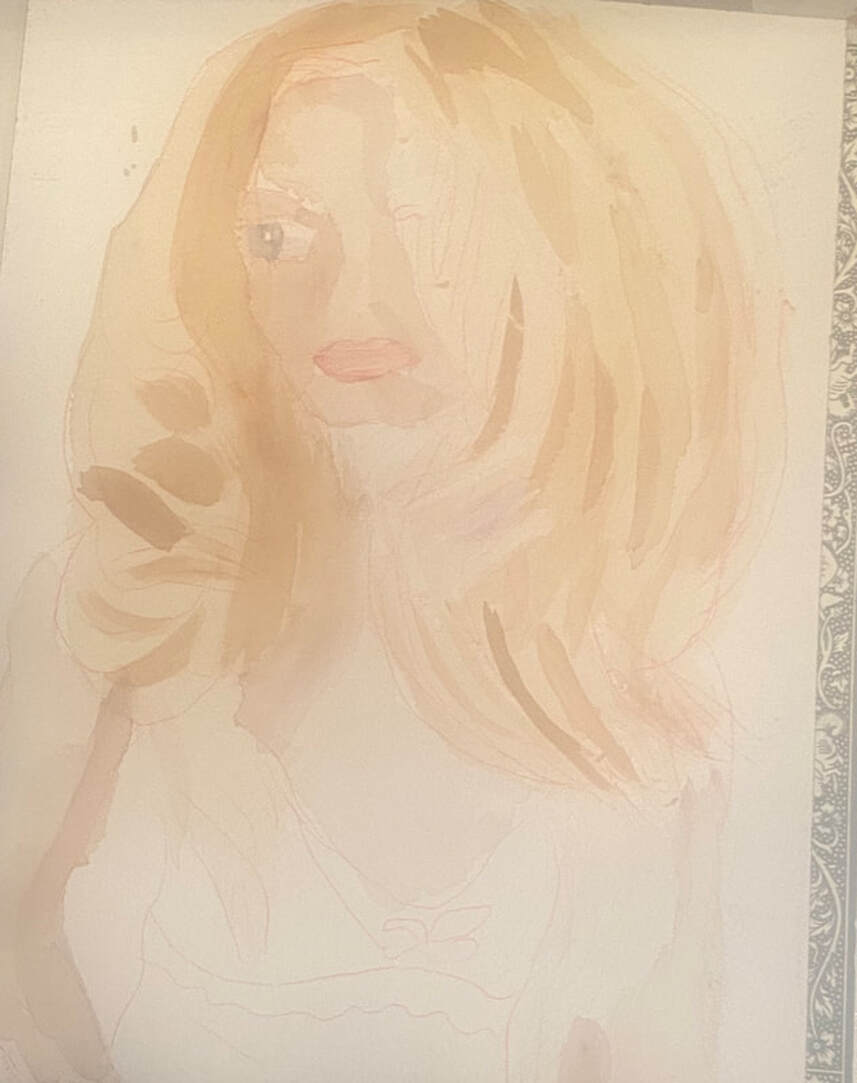 Today I decided it was time to start painting her cami, starting with a light purple. I also added some black to my base color for her hair and painted more shadows. I thought her mouth needed more contrast to bring out it's shine, so I made the darker shadows even darker. 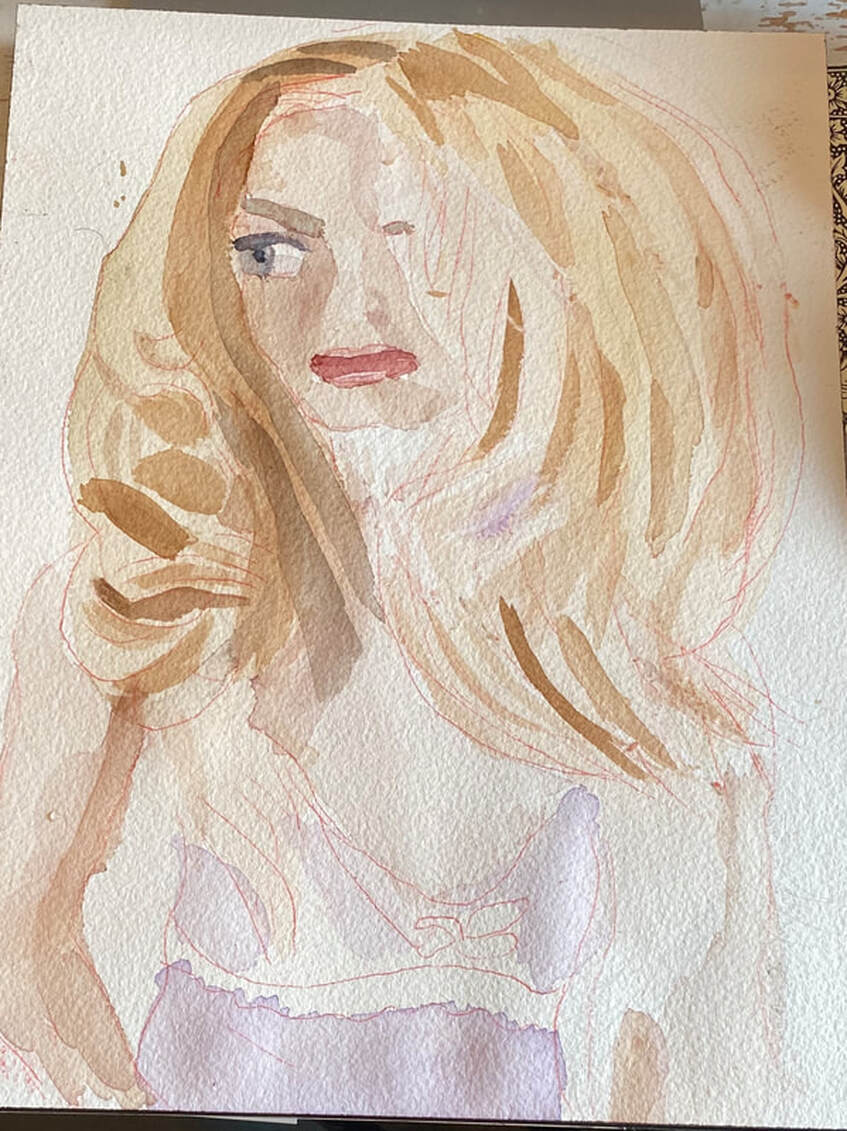 For the pupil of her right eye, I made a "black" by mixing burnt umber with ultramarine blue. I recommend playing with the ratio of blue to brown until you get a tone you're happy with. It seems to work best if you use a bit more blue than brown, though. I added still more shadows to her hair. At one point, I had to lighten the shade back up again with red and yellow ochre and then darken it after that with my burnt umber and ultramarine blue mixture. I think adding the extra dark shadows that I did around her face and the roots helped give her hair lift and dimension. I painted her hair casting a shadow on her chest. Paying attention to details like this goes a long way to making a lifelike portrait. 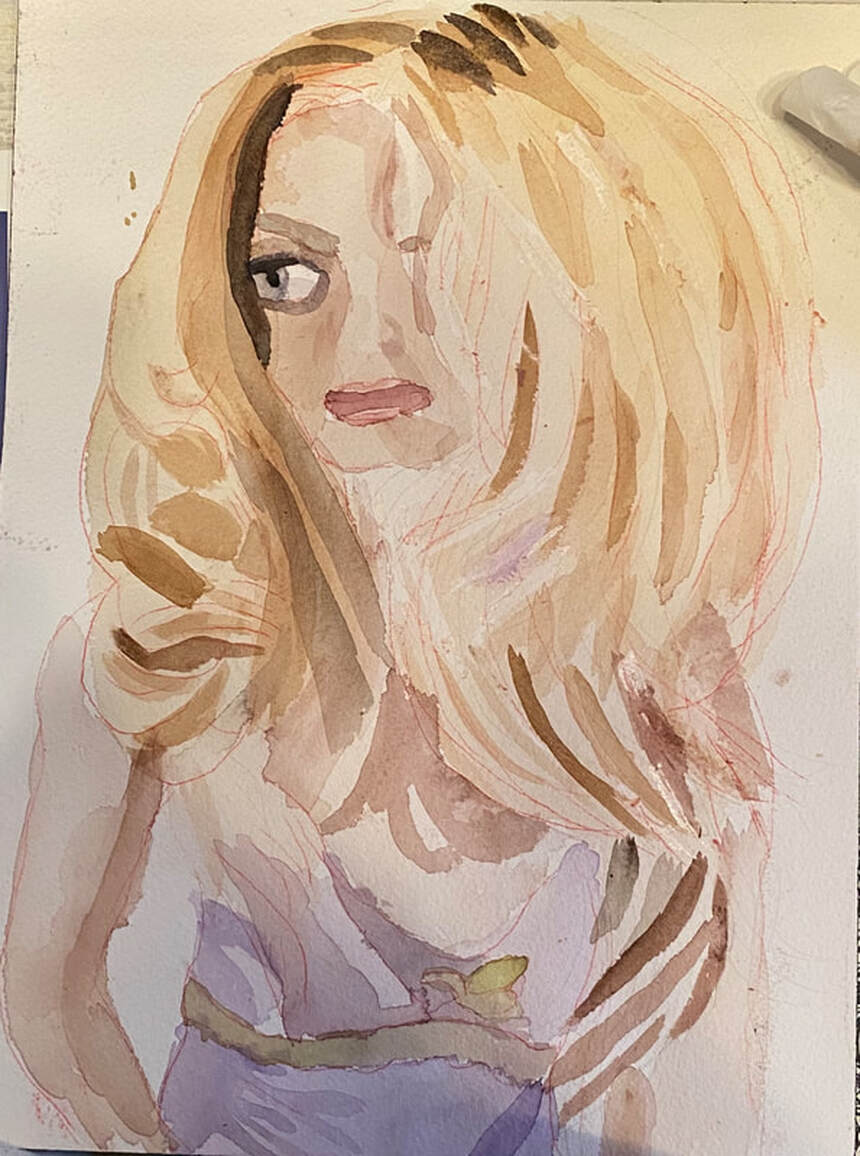 I love this kind of dark blue background for people with light skin and light hair, so I decided to use it again. 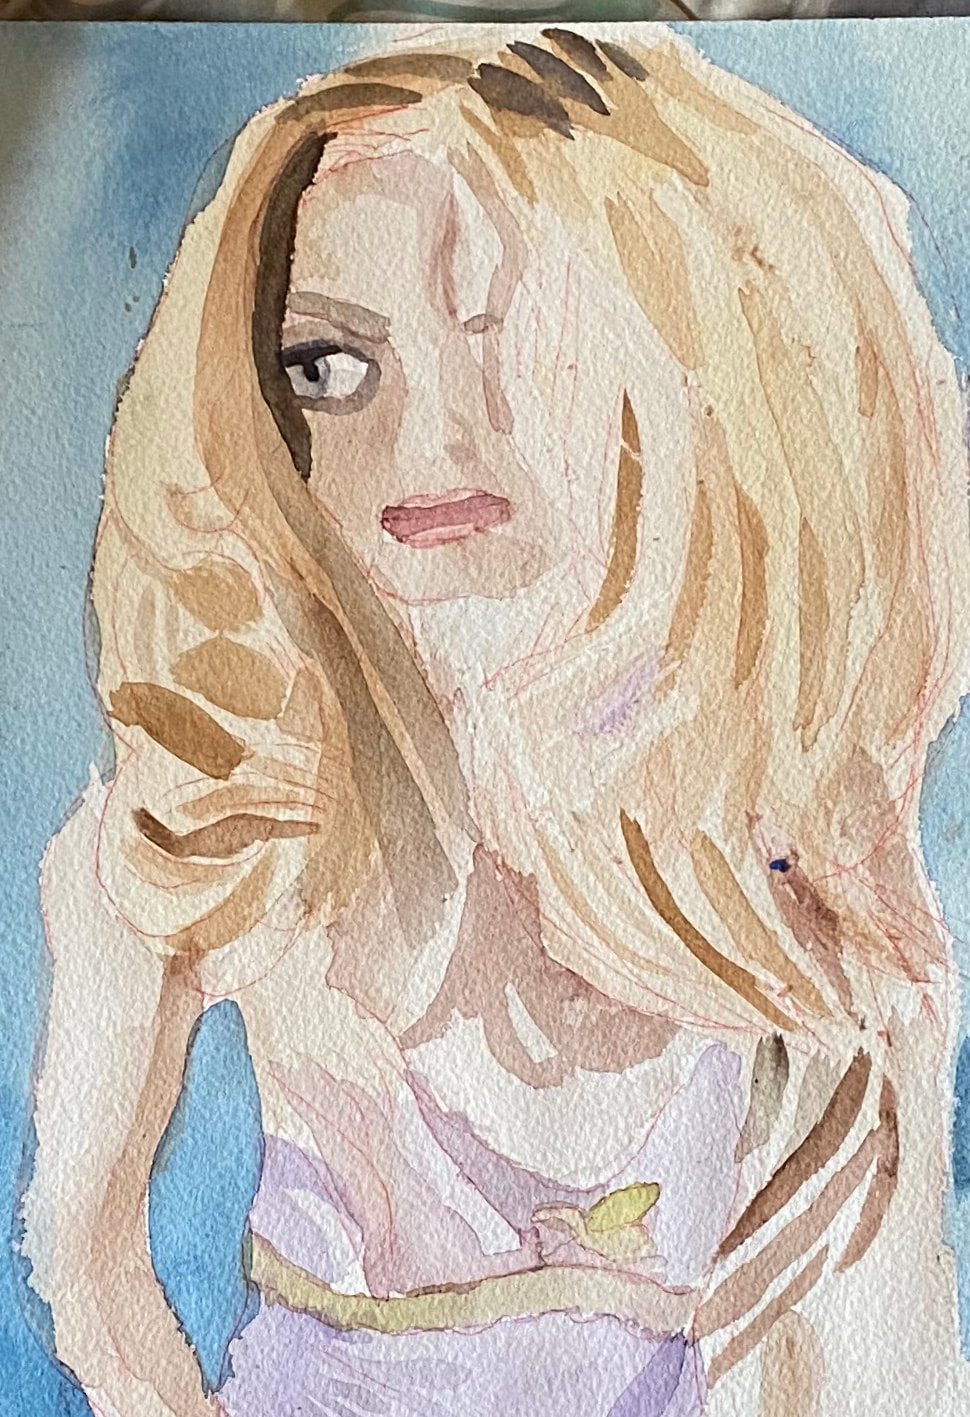 I gave her some nostrils and added some more shadows to her hair. I think I'm going to call it finished now. 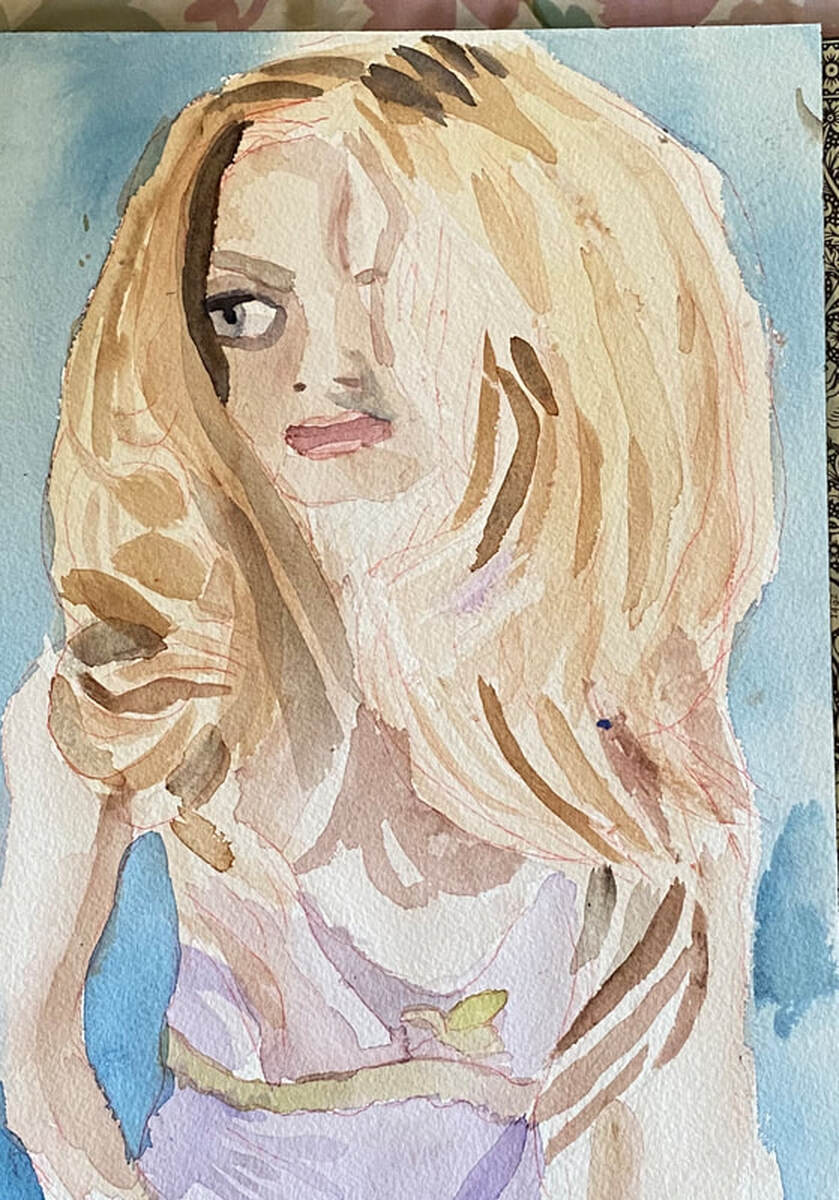 |