|
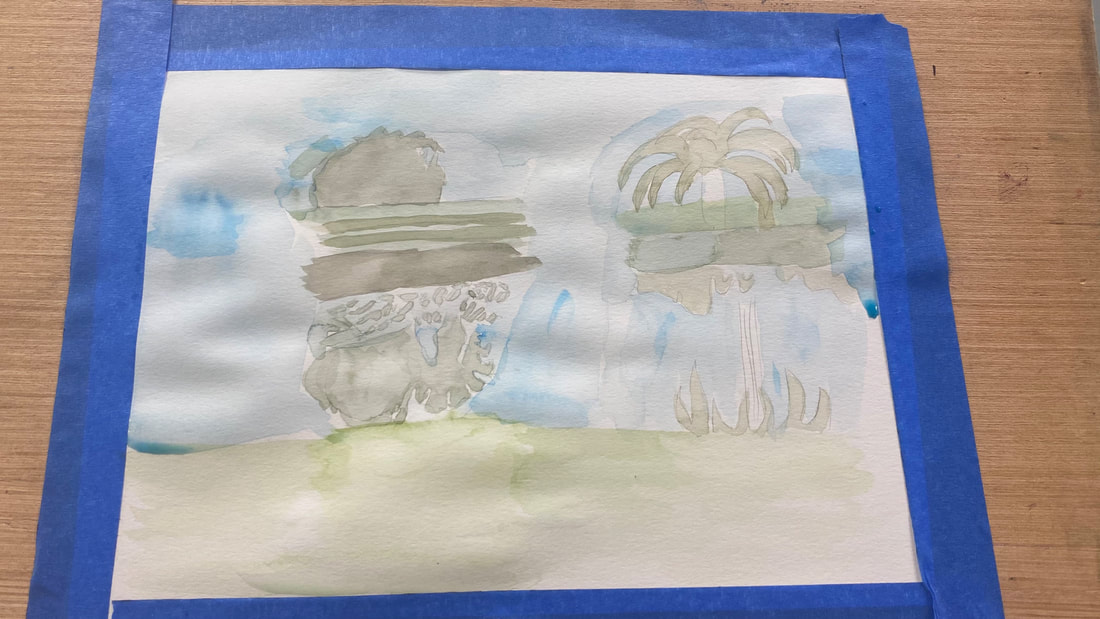
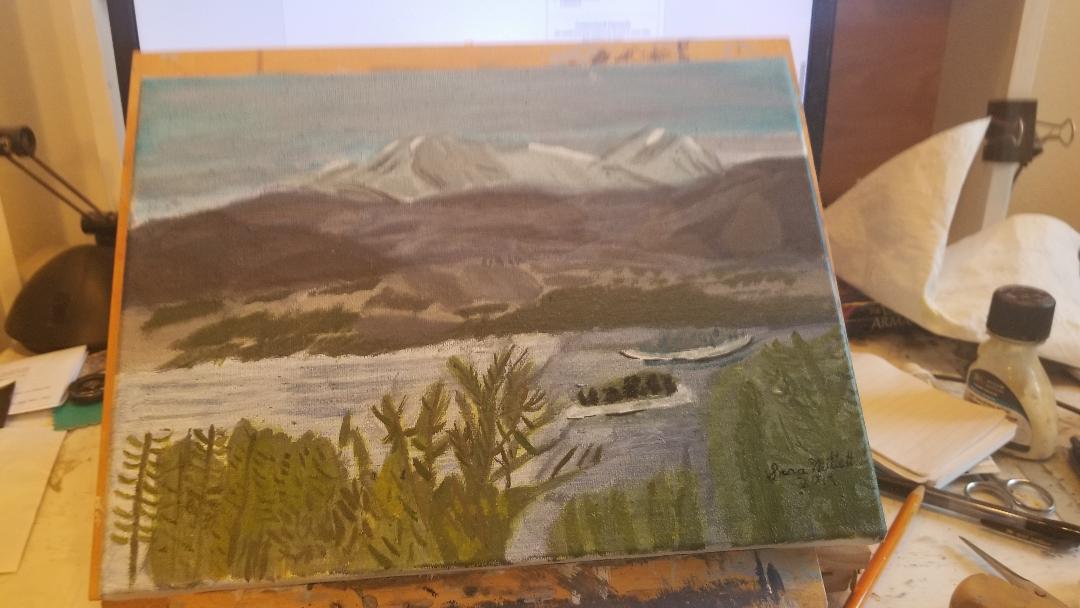
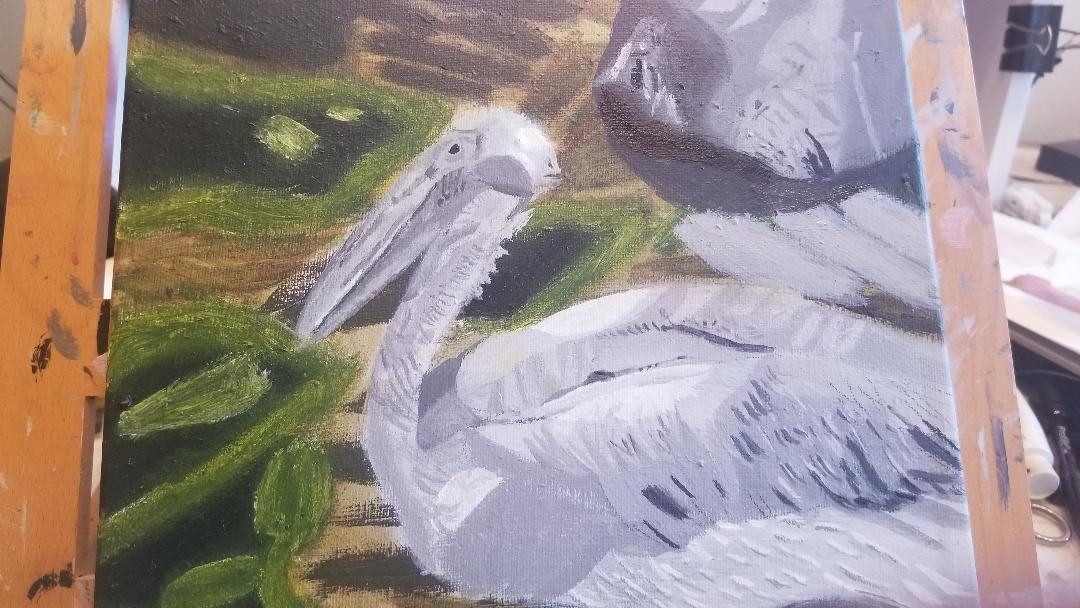
I’m feeling intimidated by the painting I want to do next. That’s why I’m easing into it by doing practice, or what you might call, thumbnail, pieces. A couple weeks ago I wrote about practicing doing a smooth wash. This last Thursday, I made two small sketches of bushes and trees reflected in water on paper from a mixed media pad. Making these trial paintings gives me more confidence that I can do the real thing. You can just jump into a painting. I do that a lot. But taking baby steps can take enough of the fear out doing a difficult piece for you to actually have the confidence to do it. I like doing pieces that scare me and I encourage you to do pieces that scare you, because those are the pieces that really help you grow. One of those pieces for me was this one, since I'd never done a landscape before. I’ve had a habit, for quite a while of drawing my subject onto a piece of scratch paper before starting my actual piece. This is so I have something to transfer onto my canvases, but it also is a sort of dress rehearsal. I give myself practice drawing those lines without putting pressure on myself. Making these practice sketches also helps you stay in the habit of painting or drawing, which improves your skill and confidence.
0 Comments
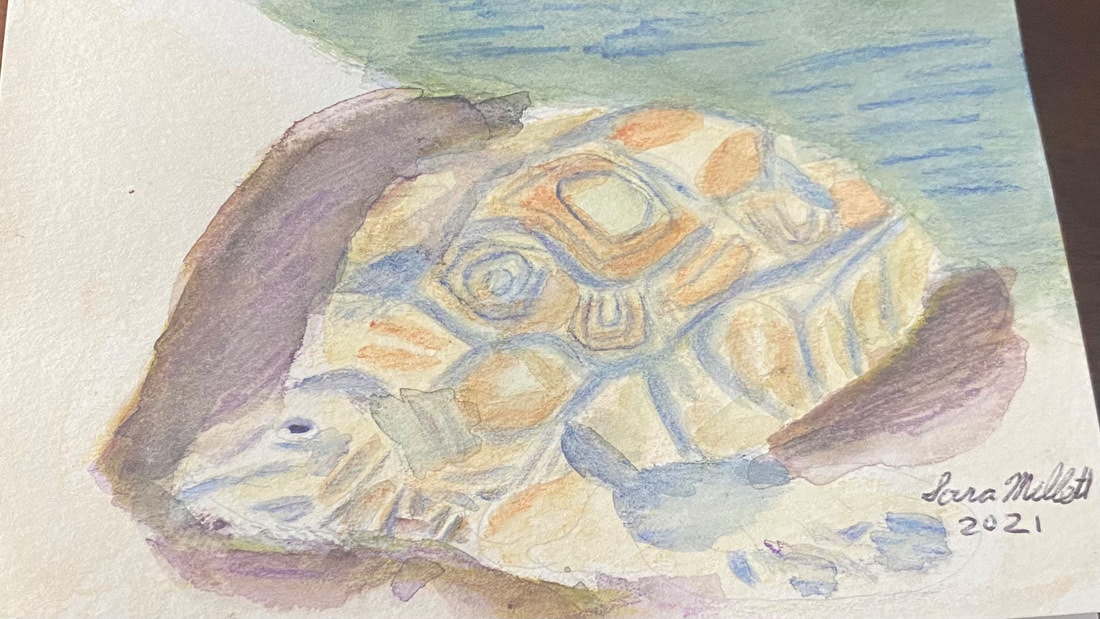
When I started on this painting, which is for my mom’s birthday card, and I looked at the rocks the turtle was coming out of in the reference photo, I thought, what if that was the ocean. My mom loves the ocean, so I chose to paint the rocks to look like the waves were washing up on the shore and the turtle was crawling out of them. I’m using my set of Kimberly watercolor pencils. I don’t have a lot of colors, so I have to rely on layering to get the colors I need. Putting green on top of blue was how I colored made my sea. I saw a couple of times that I needed to add more layers of blue after my paper had dried. I used a tan shade all over for the turtle and blue for the edging around his scales. I painted my tan layer, waited for it to try, then shaded in my blue, then blended that with water, and waited for it to try. If I’d shaded in the tan, then the blue, and blended them all at once, the colors would’ve all run together and the the blue needed to be in a distinct pattern. I wanted the turtle to look as three dimensional as possible, so I drew a purple shadow around him. Layering yellow and black over this shadow helped to get it just right. This time, I started layering colors while my paper was still wet. This was to intensify the shades and make them blend more thoroughly. I added more layers to the blue on the turtle’s shell sections to give them more oomph. The shell sections had a darker brown pattern on them, so I used my terra cotta pencil. Adding extra layers to reinforce certain shades adds a lot to my painting, even if it doesn’t necessarily look like that in the reference photo. If you’re looking at your piece and thinking, should I add more color here, should I make this darker, go for it. I could see that there were some pencil marks on my ocean that didn't seem to want to blend out. Rather than fight these, I chose to make them work for me by turning them into ripples, ie, I emphasized them. I shaded some small “triangles” around the turtle’s neck. The negative space between them created a pattern of wrinkles.
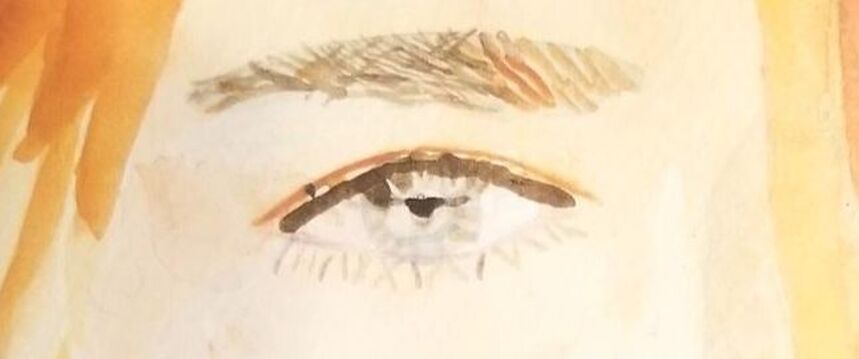
1. Set the intention to improve If you paint consistently, you'll improve over time, no matter what. But I think you can accelerate the rate at which you improve by actually making the decision to draw or paint something very well by putting extra effort into it. So by, set the intention to improve, I mean, make the decision to put in extra effort. 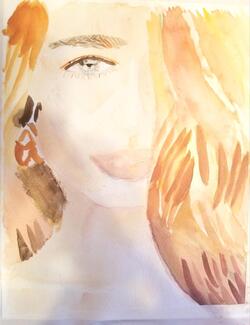 I want to direct your attention to this painting, particularly the eye on it. When it came time to paint this eye, I could've just decided I was going to fill the iris in one solid color, paint some flicks going out from the lid for lashes, painted a little black dot in the middle for a pupil and called it done. that entire process probably would've taken me less than a minute. But that's not what I did. Instead, I looked intently at the reference photo before I started painting and asked myself what colors and shapes I saw. Where was there white showing? What direction did the hairs in her lashes and brows go in? I made it my goal to replicate all of this in my painting to the best of my ability. I might've spent about five minutes just on this one eye, but it was worth it. I want to remind you that what made this eye one of the best things I've painted, one of the things I'm most proud of really, is something I did before I started painting. I'm really working on getting better about not only looking at the reference photo, because I could glance at a photo and count that as "looking", but to study it before diving into the painting, that's what I'm talking about here. 2. Go into each piece with the mindset that you're capable of more than you think you are. Believe your goals are attainable. Along those same lines, is to believe that you can actually achieve what you want to achieve. Where you are now in your skills is not where you have to stay. As I mentioned in tip one, this will probably mean spending more time on a single part of your piece than you originally thought necessary or might have been willing to spend. I wrote about the topic of patience and how important it is to artists a long time ago. 3. Don't set lofty goals. It's great to be ambitious, but don't tell yourself, I'm going to paint super realistic faces, without breaking it down into smaller, more manageable steps. Otherwise, you'll most likely get discouraged. Instead, put increased effort, like I said in tip one, into a small, but important aspect of achieving this goal, and as your competence increases, add to that overtime. Decide you're going to work on getting accurate proportions, then decide you're going to master shading and blending, etc. Overtime this will lead to you painting more realistic faces, even super realistic ones. This brings me to my next point which is... 4. Practice mindfully and deliberately Of course, there's nothing wrong with zoning out while you're painting and I do it all the time. I even made a post endorsing it, or rather, endorsing painting without judging yourself as you do. But when you're trying to master a new area, you need to be focused and deliberate about that task. For example, I've been taking a portrait drawing class and I decided, I was going to practice getting smoother shading. Everytime I started to shade, I was 100% focused on what I was doing with that pencil. Of course, putting all this mental effort can be tiring, so to take the pressure off... 5. Do this practice as part of a project you're excited about You don't have to do your deliberate practice separate from your incidental practice, ie, projects you do because you want to. Pick a photo, whether one you took yourself, or from a royalty-free site, that you really like, and in recreating it as a painting, use that to work on improving your art skills. 6. Take time off from all of the above Now this might sound like a contradiction of all of the above, but it's not. Constantly being intentional about your work and worrying, for lack of a better word, about improving, will exhaust you and take the joy out of doing art at all. You need those times where you just zone out and paint and don't worry about anything. In fact, I recommend doing any of the other five steps only as much and as often, as you can emotionally handle them. Keep in mind, these are tips for how to improve your art faster, not how to improve your art fast. I also can't give you a timeline of how fast these tips will help you improve because everyone is different. Here's the painting I was working on while writing this post.
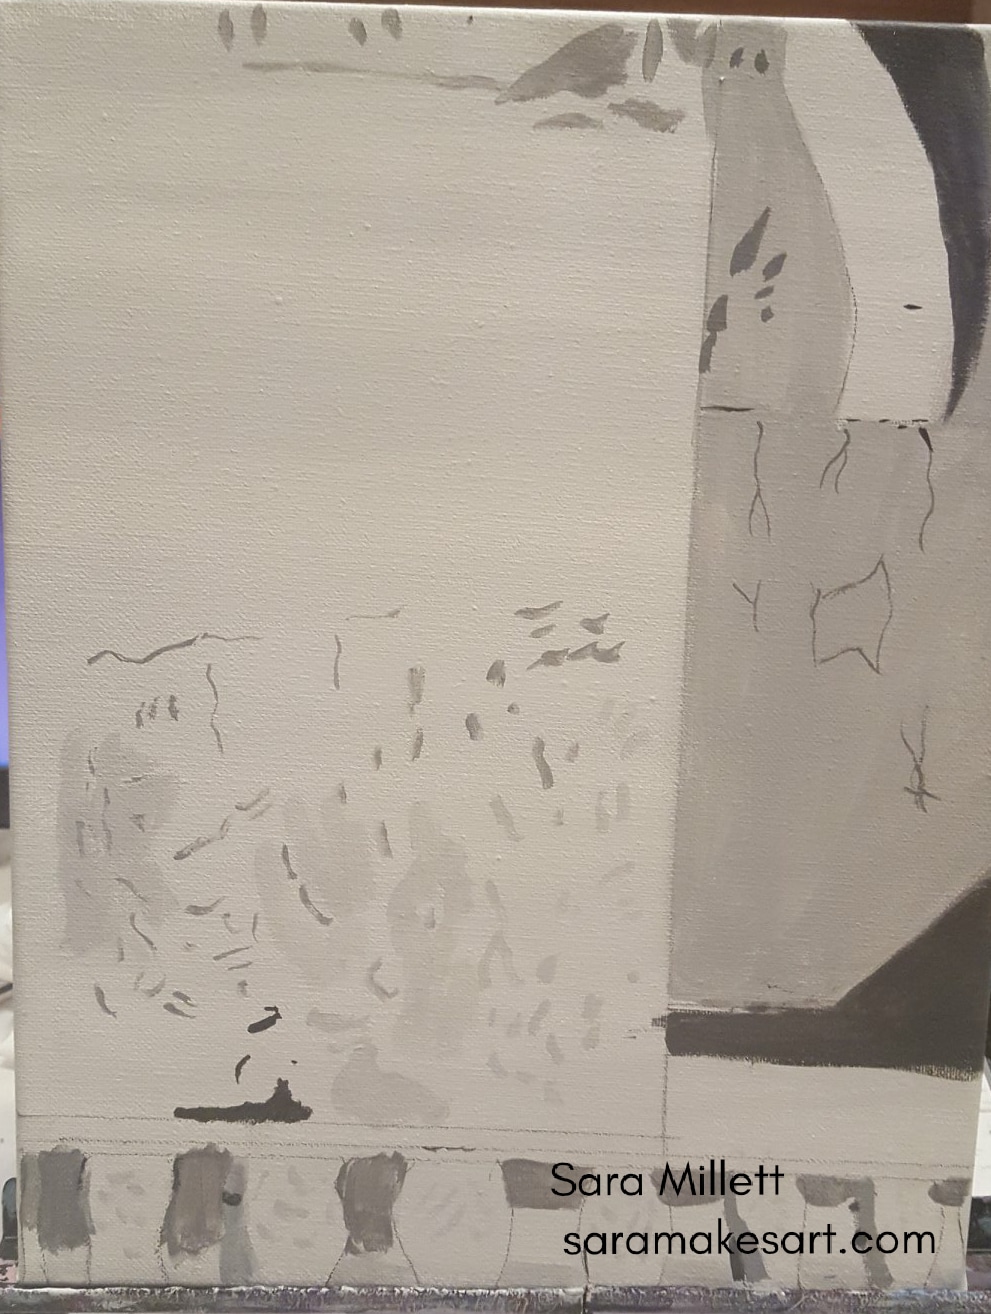
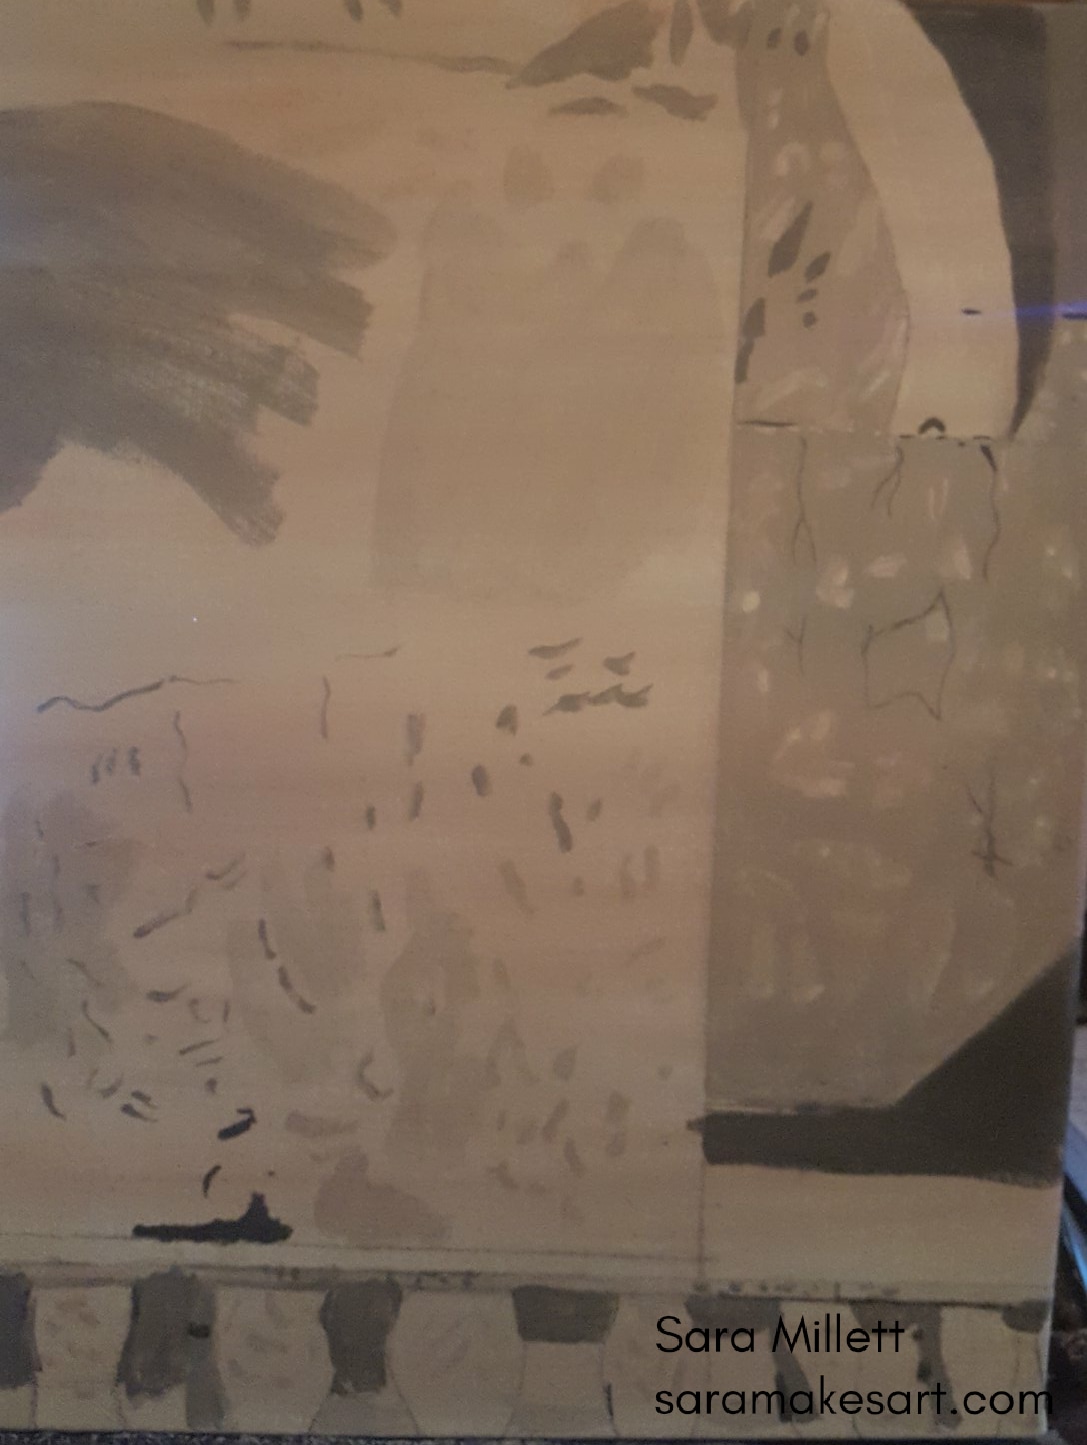
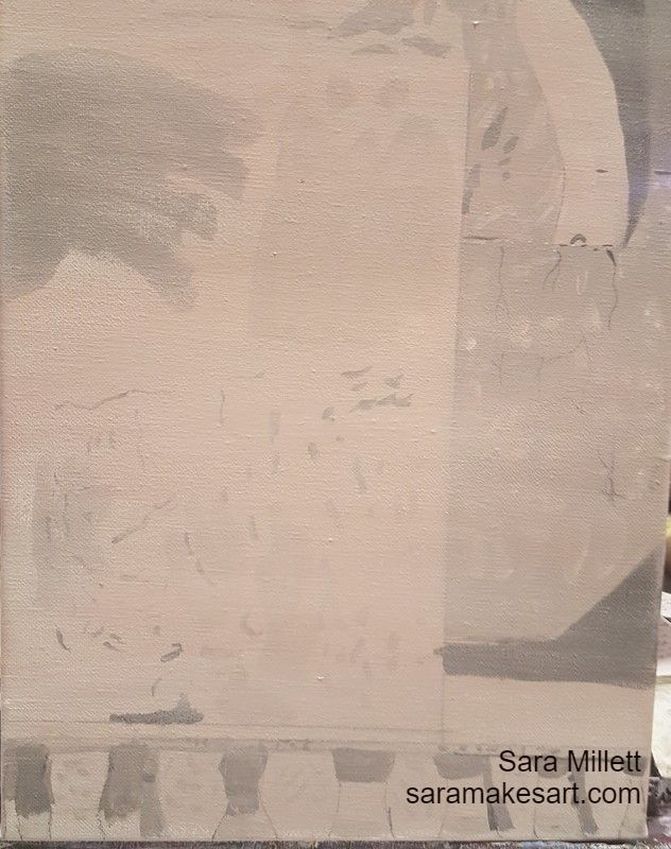
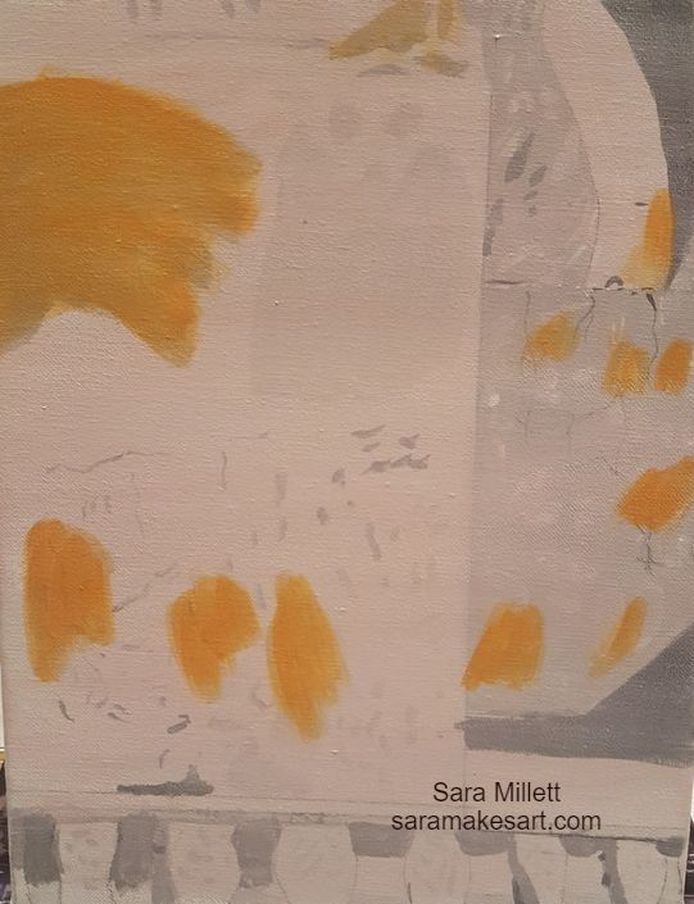
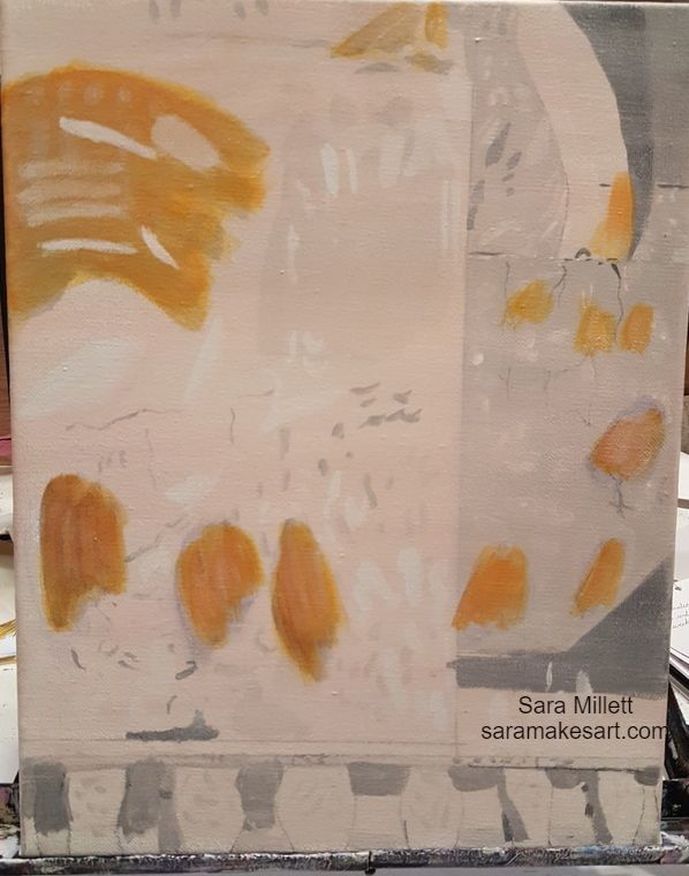
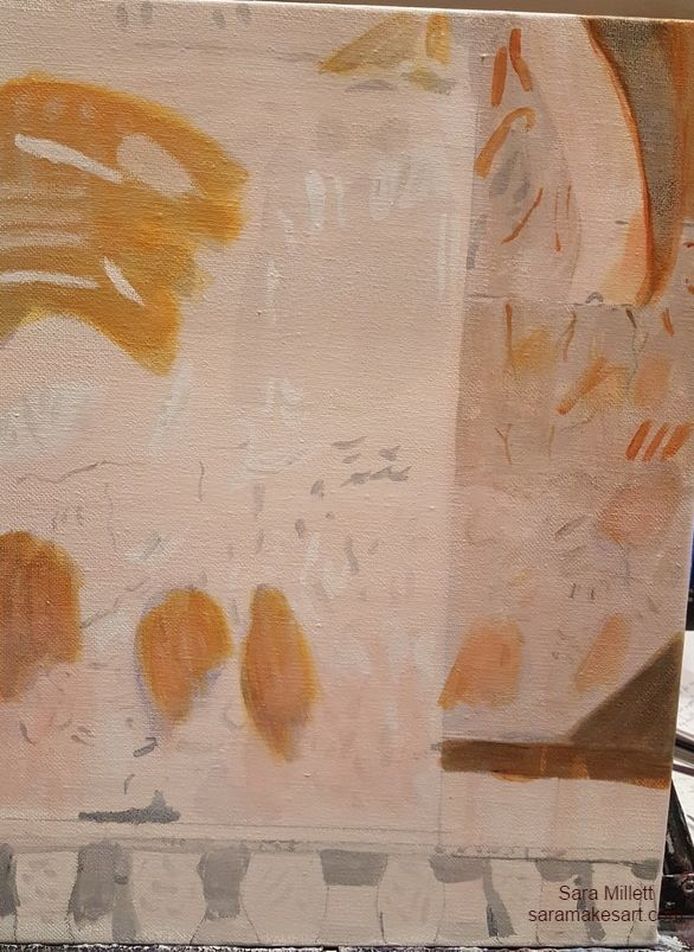
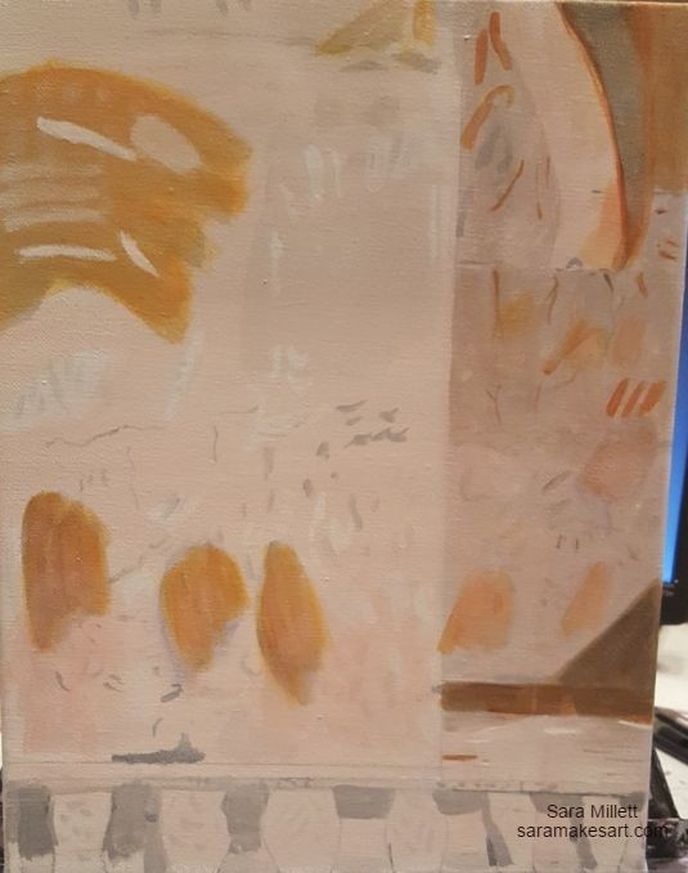
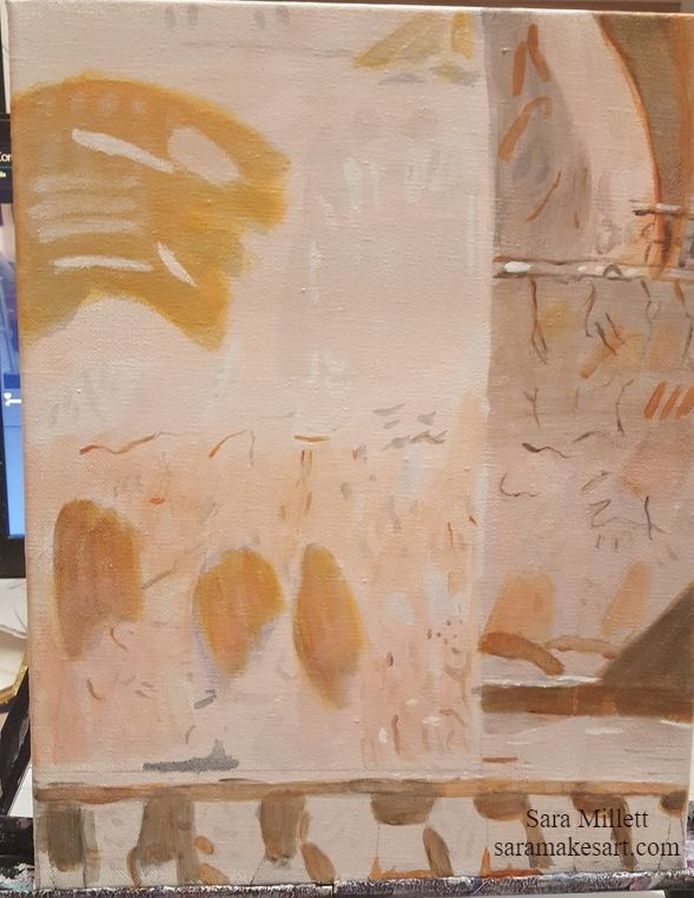
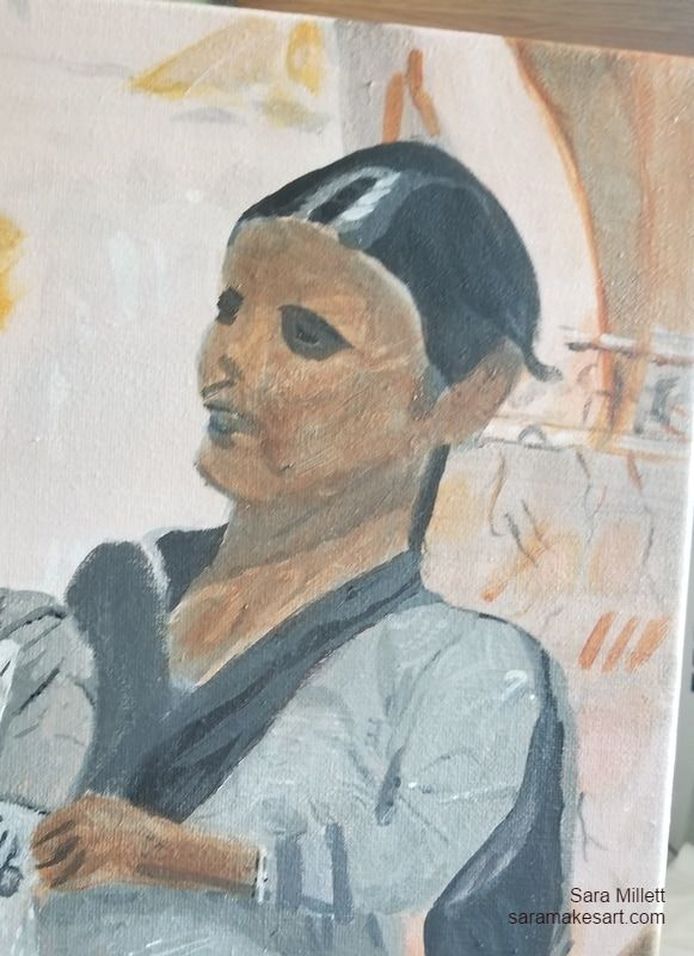
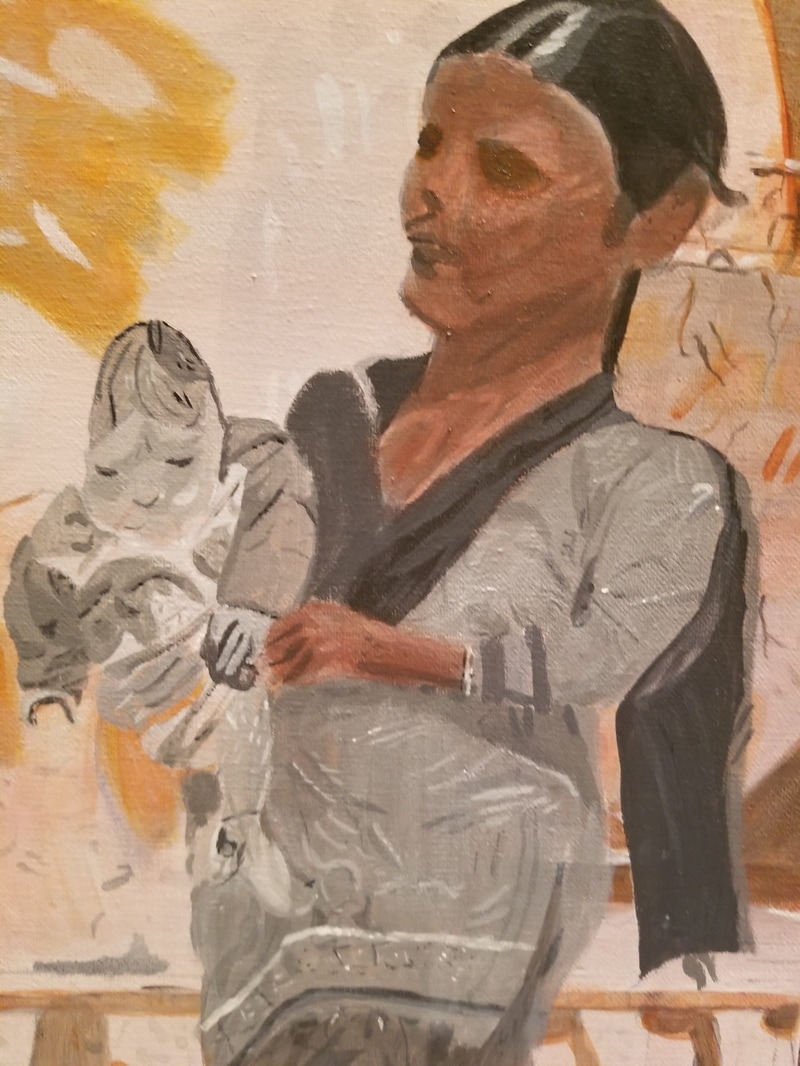
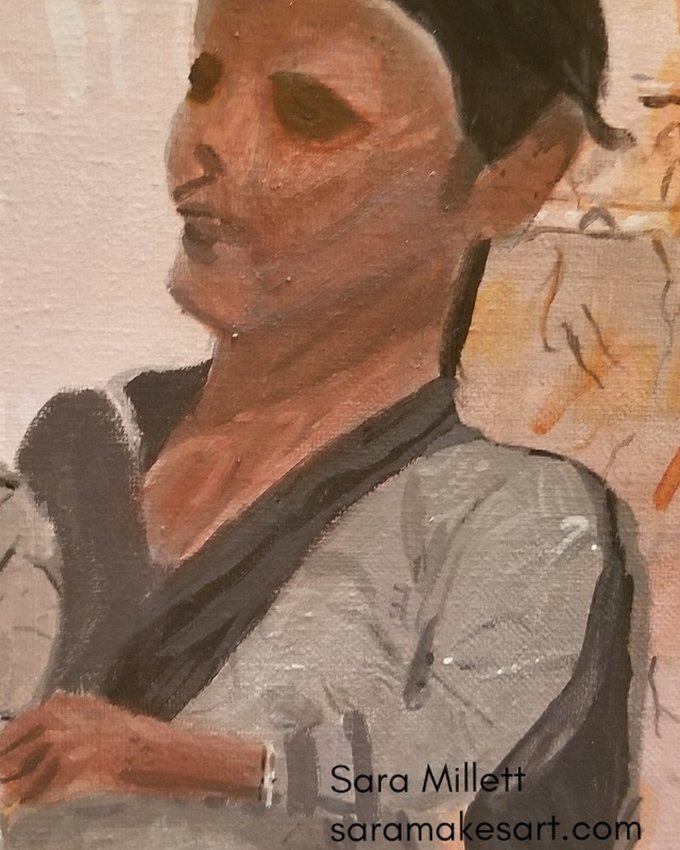
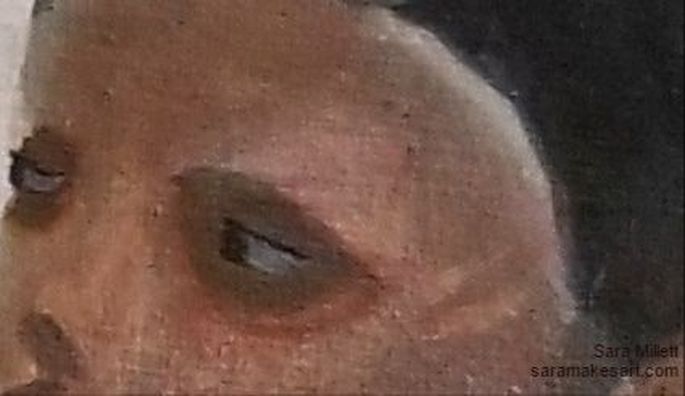
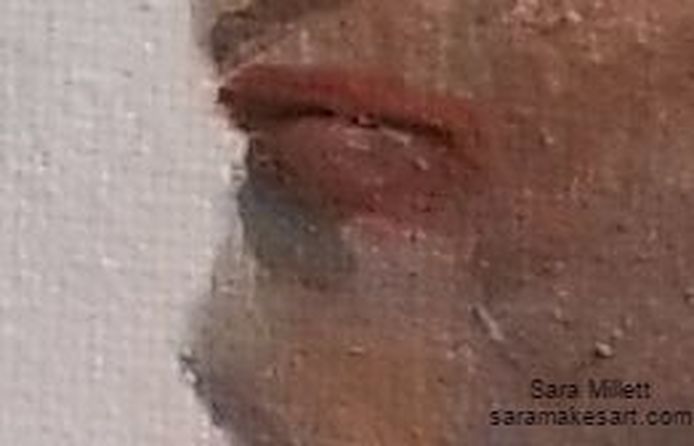
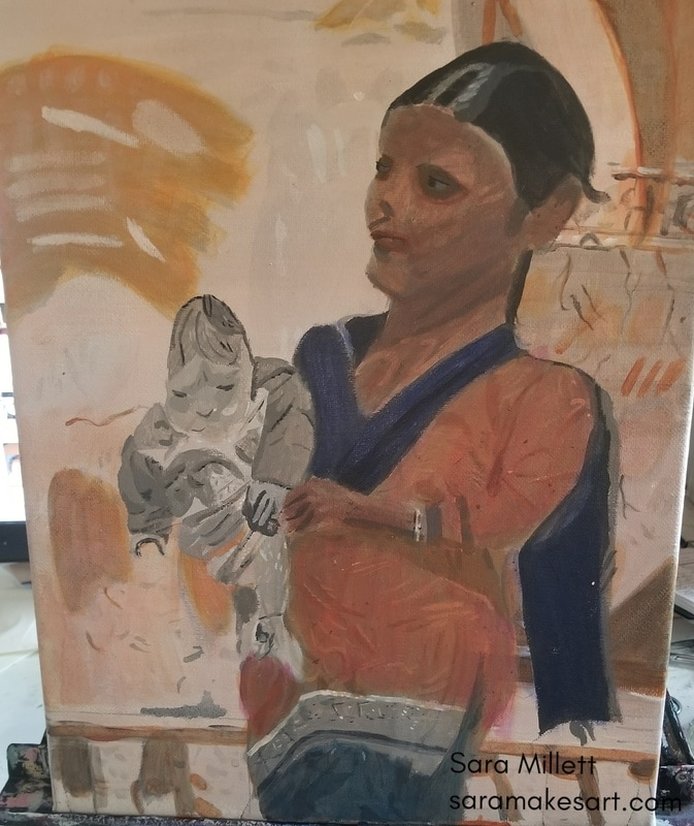
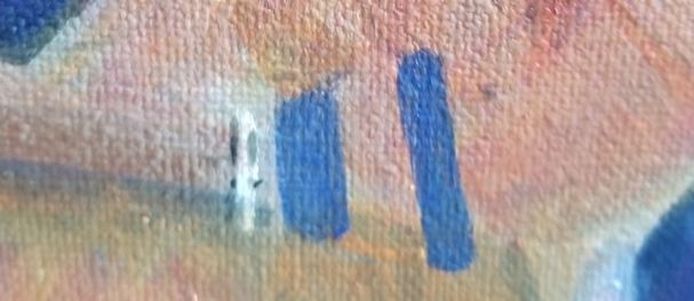
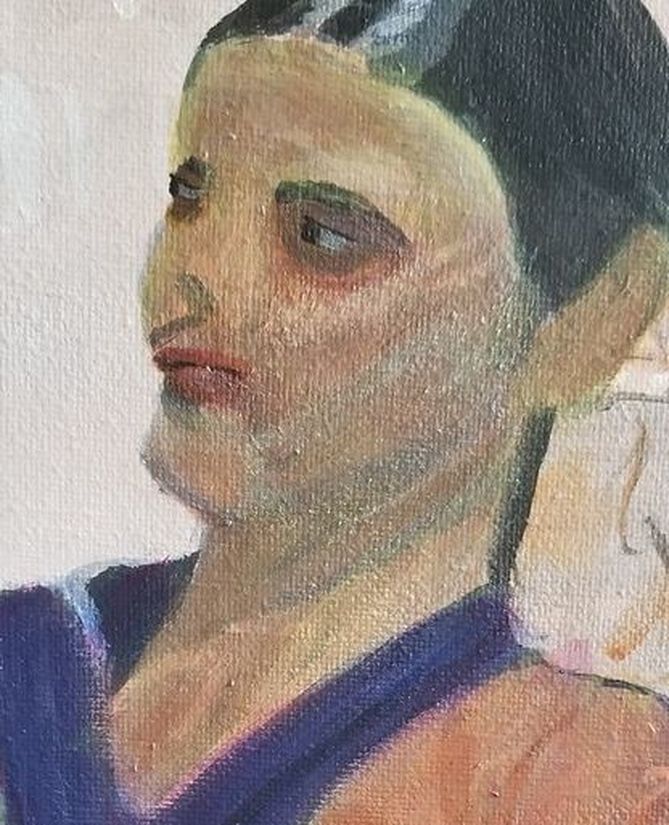
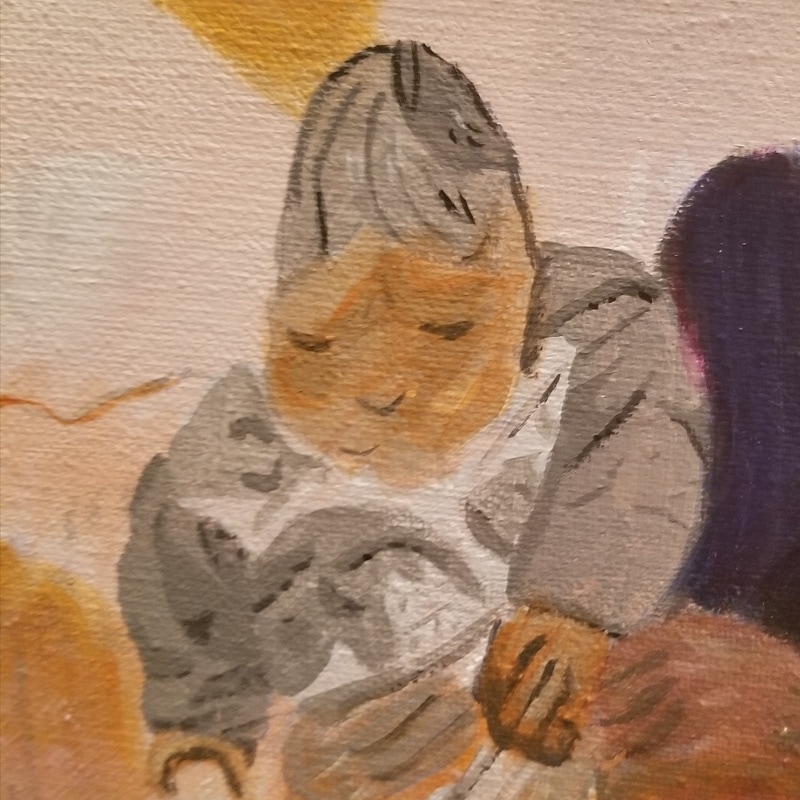
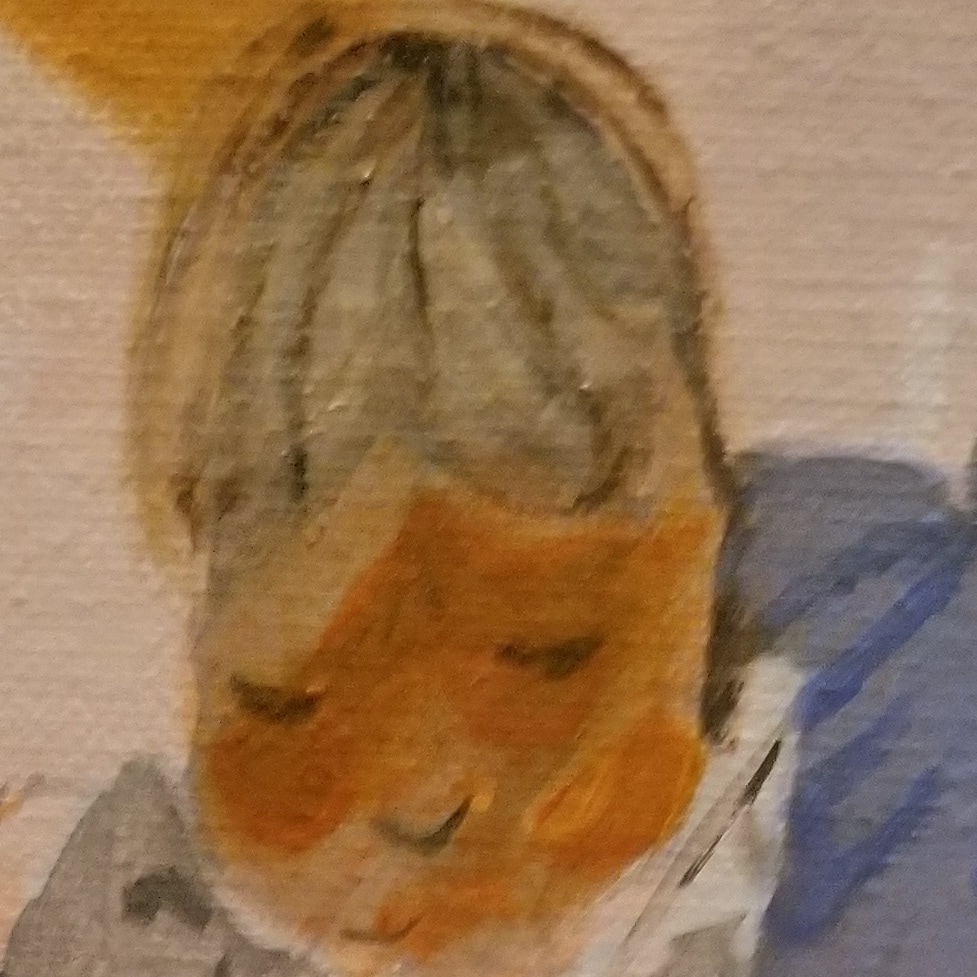
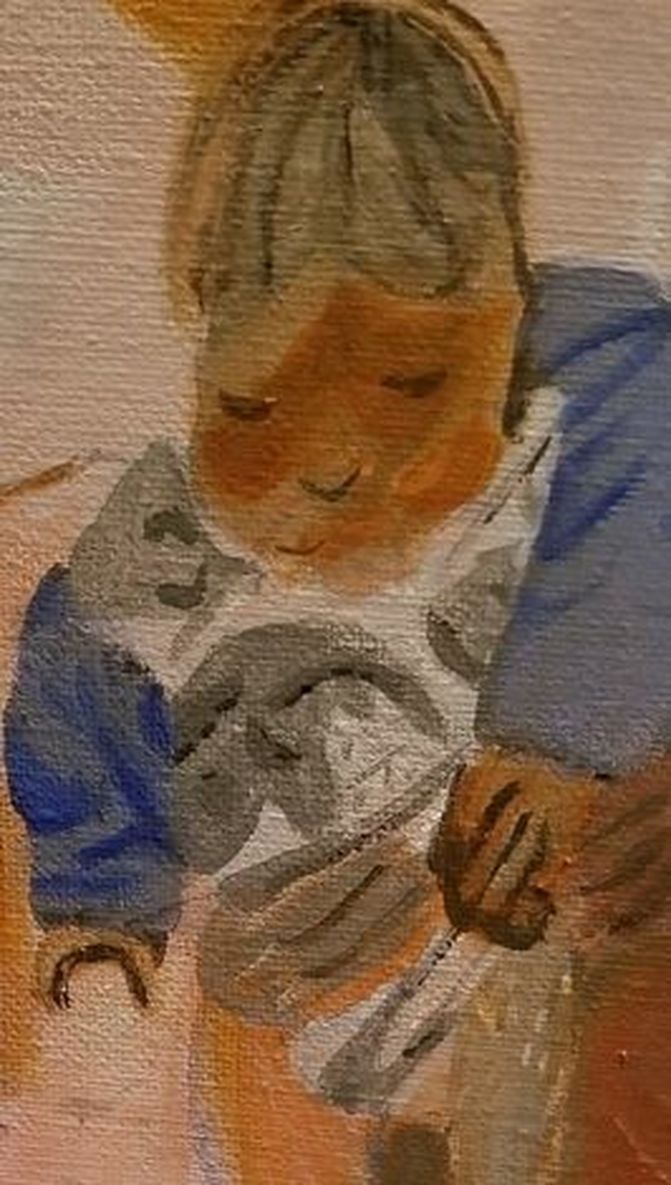
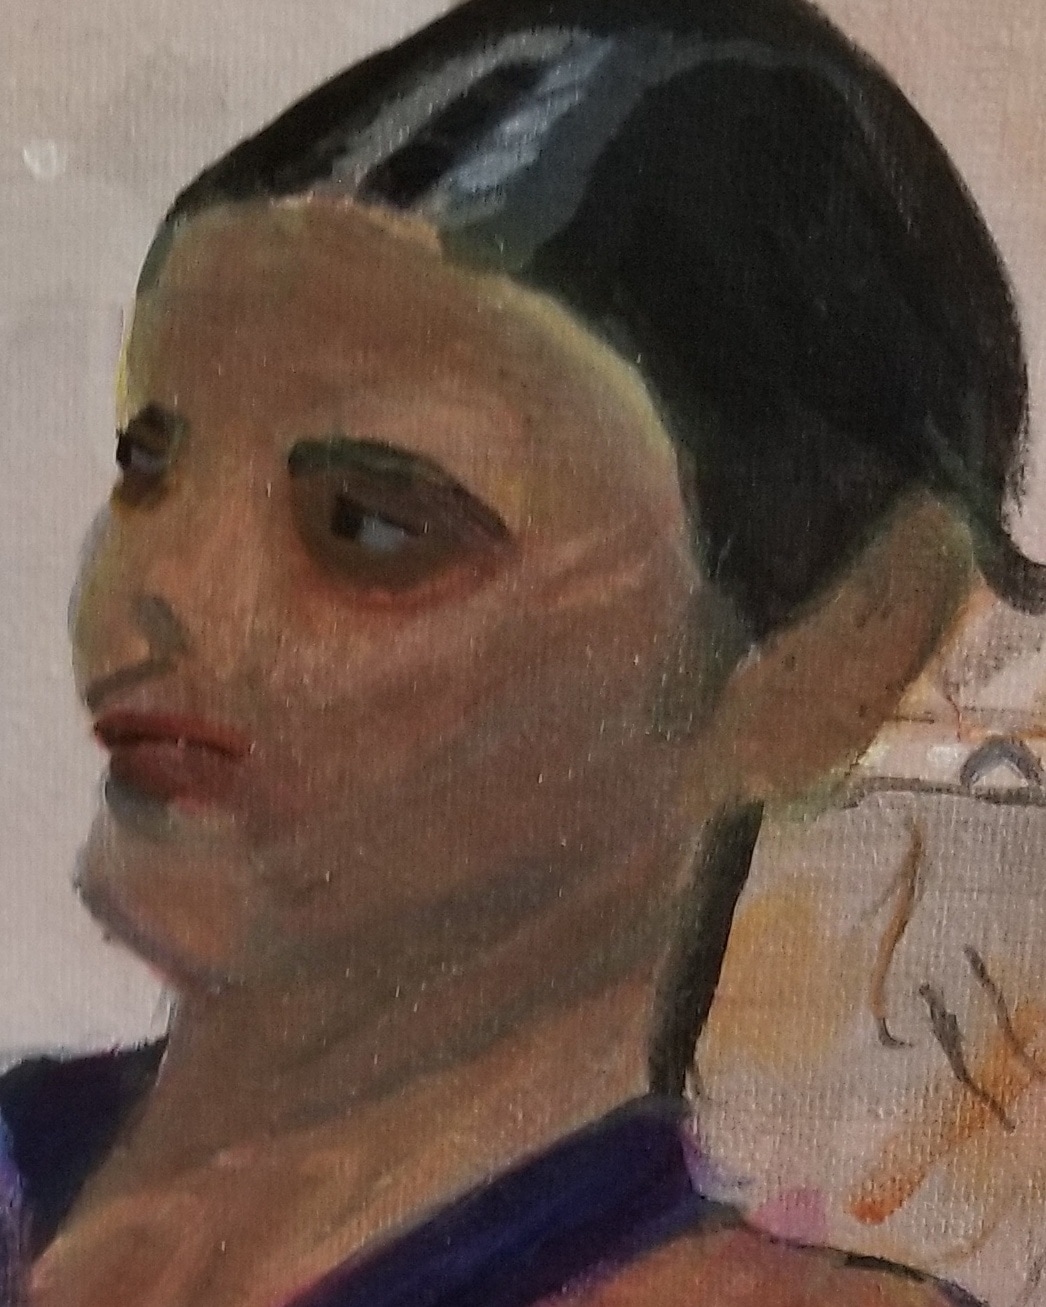
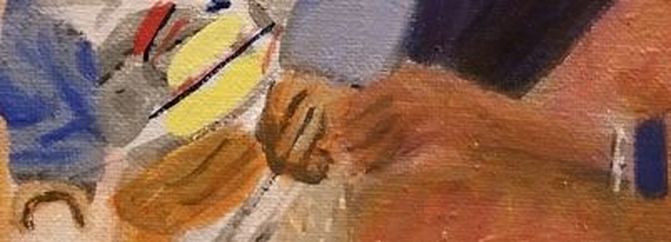
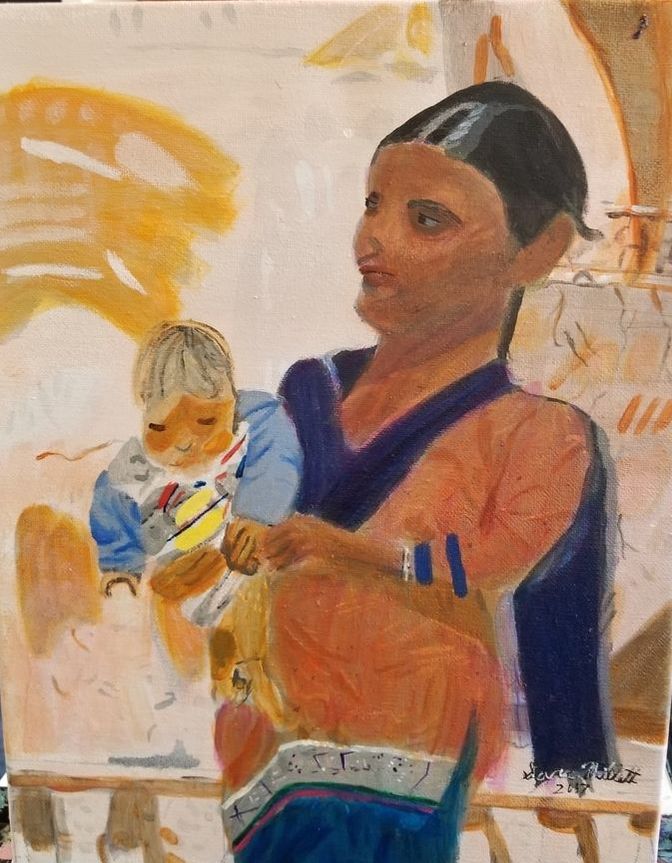
I'm taking a different approach with this painting. I've learned from Lisa Clough that, when working in acrylics, the background should always be painted first and the subject painted over it. This is because, if the subject were painted first, it would be almost impossible to blend around it before the paint dried. To that end, I'm only worrying about the background right now. I'm pretending that the woman and the kid don't exist at this point. My plan is to paint the underpainting for the background, then glaze my color over that. Then I will draw the mother and child, paint the underpainting on them and finally glaze color over that. 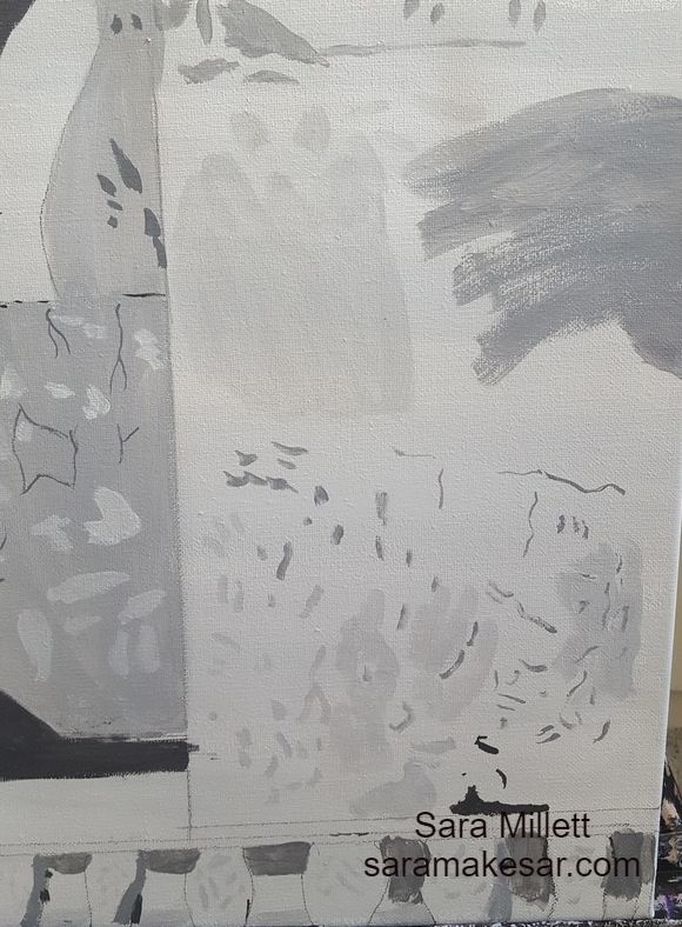 I'm creating texture through the use of different size brushes, including a liner brush, to paint lines and shapes, and various shades of gray. Today is the first day of adding color. After studying my reference photo, I could see that the dominant color of the building was a very pale brownish pink. To make that color, I mixed zinc white, with a little bit of cadmium red deep and burnt umber. I've been glazing this color in light layers over my underpainting. I added many layers of this color to the painting until it was more or less solid. When I was done, the color was a little uneven, so I went over some of the darker shades with zinc white to even it out a bit. I added some of my premixed pinkish brown color, to the zinc white that was already on my palette along with some azo orange. I went back and forth mixing both of these until I was satisfied. When I put this color on the canvas, I thought it was still too brown, so I glazed some azo orange over it. I preceded to glaze more azo orange and my premixed brownish pink mixed with zinc white over these areas. making back and forth strokes with my brush. 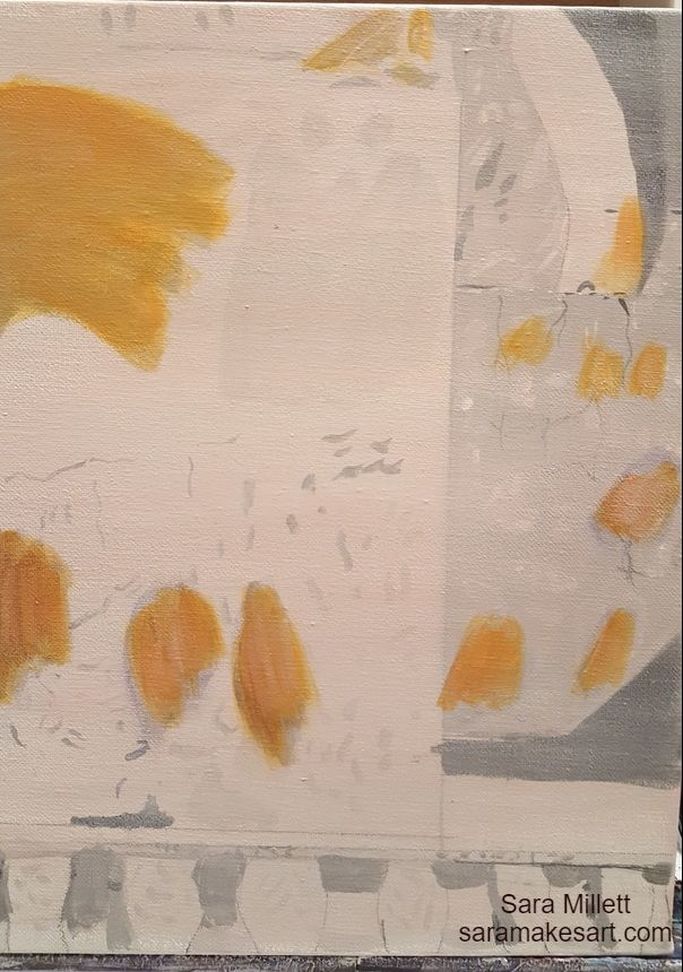 I mixed some of my brownish pink color into some titanium white this time to make it opaque and applied it to one of the orangey brown spots using a small round and a small filbert brush. 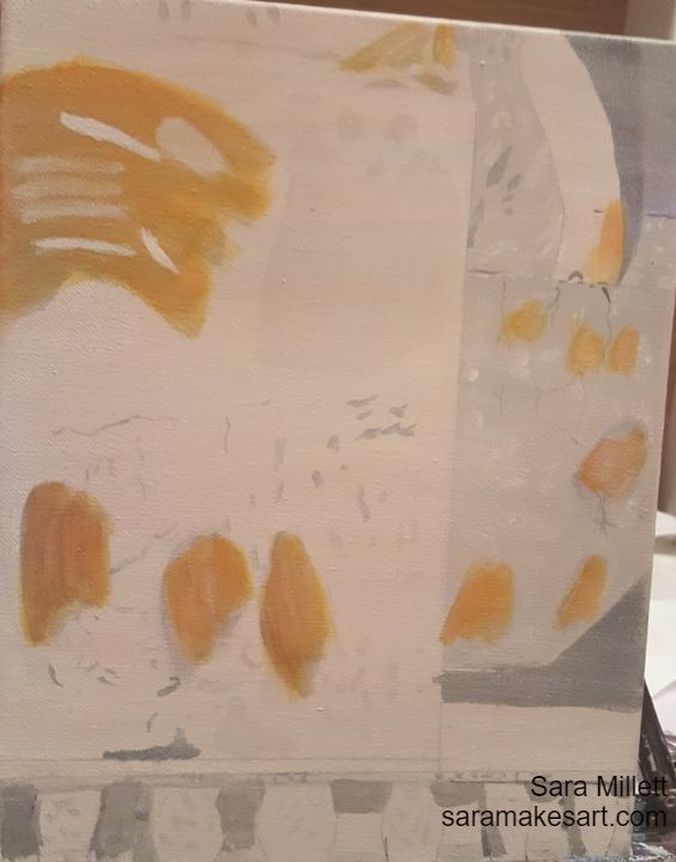 I mixed zinc white and ivory black to make a transparent gray and painted streaks of this color over one of the orangey brown spots. I also mixed a very light gray from titanium white and mars black,and painted patches of this color around the piece. Then I mixed some of my brownish pink color into this color and continued painting patches to increase the stucco effect. I mixed a darker version of my sheer brownish pink color and glazed it over the last third of the piece going horizontally. Then,I mixed gray from zinc white and ivory black, so it would be transparent, and painted streaks and squiggles of this over the white patches using a small round brush and a liner brush. 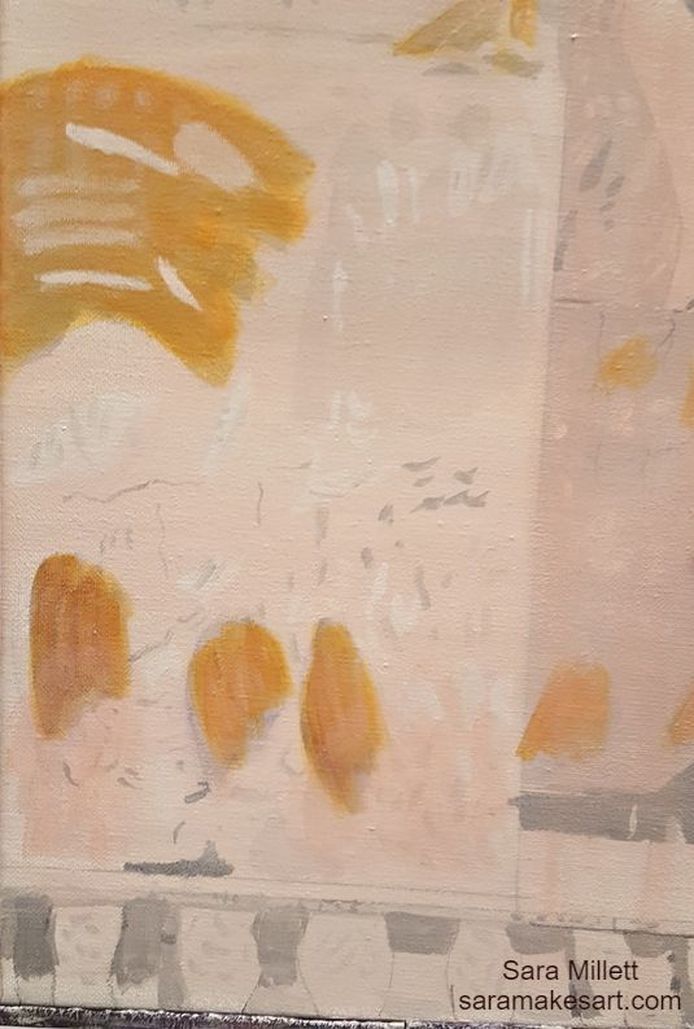 I took some transparent burnt sienna, this time from Liquitex's soft body line, mixed it with a lot more mixing medium than paint, and glazed it over some parts of the last third of the piece, going horizontally. I mixed ivory black, which is a transparent black, with a good amount of matte medium, and glazed it over some parts of the burnt sienna to darken it, while other parts as is. I'm learning that it's important to use a large enough brush for the area you're working on when trying to glaze. Otherwise, you get an unsightly ring around the area. For the bottom portion of the lower third, I started by glazing a light transparent gray made by mixing zinc white and ivory black all over. I then mixed a bit more black into my gray, and, using, a small round brush and a liner brush, applied subtle streaks of this color over my glazed light gray. In the middle of doing this, I decided my gray needed to be darker, so I mixed more ivory black into it. I painted subtle streakes of burnt sienna, glazed over with ivory black, and titanium white, finally glazing some light pink over some of the titanium white to blend it into the background. I glazed more layers of transparent gray and burnt sienna over other parts of the painting, and put in more spots of titanium white using a small round brush. 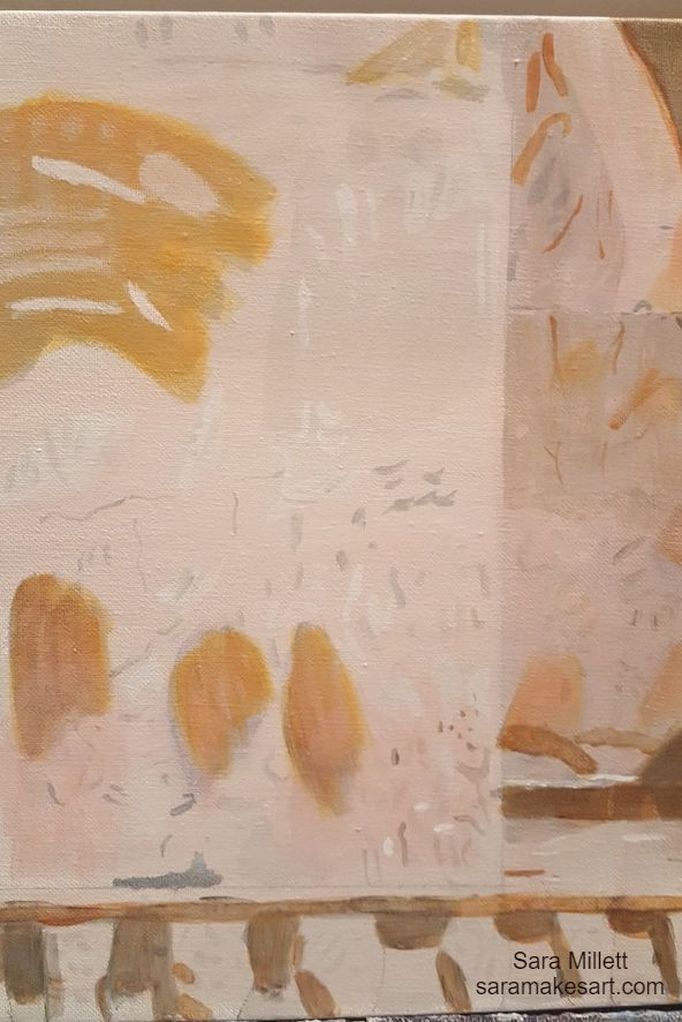 I added yet more white spots to the wall and glazed over them with a mix of zinc white and ultramarine blue. I took some of my premixed brownish pink color, mixed into some zinc white, along with transparent burnt sienna and a lot of matte medium, and glazed this color over the bottom third of the wall. Finally I took a liner brush and some transparent burnt sienna and painted subtle lines of this color where it was needed. 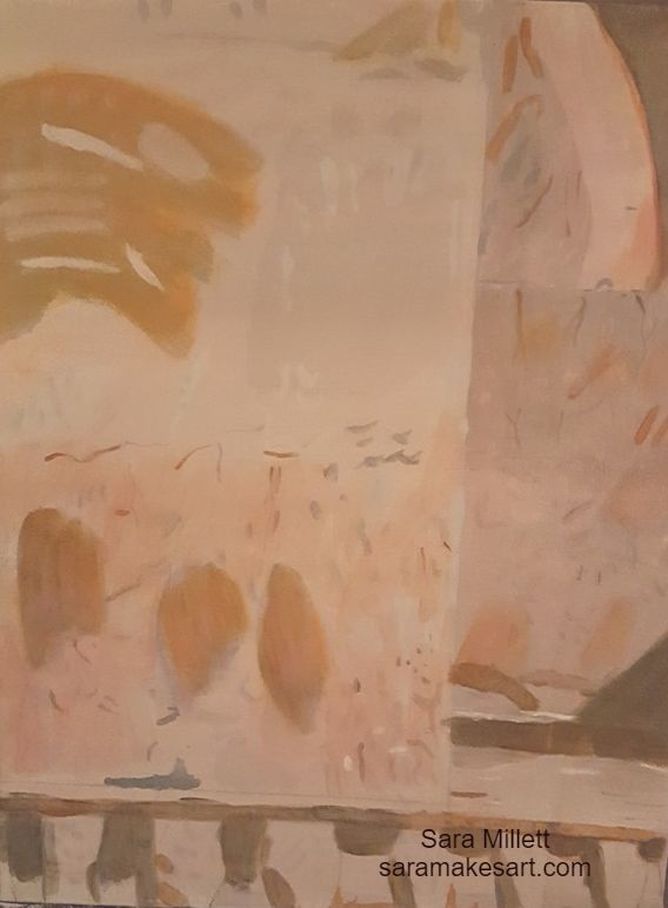 I noticed that part of the wall in the back need to be darker, so I mixed some transparent gray from zinc white and ivory black and glazed it along part of the area. I mixed more ivory black into this color and used it to strengthen the cracks in the wall. Whenever, I use a liner brush, by the way, I always make sure to roll in around a bit on my palette so there's an even strip of paint going throughout the brush and not a big blob at the end. I also took a liner brush and some trasparent burnt sienna and made some ridges, which I went over with my premixed gray color. I used my liner brush to paint bits of titanium white, the opaque white over the floor area. Finally, I took some zinc white, mixed with matte medium and went over the front of the ridge. Tonight, I drew my subjects onto the canvas using transfer paper (I have another post explaining how I did that) and started the underpainting. The goal of any underpainting that I do is to bring out texture and provide depth using value. 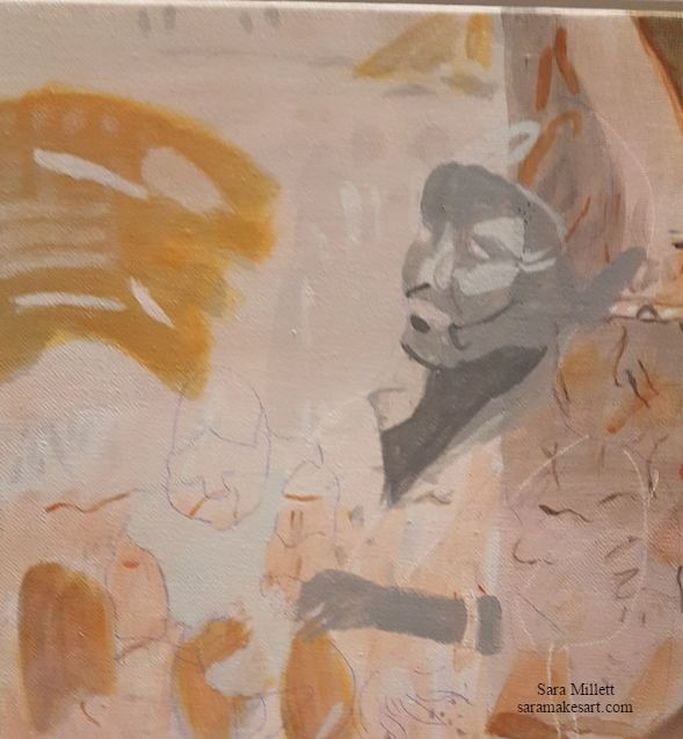 After finishing the underpainting on the subjects I mixed a combination of transparent raw sienna, zinc white, dioxazine purple, quinacridone red and hansa yellow light to make a flesh color. I also mixed quinacridone red and hansa yellow light together to make a transparent orange and mixed that into the paint as well as mixing the quinacridone red and hansa yellow light in individually. I mixed this combination into some matte medium and glazed it all over the mother's face, chest and arm. I intend to glaze some quinacridone red over her skin because I can see it looks a bit reddish in the photo. As promised, I glazed over the womans entire face and body with quinacridone red. My goal was not to create any obvious redness but to subtly warm up her skin. I alternatively mixed zinc white and ivory black into my base color to make shadows and highlights. After I was done painting the shadow around her eye, though, I didn't like how it looked. I'd faithfully copied my reference photo, in which the woman's eyes are in deep shadow, but in the painting, it looked wrong somehow. I decided to glaze some transparent raw sienna and some quinacridone red over tne shadows around the woman's eyes and as a result, while the shadow is still very dark, it now looks like a part of her face, as opposed to something that was cut out and stuck on. I could see in the photo that there was some gray in her skin, so I decided to add it by mixing zinc white and ivory black and glazing it around her jawline and chin. I didn't put much detail in her eyes, since I can't see much in the photo. I just filled in her cornea with a dark grey, that I had leftover from doing the underpainting. I used gray and not white because her eyes are in deep shadow and white would have looked wrong here. I used van dyke brown for her irises and used a liner brush to paint a dot of mars black in each eye for a pupil and a strip of black above each eye to represent eyelashes. I glazed over her entire mouth with quinacridone red. I alternatively glazed transparent burnt sienna and quinacridone red over the lower half of her bottom lip and upper lip. I also put a highlight, using zinc white, on the last third of her upper lip. 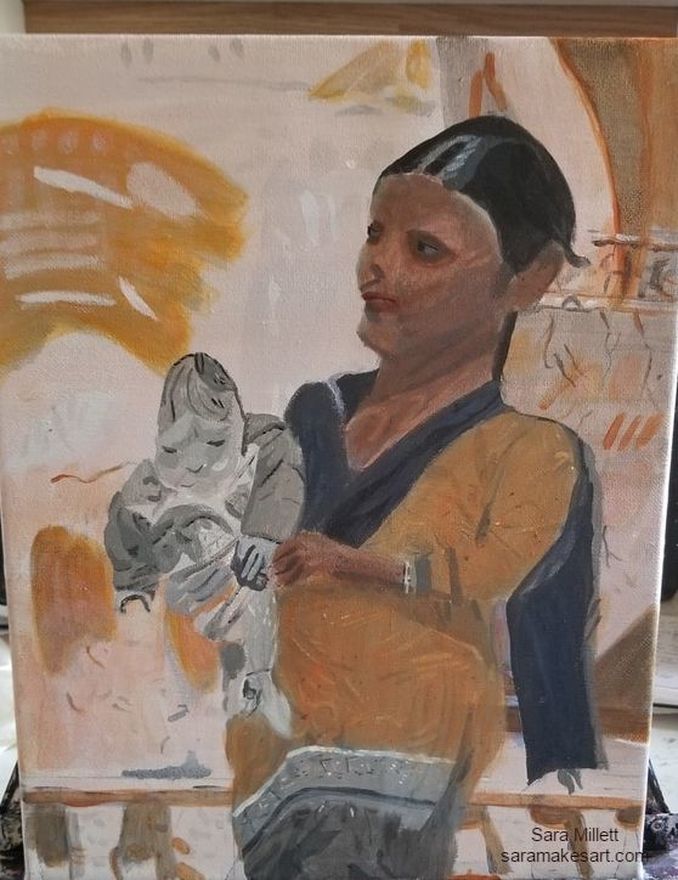 I mixed yellow light hansa and quinacridone red to make a transparent orange and applied it in three or four layers on her tunic. I mixed transparent burnt sienna into the orange I'd mixed for the woman's tunic and used a small round brush, and then a liner brush to create shadows in the folds. For her scarf and cape, I glazed several layers of ultramarine blue. I glazed a touch of magenta over her tunic to brighten the orange and painted zinc white over part of her scarf to lighten it and emphasize the folds. I mixed cobalt blue and ultramarine to make the color that I used to paint her rings. 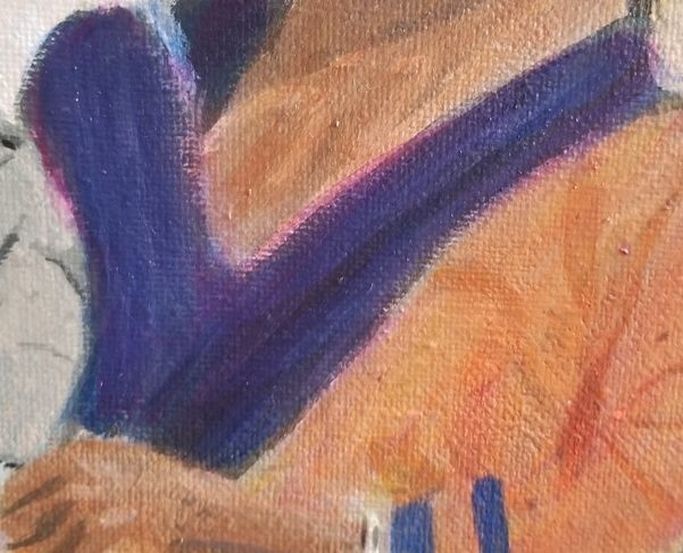 I glazed magenta over the her scarf and cape to brighten it. For the gauzy bit on her cape, I mixed zinc white and ivory black to make a transparent gray, then using a round brush, painted streaks of grayish purple and blue. I mixed more purple into my grayish purple color, and using a liner brush this time, painted streaks of this color onto the gauze. I mixed a darker gray from zinc white and ivory black, and again using a liner brush, painted a steak of this along the bottom. For the bottom portion of her cape, I let my underpainting show for the gray in the background. I used a liner brush and painted blue violet on the diamond like pattern. I used deep green permanent, ultramarine blue, and carmine, mixed with titanium white for the three stripes, going from top to bottom. I painted them with a little brush that came in a watercolor kit, but that works for acrylic paint too. I glazed zinc white and then hansa yellow light all over her skin to brighten it. I mixed transparent raw sienna, quinacridone red, hansa yellow, and zinc white to paint the baby's skin. After it was all mixed, I thought it was too dark, so I mixed some purple into it. Purple is the complement to orange, so it tones it down. I mixed some more of my fleshtone that I'd used for the baby and mixed that into some gray that I made by mixing zinc white and ivory black. I used this color to block in the baby's scalp. Then I mixed some more gray and mixed some van dyke brown that I'd saved into that, and, using a liner brush, I painted on strands of hair. Lastly, I painted on zinc white with a filbert brush. For the sleeves and hood baby's sweatshirt, I mixed a color that was mostly zinc white with some ultramarine blue, and, using a filbert brush, blocked in where this color went. I added varying degrees of ultramarine to this original color to make the shading for the folds, starting with the lightest shade, other than the base of course, and going darker. I decided the woman's skin needed some adjustments, so I glazed purple to town down the yellow, quinacridone red mixed with green, and transparent raw sienna all over her face and neck. Then I mixed some of my green-red shade into the transparent raw sienna and painted a sideways v on her forehead and a vertical curved line under her left cheekbone. For the patches on the baby's sweatshirt, I used cadmium yellow medium mixed with titanium white, cadmium red medium, and prussian blue. After making some adjustments to the baby's leg, here's the finished piece.
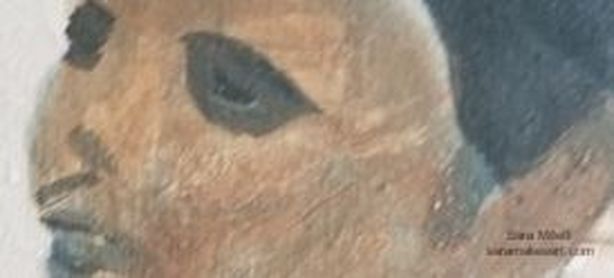
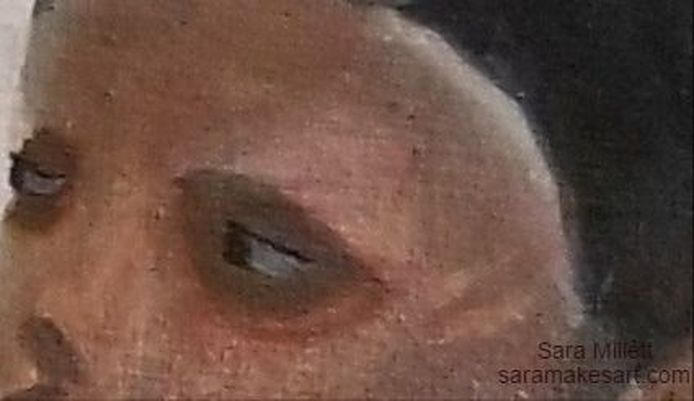
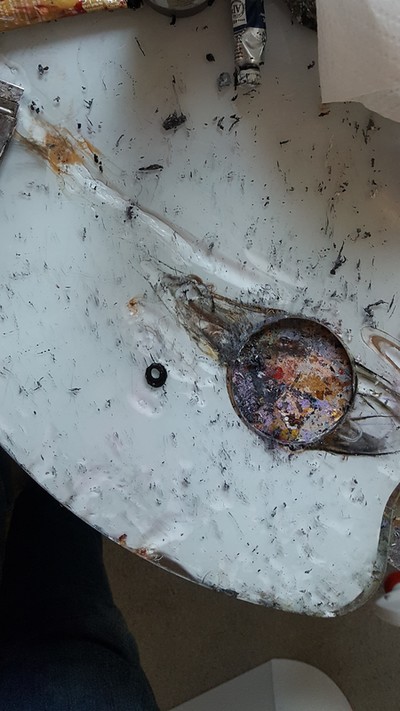
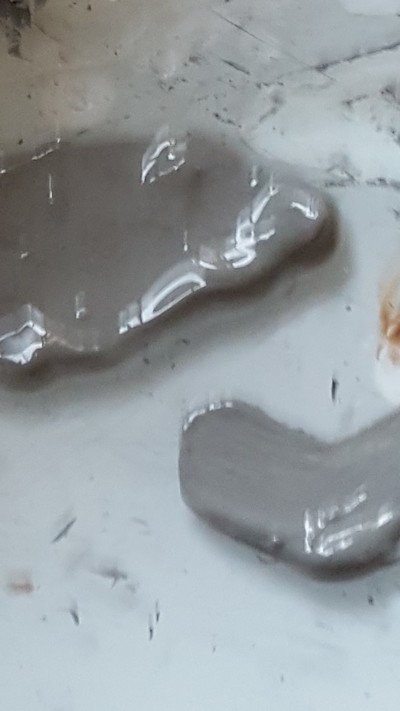
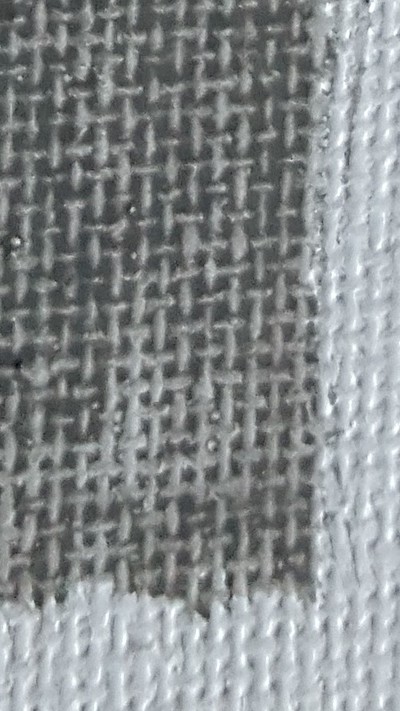
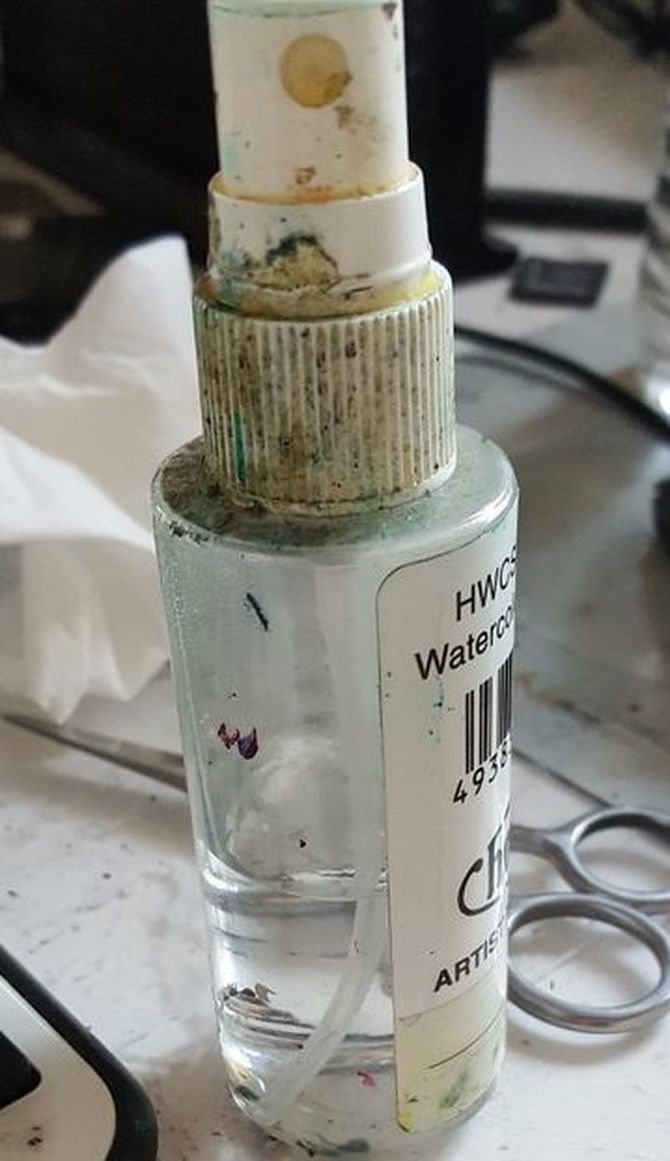
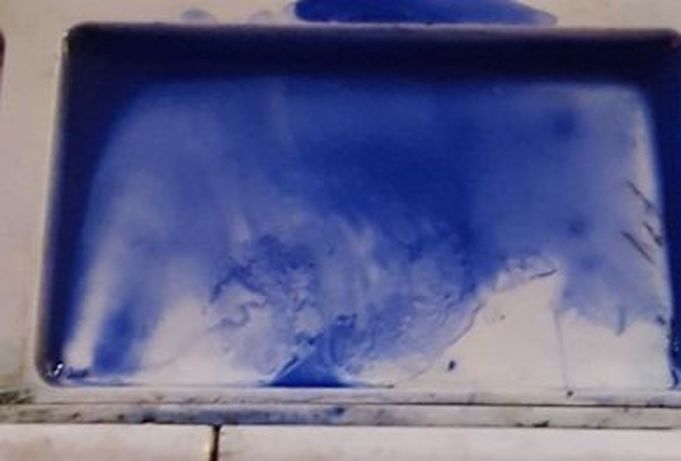
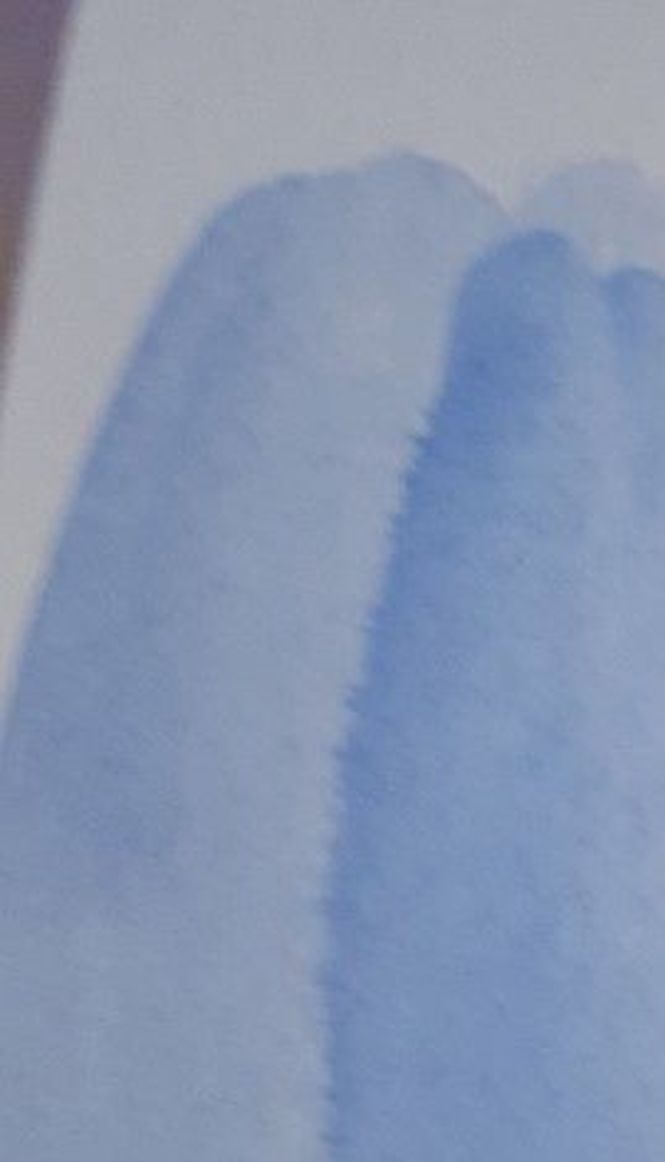
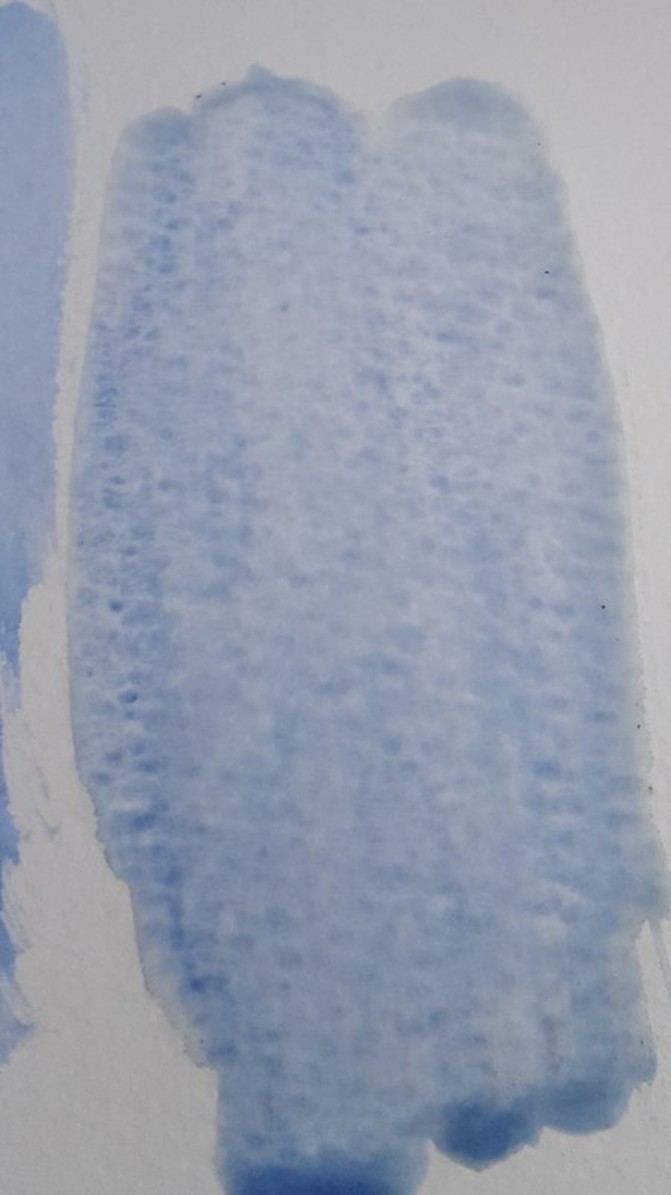
While working on my latest painting, it I learned that, while, as an artist, I use photos as reference, sometimes I have to judge a piece independently of the photo. In the photo I'm working, from the shadows around this woman's eyes are very dark, so of course I made them that way in the painting. But, as much as I tried to justify it, telling myself it looks that way in the photo, so it must be right, somehow I couldn't shake the feeling that something was off. Here is a a close up of her eyes as I'd first painted them. I decided to glaze over my shadows with transparent raw sienna and quinacridone red The result is this: The result, as you can see, is that, while the shading is still extremely dark, now it looks like it's part of the rest of her face instead having like she's wearing eye masks. So while a reference photo is pretty much an indispensible tool for me in order to create the pieces I do, I ultimately have to judge a piece on it's own merits. Just because something looks a certain way in the photo doesn't mean it's going to look right in my painting. That's all for now. I'll talk to you again next week. Please don't be misled by the title of this post. It's purpose is not to say which is better between the two, but just point out what I know to be the differences and similarities between the two mediums. Similarities The most major similarity between acrylics and watercolors is that they're both water soluble paints. That means they can be thinned with water and the brushes can be rinsed in water during painting sessions. Because of this, neither acrylics nor watercolors require the use of harsh chemicals so they're perfectly safe to let your kids play with, assuming they're old enough to know what not to put in their mouth of course;. Also, both watercolor and acrylics are relatively cheap mediums to work in. Now, no quality art materials are cheap cheap, but these mediums are a lot less expensive to work in then say oil paints. Differences So those are the similarities. Now for the differences. While all watercolor paint I've personally encountered pretty much has the same type of texture, acrylic paint comes in three varieties, "light viscosity", often labeled "fluid" or "soft body", medium viscosity, and heavy viscosity, often labeled "heavy body". According to manufacturers, the light viscosity acrylic paints are better for glazing for more realistic styles, while the heavy viscosity paints are better for impasto and impressionistic styles because they hold brushstrokes very clearly. If you like painting with a palette knife, a heavy body paint is definitely the way to go. A glazed effect is pretty easy to achieve with watercolor, because tend the put the paint on transparent. You can't really achieve an impasto look with watercolor, though, unless you layed the paint on so thick that it looked more like an acrylic or oil painting. But if you're going to do that, you might as well work with oils or acrylics. So in that sense, acrylics are more versatile than watercolors. That's not to say that you can't achieve a wide variety of styles in watercolor, though. But, if you like to paint in a style with bold brush strokes, you probably won't enjoy working in watercolor, since the nature of the paint interacting with the water tends to blend those out automatically. While writing this, I decided to do a google images search for "watercolor impasto" and I found pictures of watercolor paintings and impasto oil paintings separately. While there are watercolor canvases and acrylic papers, generally speaking most watercolor painting seems to be done on paper and most acrylic painting tends to be done on canvas. Acrylic paper doesn't seem to be good for much of anything other than practice anyway, so there. Another major difference is in the histories of both mediums. It wasn't as popular or as prestigious as oil paint, but watercolors have been around since ancient times. Albrecht Durer is known to have done them. Acrylics, on the other hand, as we know them, have only been around since about the 1950s. *Watercolor paints are comprised of just pigment and water, whereas acrylics also have a polymer called acrylic mixed into them, hence their name, which accounts for their more oil paint like texture. How I Work With Each Medium When I work in acrylics, I usually work on canvas. Sometimes I might work on board, but I never work on paper with this medium. I use a smooth glass palette without any wells, because I'm not going to be adding a lot of water to my paint. I'll usually thin the paint with some acrylic medium, or add just enough water to thin the paint without making it runny. In the gallery below, you can see both what that paint would like like on my palette and on the canvas. I achieve this by adding little bits of water at a time with a brush. When I'm working in watercolor on the other hand, I use a little spray bottle to load that paint down like crazy with water. When working in watecolor, you should expect to put so much water in the paint that the paints would run into each other if they weren't separated. That's why palettes made for watercolor have wells or compartments for individual colors. I'm including a pic of my watercolor paint in my palette after I've mixed water into it. You'll see that the paint runs along the edges of the compartment, because there's so much water. Note:If you already have a palette like this and want to try acrylics, you can definitely use it for that. I prefer the large glass palettes, though just because they're so much easier to mix on and clean. When working in acrylics I don't put anything on the surface under the paint, unless it needs to be gessoed. When I work in watercolor, though, I usually find it very helpful to wet the area I'm working on before putting the paint on top. It just seems to flow much better that way. Here's some paint put directly on the paper and here's some paint put down after wetting the paper. As far as how I actually paint, how I move the brush and stuff, that's pretty much the same with both mediums. The difference is in how I prepare the paint on my palette and how, or even if, I prepare my surface for the paint. So those are the similarities and differences between watercolor and acrylic paints and how I work with both. That's all for now. I'll talk to you again next week. *Since writing this post, I've learned that watercolor paints also include gum arabic and additives like glycerine, ox gall, honey, and preservatives. |
Sara MillettPainter of portraits and wildlife Archives
November 2023
Categories
All
|
