|
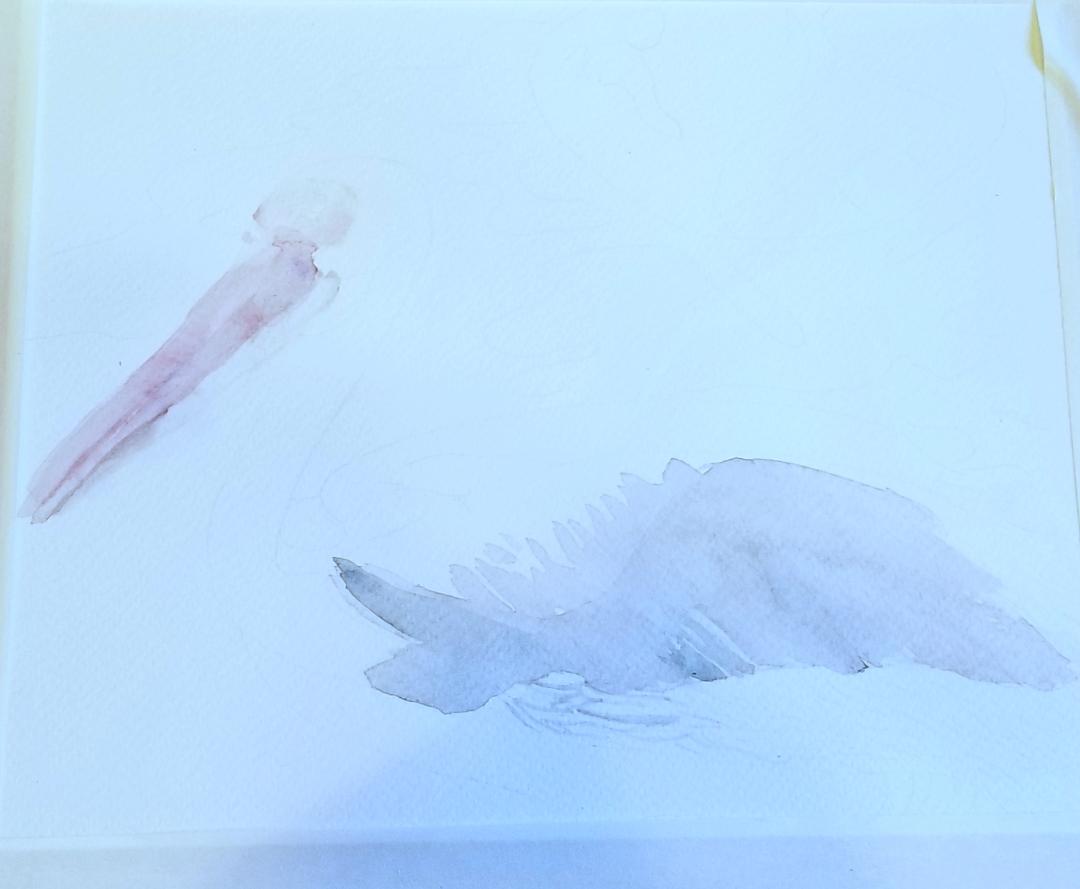
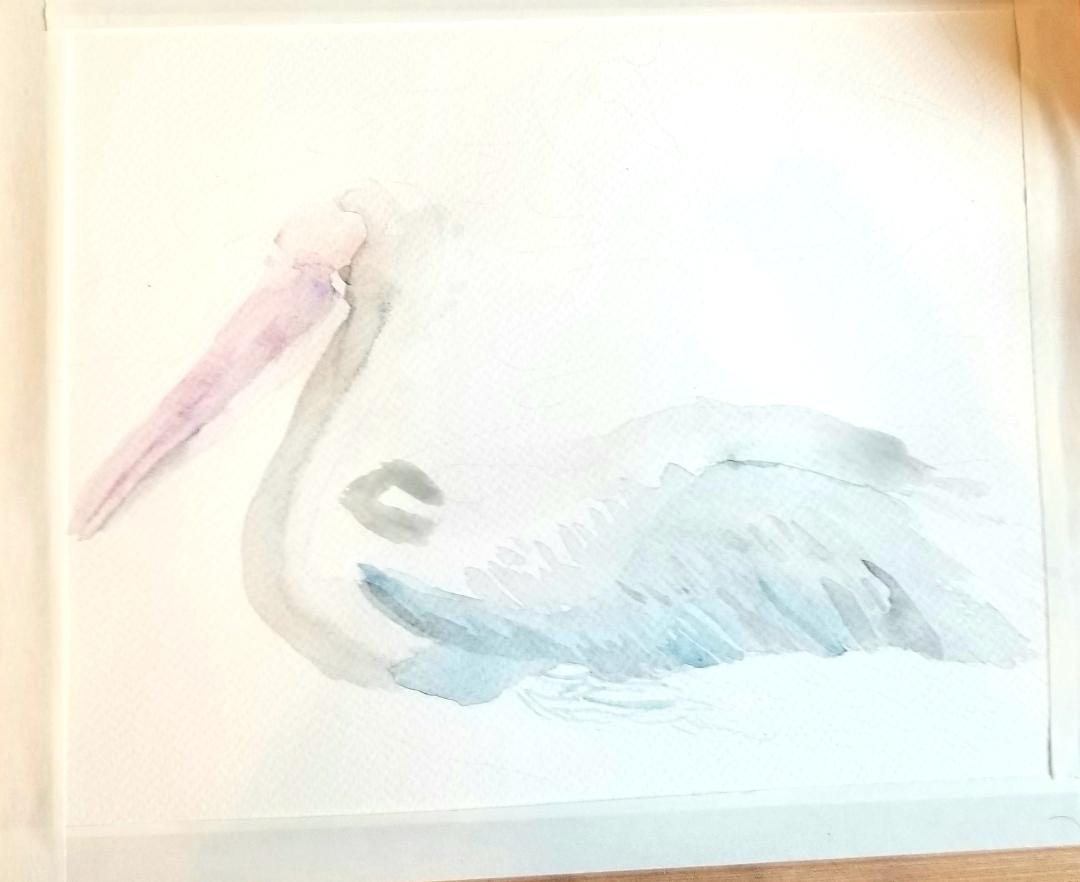
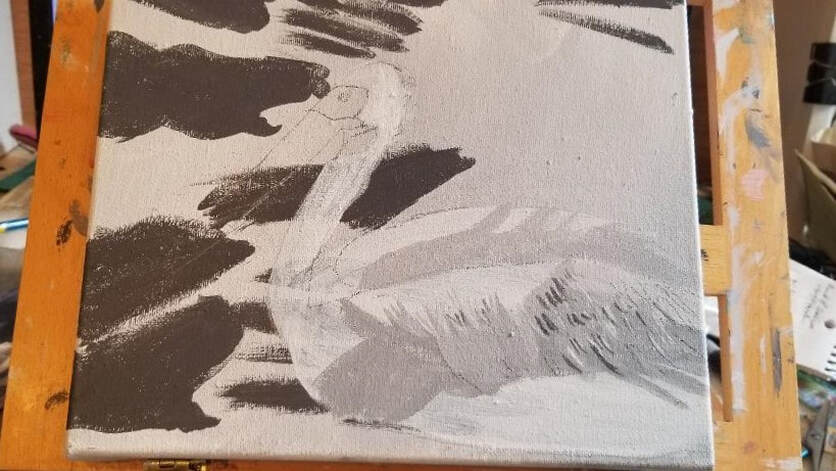
Staring at a reference photo and figuring out how to put what I see on it onto a blank piece of paper is always daunting, but I decided to start with a block of color over the bird's back. There was a subtle bit of blue in the shadows, which I decided to emphasize in my painting. Most of these feathers are being made by painting the shapes between them. Doing this makes the feathers themselves take shape. I'm finding it useful to hone in on just the side of the bird and really study these details, rather than try to understand the thing as whole. I'm painting these feathers using mostly the wet-on-dry technique so they'll have definite edges. This is because I need there to be a clear distinction between one feather and the next. I'm paying very close attention to what shapes I make and where I put them. I'm honing in on the feathers and ignoring the rest of the piece for this part. That's the only way I'll know the right places to put things. When it comes to acrylics, it's not so much about whether you paint wet-on-wet or wet-on-dry, but about whether you blend out your edges or not. I didn't blend out my edges this time, because I want the feathers to have definite separation. When doing lots of fine detail, such as is in these paintings, I recommend stopping every few seconds, or after every few strokes, taking a step back, and looking at your work. This is important, number #1, so you can see how things are coming along and make sure your on the right track, but also, it can show you that your hard work is paying off and that can motivate you to keep going.
0 Comments
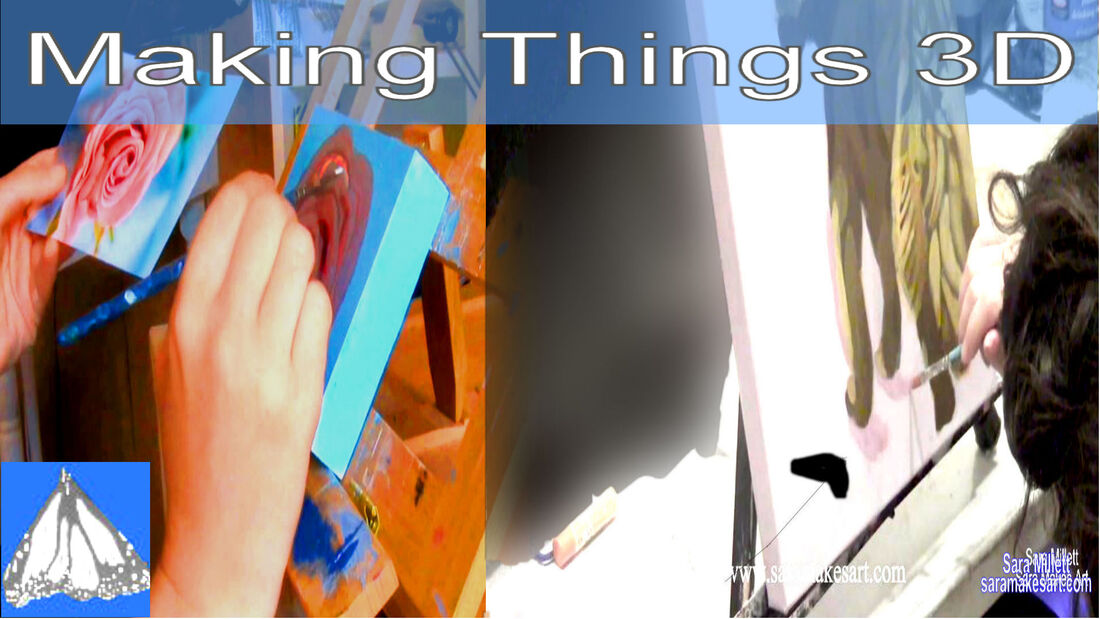
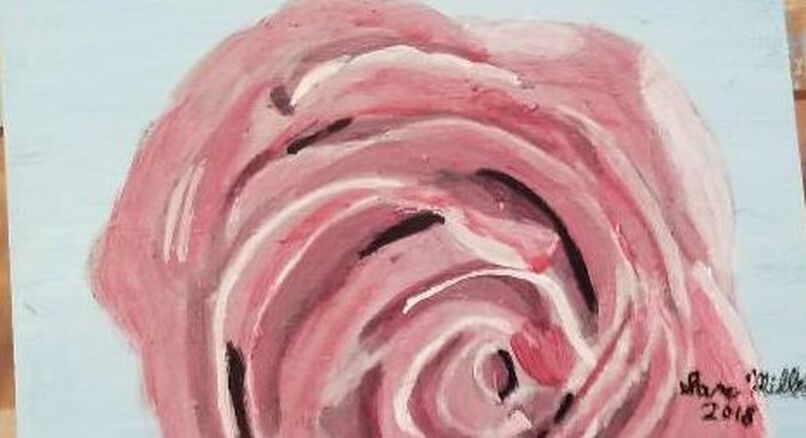
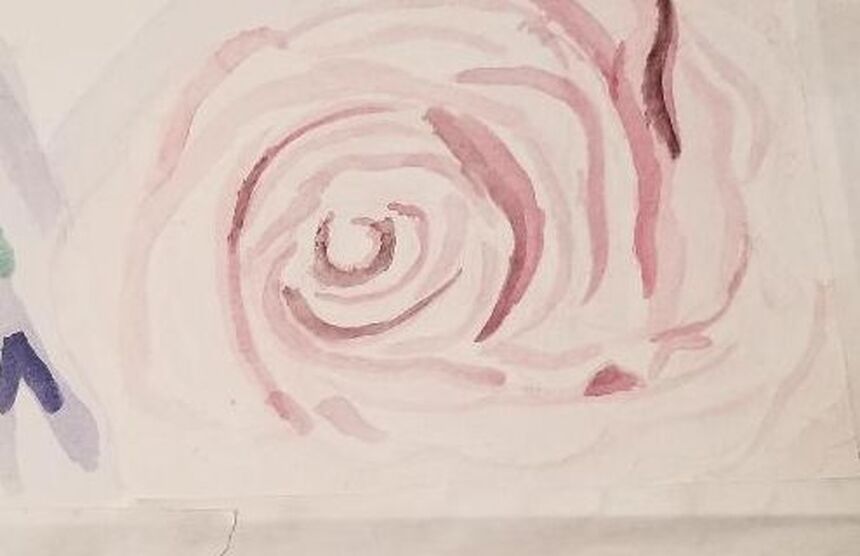
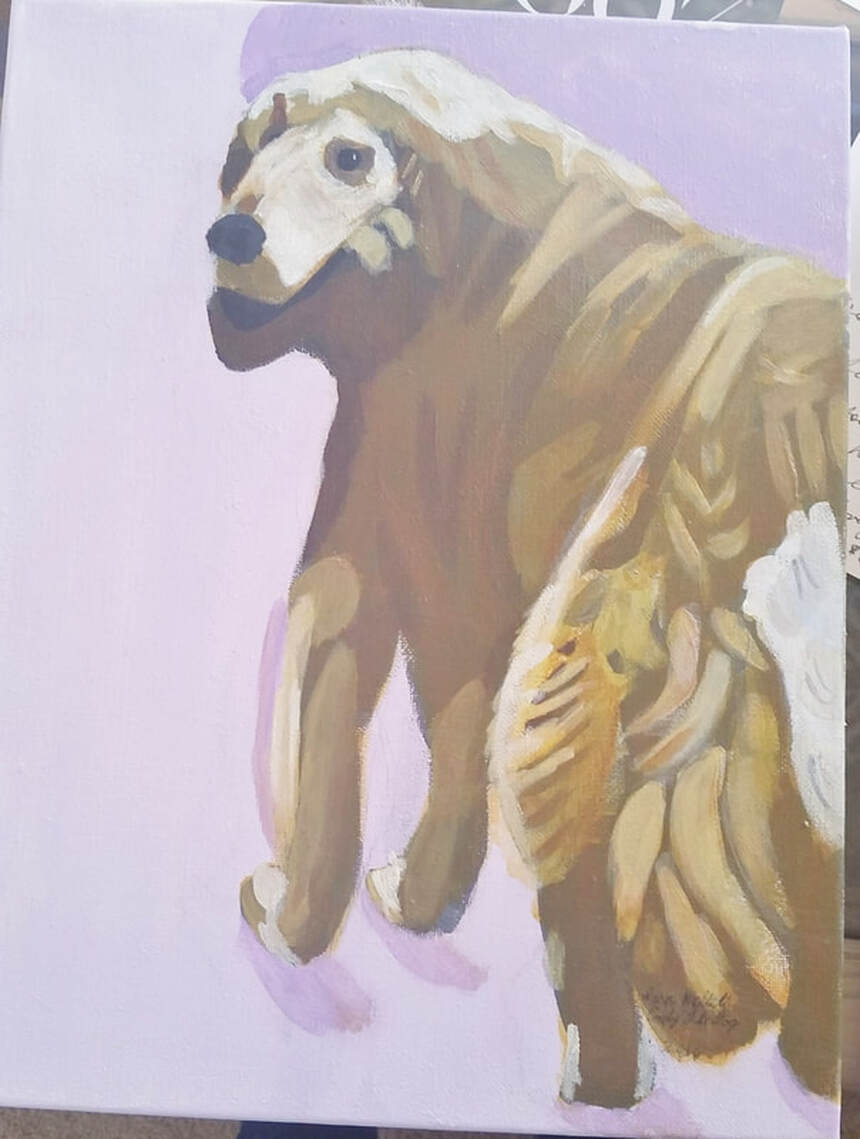
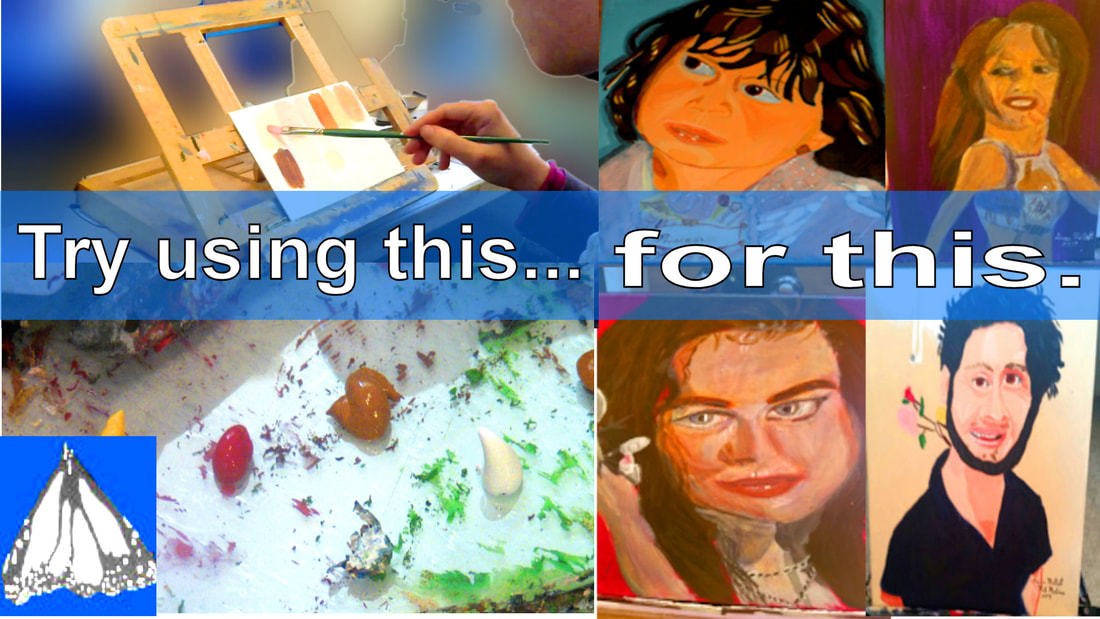
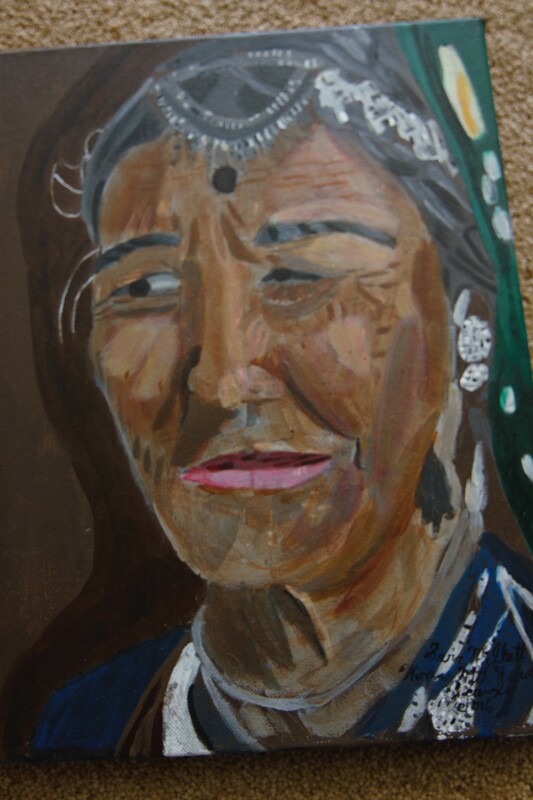
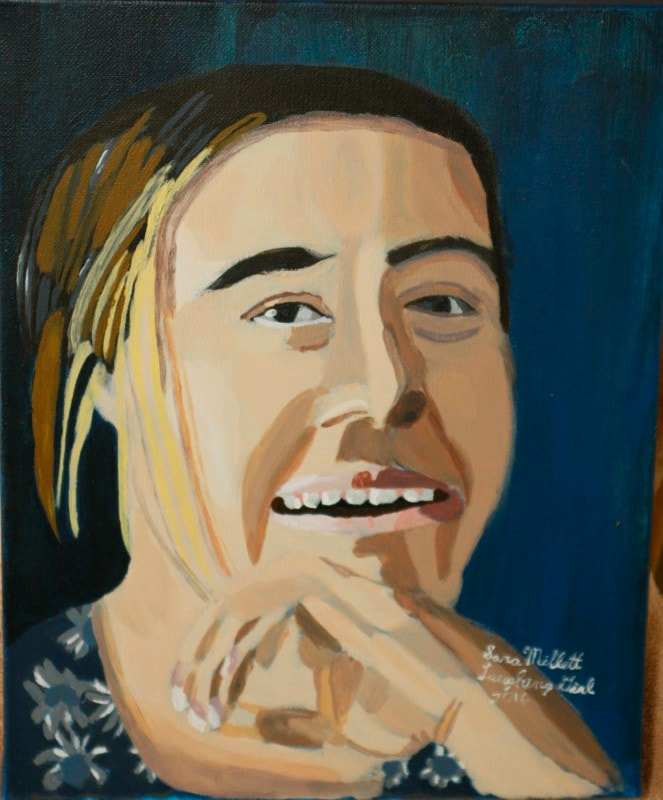
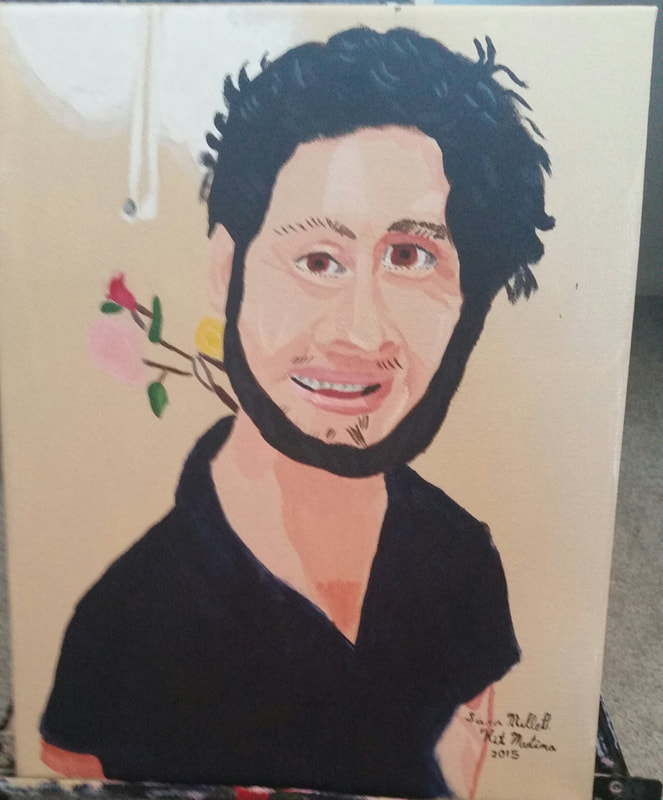
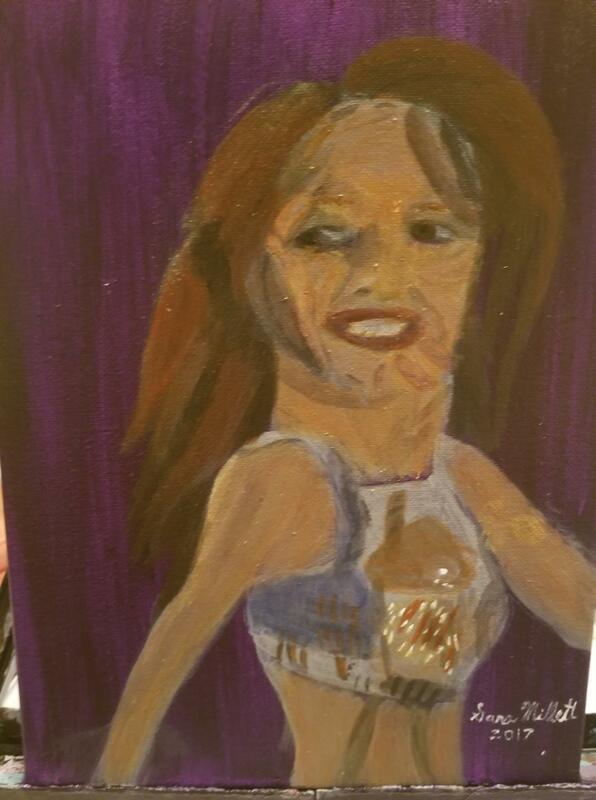
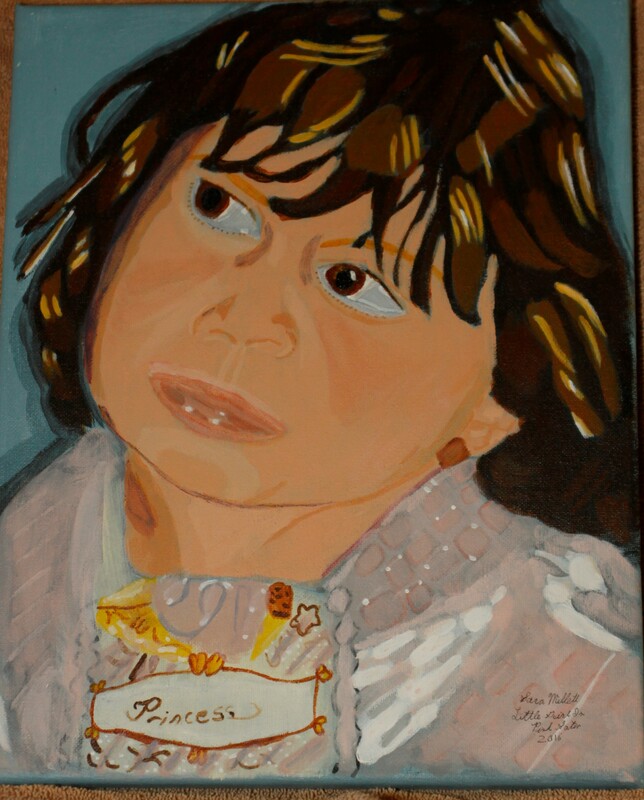
To make things look three dimensional, you must know where your light source is. The trick is to make some things look closer to the light source and other things look farther away. If every part of the object you're drawing appears to be the same distance from the light source, that's a very two dimensional drawing. As a rule of thumb, anything that's far away will be in shadow. The darker you make something, the farther away it will seem. On the other hand, the closer something is, the more light it will reflect and therefore, the lighter it will seem. Makeup artists know this and that's why they put highlighter( a lighter color than your skin tone) on the tops of your cheekbones and contour(a darker color than your skin tone), in the hollows of your cheekbones because they know that that combination of lightness and darkness will bring your cheekbones out. Take this rose for example, in particular the petals. The reason it has to much depth is because I made the tops of the petals super light, white in fact, and the underside of the petals black. All the shades in between also contribute to making the rose look three dimensional. I was afraid to go really extreme with my darks with the watercolor version. I had the idea in my head that watercolor should look delicate and so I deliberately avoided putting any black on it and instead just used a dark purple. Even without using black, though, I still could've made it darker than I did. Anyway, the result is that the watercolor version looks more flat. Slanted lines also help. Put shadows under and around things. Take this overhand in my painting, "Couple In Costume At Balboa Park Centennial". Notice how the line where the top meets the front is slanted upwards. That creates the illusion that the top is going away from the viewer, which adds depth. Notice how I put shadows under this golden retriever's paws going backwards and made the background near him darker than the rest of the canvas. All of his serves to create the illusion that he's standing on a surface and away from the wall. Remember, three dimensional things will always cast shadows unless their is even lighting all around them. So in summary, to make something look three dimensional, include plenty of contrast, use slanted lines, and paint the shadow the object is casting. You can see all these tips in action in the video below. For about as long as I've been painting portraits, raw sienna has been my go to color for mixing skin tone. I quickly found that it was perfect for the skin of caucasian people and I've also found that I can use to mix the skin of people of other ethnicities, by including colors in it, like green and purple. The skin for all the portraits below was mixed using raw sienna . This method can be used for both impressionistic and realistic painting techniques. For realistic portraits, I recommend using the transparent raw sienna in Liquitex's Heavy Body line. So far, unfortunately, I don't believe they have it in the Soft Body or the Basics lines yet. I recommend that and either the transparent mixing white from Liquitex or Zinc white from Amsterdam Standard series. Don't limit yourself when it comes to what colors you'll put in a skin tone mixture. Don't think you're only going to use browns reds and yellows. Depending on the skin tone of the person your painting, you might end up using any color in your paint box. This doesn't include all the shadows and highlights you're gonna paint on the skin either. See some mixing demos and here more tips in the video below. Amazon affiliate links(If you buy from these links, I get a small percentage of the sale price at no extra cost to you.)
Liquitex Basics https://amzn.to/2WkTQeV Amsterdam Standard Series https://amzn.to/2ESgoxV Transparent Raw Sienna In Liquitex Heavy Body https://amzn.to/31iSYve |
Sara MillettPainter of portraits and wildlife Archives
November 2023
Categories
All
|
