|
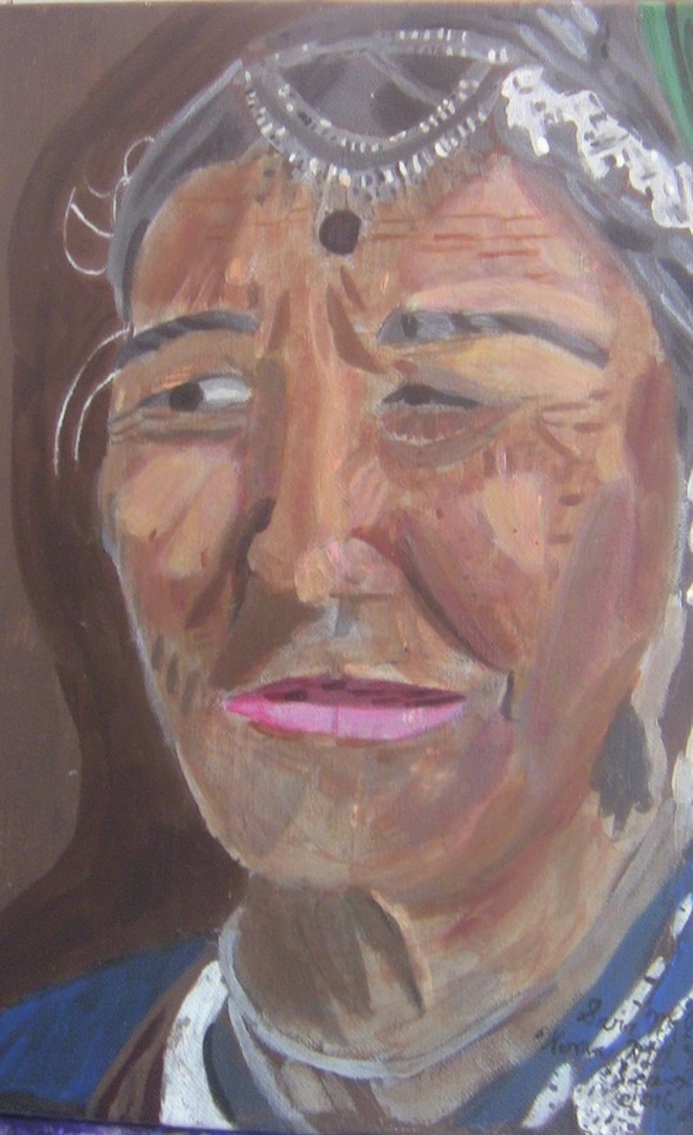
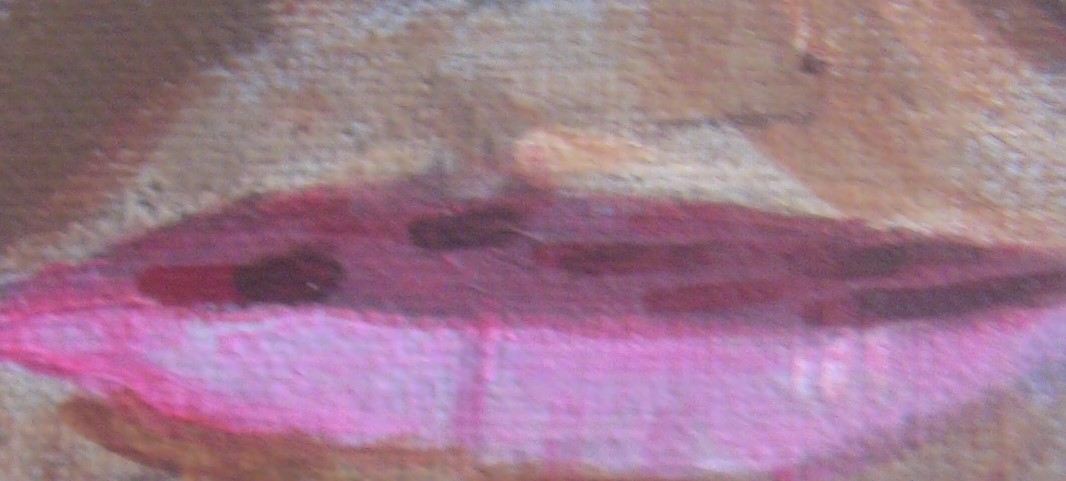
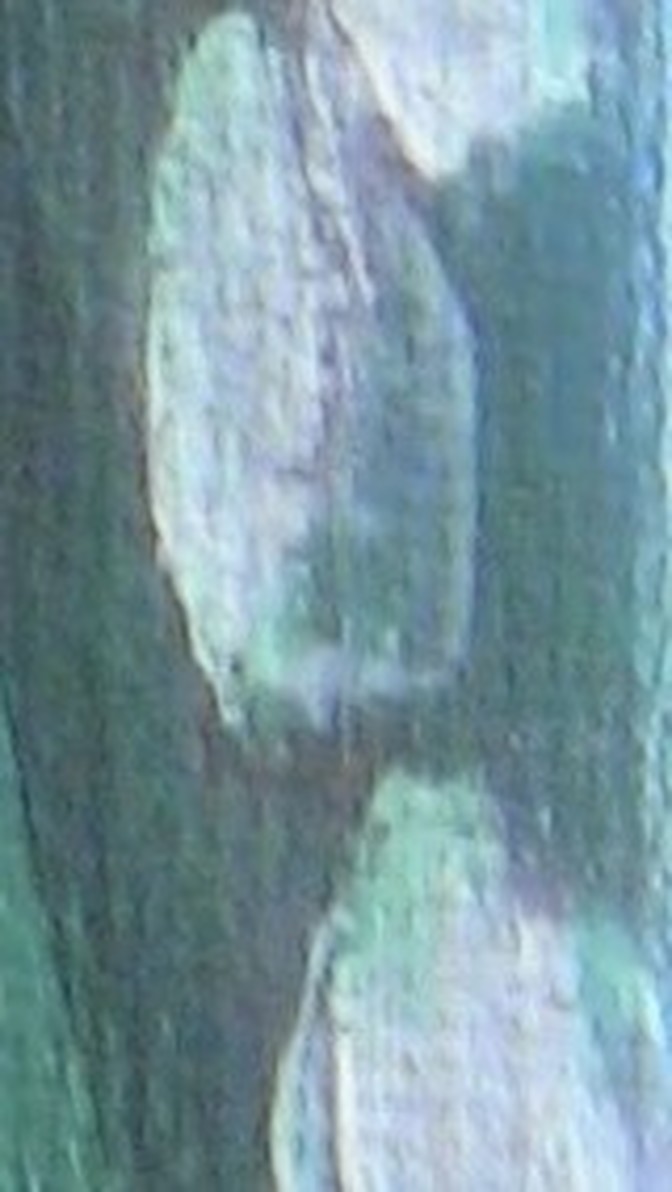
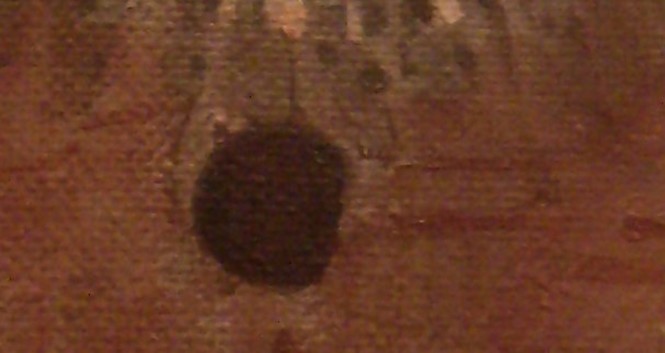
I finished a new painting! It’s an 11×14 acrylic on Belgian Linen titled “Woman With Head Jewels”. Here it is. Here's the video of this painting. To paint this woman’s skin, I used a combination of transparent raw sienna, cadmium red deep, permanent green light, transparent middle yellow, and zinc white. I applied this mixture in a single layer all over her face and neck. I mixed more of every color except white into my base color and used this slightly darker shade to paint the next darkest shadows, including the wrinkles. After attempting to lighten the color by adding more zinc white into the base color, I added my base color into some zinc white and painted the highlights. I glazed transparent middle yellow and cadmium red medium over some of the highlights to blend them in with the rest of the face. I went over the lightest areas of her face with zinc white, thinned with matte medium, to lighten them even more. I mixed azo yellow deep into the zinc white and glazed that over those parts. I put more zinc white out onto my palette, mixed cadmium red deep into that, and glazed that color over these areas. I decided that the light bits were a bit too light at this point, so I mixed more azo yellow deep and cadmium red deep into each of my mixtures to darken them and glazed these new shades over the areas I was working on. I mixed more of my original skin color to touch up some areas of her face. I noticed that some parts of the shadows had an almost grey tone, so I mixed zinc white and mars black, with lots of matte medium, and applied this in a glaze on the underside of her left cheek, under her left brow, on the right side of her nose, and on her left temple, along her hairline. I layered over that with glazes of transparent raw sienna, cadmium red deep mixed with zinc white, and azo yellow deep. I remixed my dark flesh tone and went around the curve of her nose with it. Then I mixed mars black into this and used this darker color to intensify the lines of her cheek. I mixed this color into some zinc white and painted the left side of her nose to make it stand out. For her lips, I mixed a touch cadmium red deep with white and painted three layers on her bottom lip. I added varying amounts of red to this color for shadows. I mixed burnt umber into my darkest mixed red color to make it brownish and glazed this in layers over her top lip. After finishing that, I realized the bottom lip wasn’t as bright as I needed it to be, so I mixed more red into my light pink color I had mixed and glazed this in layers over her bottom lip to intensify it. I added more definition to her top lip by painting streaks of a color I made by mixing cadmium red deep with burnt umber. I was going for a darker version of the base color I’d using on her top lip. I mixed black into that and painted small details with this very dark brownish red shade. For her scarf, I used deep green permanent in a single glaze, then mixed zinc white into that and, using a small round brush, painting thin streaks of highlights on the side closest to her head. I mixed mars black into my green color, and, using the same brush, painting lines of shadow. I used zinc white for the small dots on her scarf. For the big mark towards the top, I mixed azo yellow medium into my zinc white and applied this in a single wash. I mixed transparent raw sienna into the zinc white and yellow mixture, and using a medium round brush, created the darker patch. For the ornament on her forehead, I mixed dioxazine purple into van dyke brown and applied this color all over the ornament. I mixed zinc white into this color and applied it in the center. I painted her hair using varying shades of grey made by mixing mars black and zinc white, going from a medium charcoal shade to an almost black shade. I mixed a much lighter grey color, and, using two different size liner brushes, painted streaks of this color, making them more curved towards her face. I put touches of zinc white into this clumps. This gave her hair texture and depth. I followed the same technique to paint her brows. I took some of the same shades that I’d used on her hair and eyebrows and went over the marks on her jewelry. I added more zinc white to this also. To paint chains around her neck, I mixed up a light gray color and filled them in using my smallest filbert brush. I mixed burnt umber into this color, and, using a small liner brush, painted the pieces of yarn on her tunic. I mixed cadmium red deep into the burnt umber I had on my palette and painted the spaces in between the pieces of yarn. I mixed a darker version of my background color, which was a grayish brown, and painted about an inch wide shadow around the right side of the subject. Come back here next Monday for another painting post. I promise your email will not be published.
0 Comments
Making my drawings more accurate is something I’ve been striving for lately, so I’d like to pass on some of the knowledge I’ve acquired to you. One bad habit a lot of artists, myself included, is that we draw eyes too big. Eyes are an important feature, after all they determine the subject’s expression. But they should only be as big as the space between the eyes. To make it super simple, take your thumb and pointer finger, measure the space between the eyes, as I show in the video, and then measure your eyes, take a pencil and make marks where your fingers are and adjust your eyes as needed. You can use organizational line to make your drawings more accurate. In this video, I include a visual demonstration on using organizational line to insure correct placement while drawing faces. I want to point out that this is a guideline and won't apply to every face. Also, don't worry so much about making both sides exactly the same. No one's face is identical on both sides anyway. I personally don’t use all those lines I show you here. I just try to copy my reference photo as best I can, which brings me to my next point. Pay a lot of attention to your reference photo or model if you want your drawings to be accurate. So many artists just glance at their reference photo or model and then look at their drawing the whole time without ever looking back at the model or reference photo. As artists, we need to spend at least fifty percent of the time that we’re working on a drawing, looking at the model or reference photo. I spend a lot of time looking at a photo before I even start working from it. Even if you look at your model or ref photo constantly while working, you’ll probably still make mistakes in your initial outline, which brings me to the final piece of advice I’m going to give you in this video. When you do your initial out line, use a light pencil, unless it's a sketch for a painting, because you can wash it off and the paint will probably cover your pencil lines anyway. I personally use a 6h for my outlines. It’s dark enough that I can see it, but I can also erase it as many times as I need to and I won’t have smears. That’s what I’m getting at here. If you’re using a dark pencil to make your outlines, you can only erase so many times before your paper is filled with smears. If you want your drawing to have bold outlines, only use a dark pencil over your light pencil when you have everything where you want it. Thank you so much for watching and reading. I hope that was helpful. I do timelapse drawing and painting demonstrations, as well as art related vlogs on my channe Saramakesartl, so if that sounds good to you, click the link in the video to subscribe, for new videos every Wednesday. I’ll see you all next week with another video post. Bye. I promise your email will not be published.
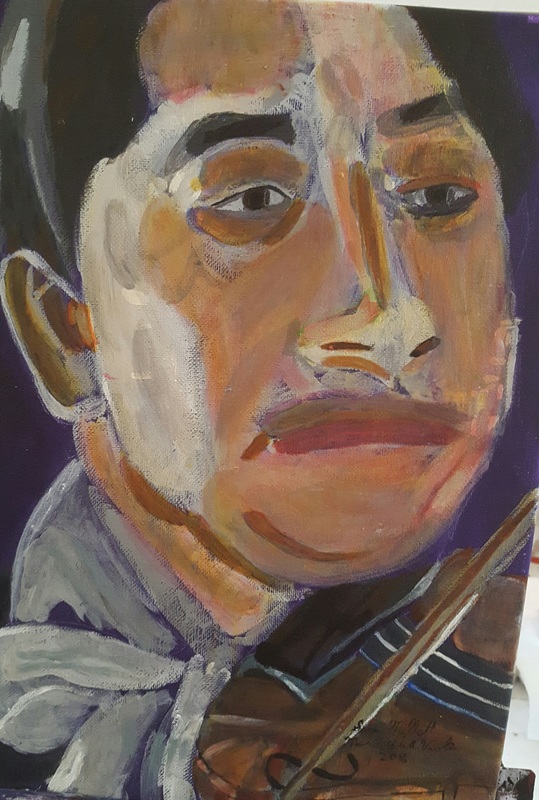
I finished a new piece! This is an 11×14 acrylic on belgian linen titled “Man With A Violin”. My reference photo came from paint-my-photo.net.
Last Friday, I had the honor of attending the San Diego Monster Drawing Ralley, anevent in which artists draw for one hour where people can watch them. There were five drawing shifts in all. All art was put on sale for $60.00. I got as much footage as I could on my phone and put together a little compilation of people drawing, which you'll see in the video. I asked my mom to film me while I was drawing, so you'll see some of that footage, too. Here are the display tables. I’d brought my own supplies, but I had a real thrill looking through all the stuff that was here. I also have a clip introducing you to the organizer of the event, Meegan Nolan. There were also live bands and someone making balloon animals. 100 artists were invited to draw in the Ralley and I want to publicly thank Meegan Nolan were allowing me to be one of them. Thank you so much for watching. I hope you enjoyed me taking you on this little journey with me. I do timelapse drawing and painting demos and art advice vlogs on my channel, so that sounds good to you, click the link in the video to subscribe for new videos every Wednesday. I’ll see you all again this Monday with a painting post. Bye. If you enjoyed this post, please sign up for my email list so we can keep in touch. The form is below. I promise your email will not be published.
|
Sara MillettPainter of portraits and wildlife Archives
November 2023
Categories
All
|
