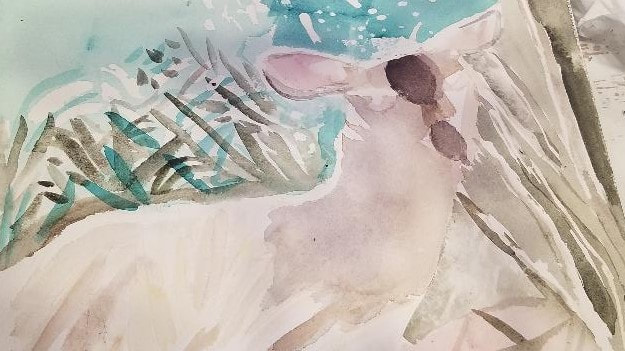
 In this post, I'm going to explain how I did this watercolor painting of a doe in the bushes. An important tidbit I've learned about watercolor painting and layering is to paint your lightest colors first. Not only is it pretty much impossible to paint a lighter color over a darker one in watercolor and have it show up, but if you put a layer of paint on top of one that has less water in it, the water in the upper layer can cause the layer underneath to lift, even if the layer underneath was dry. 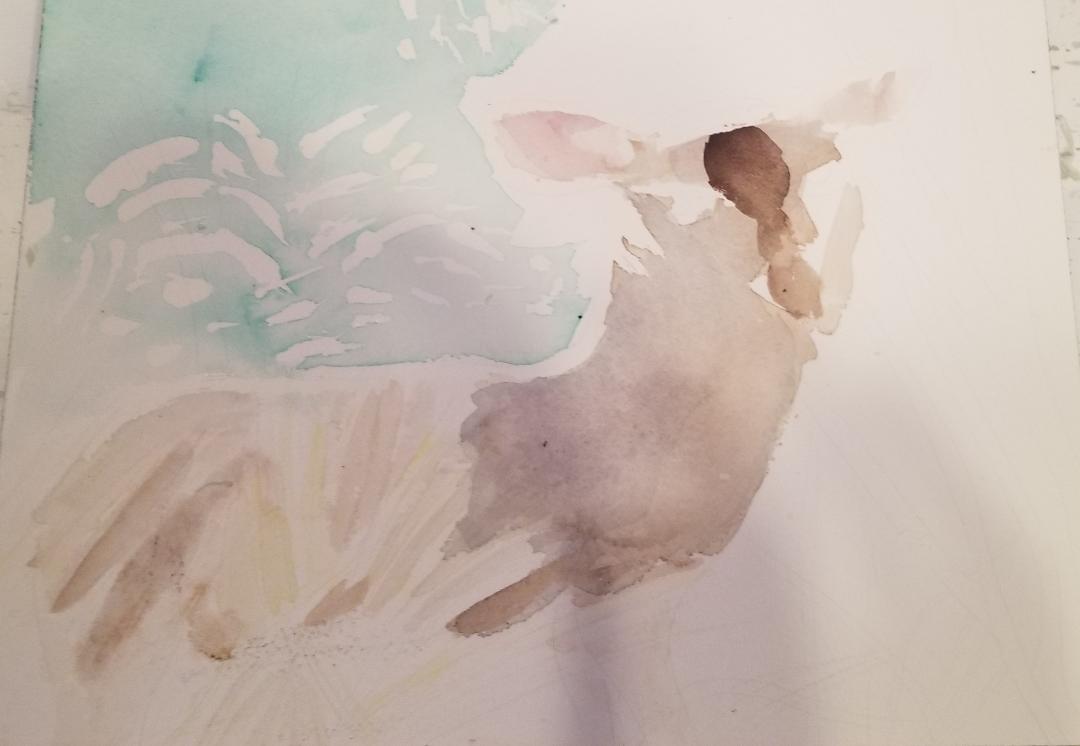 This is day two. I started by putting masking fluid down on parts of the deer's face and body that I wanted to stay white. I thought his body should be painted a taupe brown color with a grayish purple shadow. My plan to accomplish the taupe brown base was to mix my burnt umber with paynes gray. After wetting down my paper, so the color wouldn't go on too dark, I painted on my first layer. It didn't turn out grayish enough for me, though, so I layered black over it, but the black was watered down so it looked gray. Before I painted the purple shadow, I wetted that area of the paper again so the edges would be soft. Then I mixed some of the black that I already had in my palette into the purple I had. I actually liked the look of it better after I dabbed the color with a tissue, lightening it. For my background, I put down masking fluid in placing that were going to be white spots. This photo was taken early in the morning, so that probably had something to do with why everything was so bright. I wetted the paper again, and using my flat brush, I painted a blue-green that I'd mixed from emerald green and ultramarine blue. 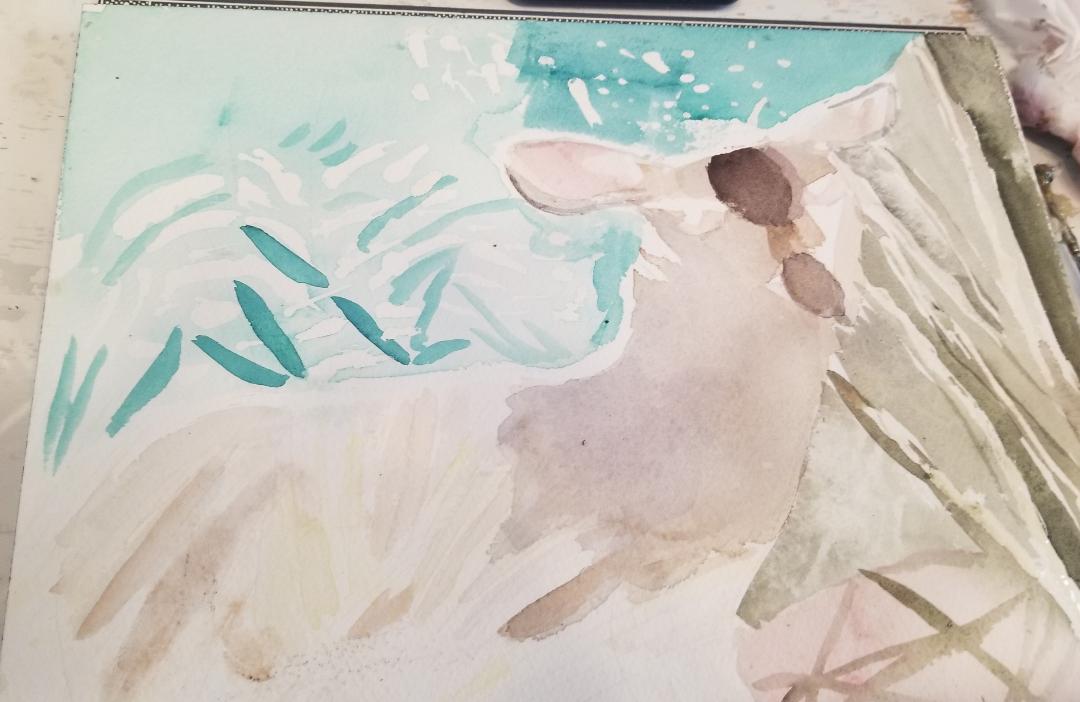 Here's day three. I knew I would have to go over the brown marks on her forehead and that's the first thing I did in this section, starting with watered down black, and when that was dry, purple. I painted the edges of her ears with black and brown paint, being careful to leave a rim of white showing. I had very little water in my brush while I was doing this so that I could have maximum control to make the shapes I wanted. I turned my attention to the background. First I put some dots masking fluid down in the space above the doe's head. While letting that dry, I went back to the same color, the blue-green that I had used to paint the background near the doe's back, without wetting the paper this time, and with relatively little water in my brush, painted texture in this area. Once my dots of masking fluid were dry, I painted some of the blue green over that space with my flat brush, but with the paper dry this time because I wanted value color to be darker this time. While I'm on the topic of the background, I came across an example today of why you need to always look closely at your reference photo and never assume anything. I was prepared to paint the whole background the same blue-green, but, on closer inspection, I saw that the brush on the doe's left was more of a yellowish green. You might even say it's more olivy. I tried mixing that shade by mixing my emerald green into some dried yellow that I already had on my palette. I ended up with a very bright yellow green. I needed to darken and dull it and I tried to do that by mixing black from another part of my palette into the paint. I still had yellow-green in my brush when I went to scoop up the black, though, so I ended up accidentally mixing the colors in that compartment. Even though mixing the colors in this way was an accident, though, when I saw the results, I knew they were what I had been aiming for, so that was going to be the color I would use. This part of the painting would have to wait, though. The next thing on my agenda was figuring out what to paint the ground underneath the doe's hooves. I decided on a pinkish brown. I wanted this to be very light because I was going to paint sticks on top of it. I wanted to get the ground painted first, so I wouldn't absentmindedly paint that area with my yellowish green. I wanted to have highlights on the branches, so I put down more masking fluid. Then, having mixed black into the same brown that I'd used to paint the doe's body so it was even more grayish, I painted the branches with my smallest round brush. Now it was finally time to use that grayish yellow green that I'd mixed earlier. Using my medium sized round brush, I painted my the yellow green, carefully, around the branches I'd painted.
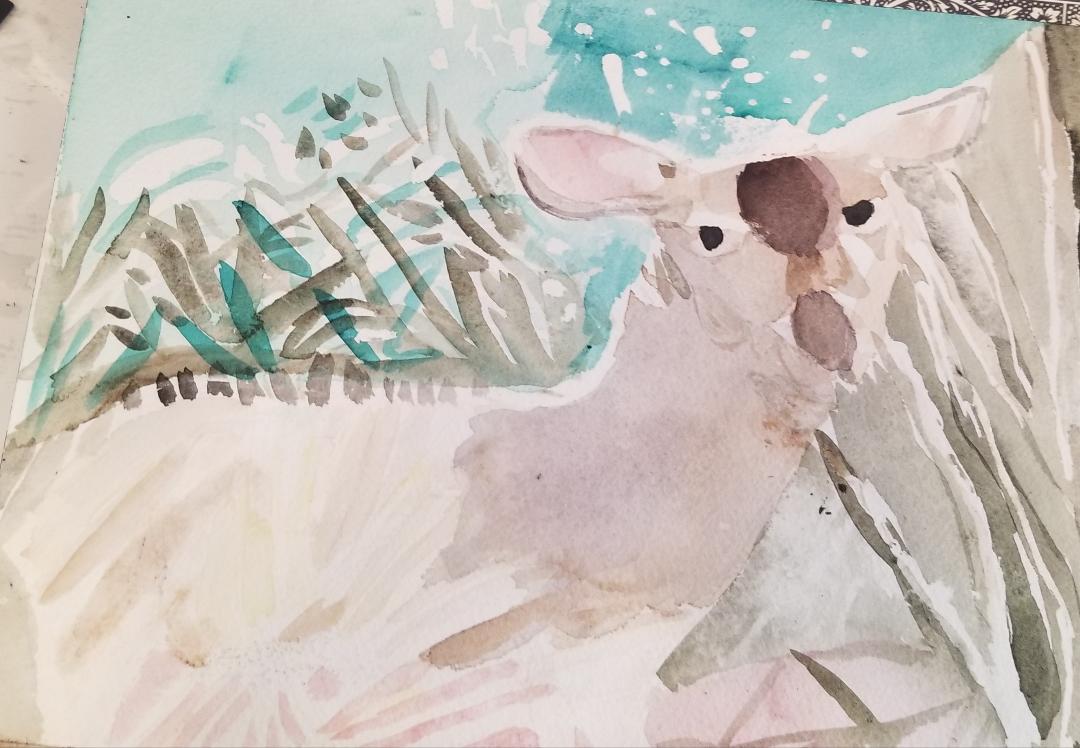
Days four and five. On day four, I was down to the last twenty minutes before I was due to "close shop" for the day. I thought I wouldn't have time for something as involved as painting. I set up my stuff, without dallying, and painted the brown in the bushes that you see above the doe's back. You can see that I went right through some of the green and the white. That's exactly what I wanted. I wanted the brown to be fairly dense, to I painted little clusters here and there and painted some vertical lines going off the horizontal lines. I also painted more on the branches on that day, going almost to the edge, but being careful to still leave some white showing. I was so anxious I would accidentally lose that white! On day five, I painted even more brown, this time, going right up to the edge of the doe's back and leaving just bits of white. I'm leaving more white than is in the reference photo, just because I'm nervous about accidentally covering up too much of the white and I'd rather have too much white showing than lose it all. You can see I've finally given her some pupils too. There were some parts of her face that needed touching up, so there wasn't an abnormal amount of white showing. On the topic of white, I did something that is unorthodox in watercolor painting and that's to take some titanium white acrylic paint and use that to mark out areas that I want to be lighter than the color underneath them, and that I forgot to paint around. After fighting with the color a bit, I used some plain burnt umber and dabbed it with a tissue. I couldn't forget the rest of the ground under the doe's hooves, so I used the same light pinkish brown I'd used before. I painted very slowly around this part, so I wouldn't accidentally paint over the grass here.
0 Comments
|