|
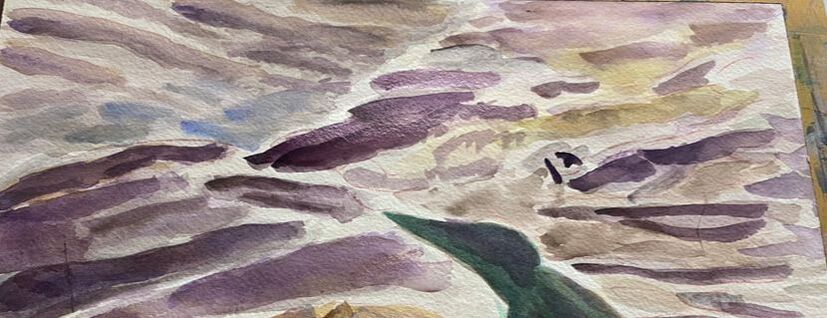
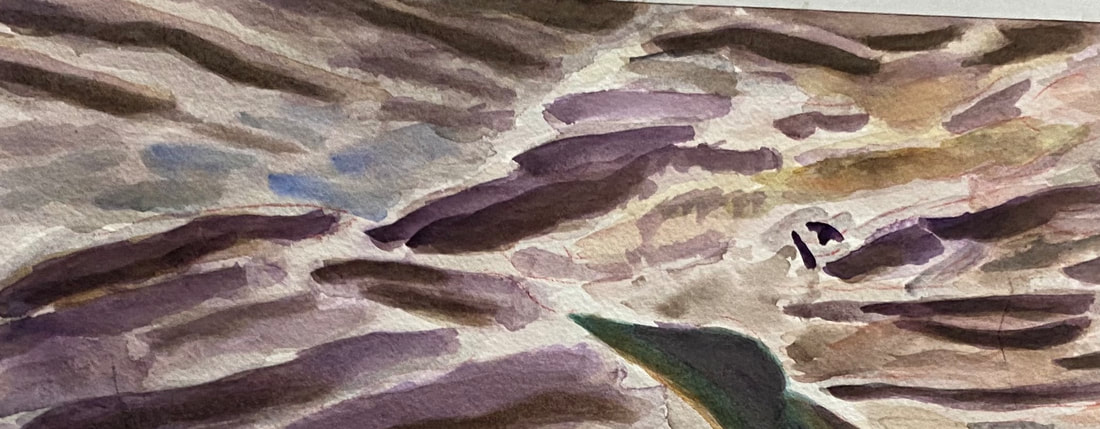
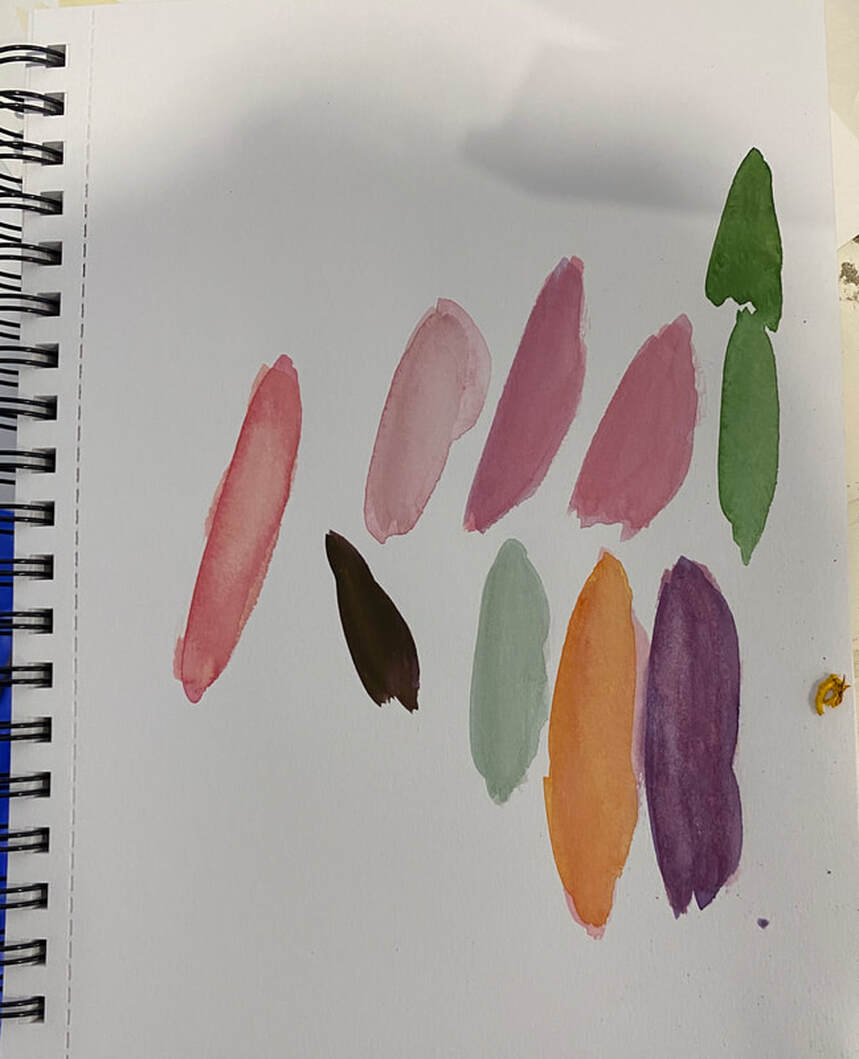
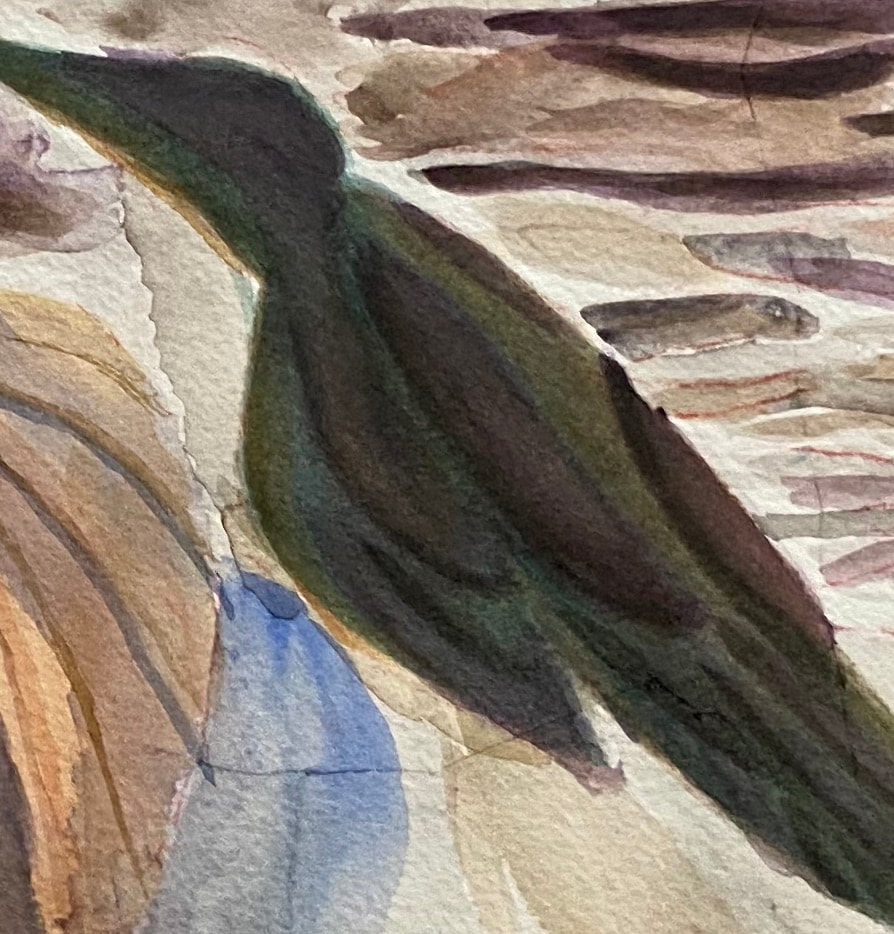
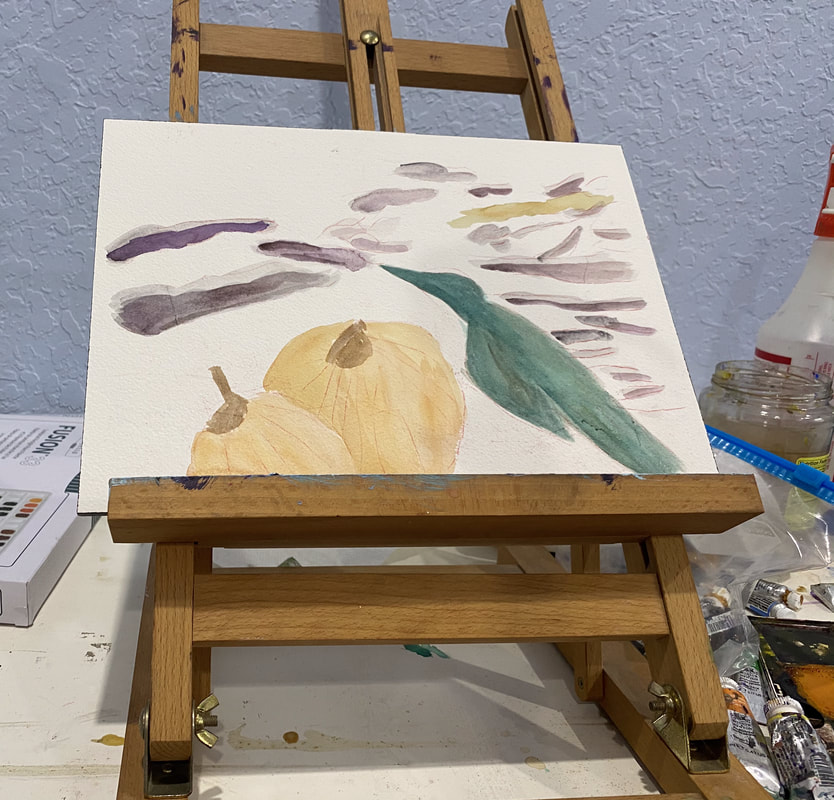
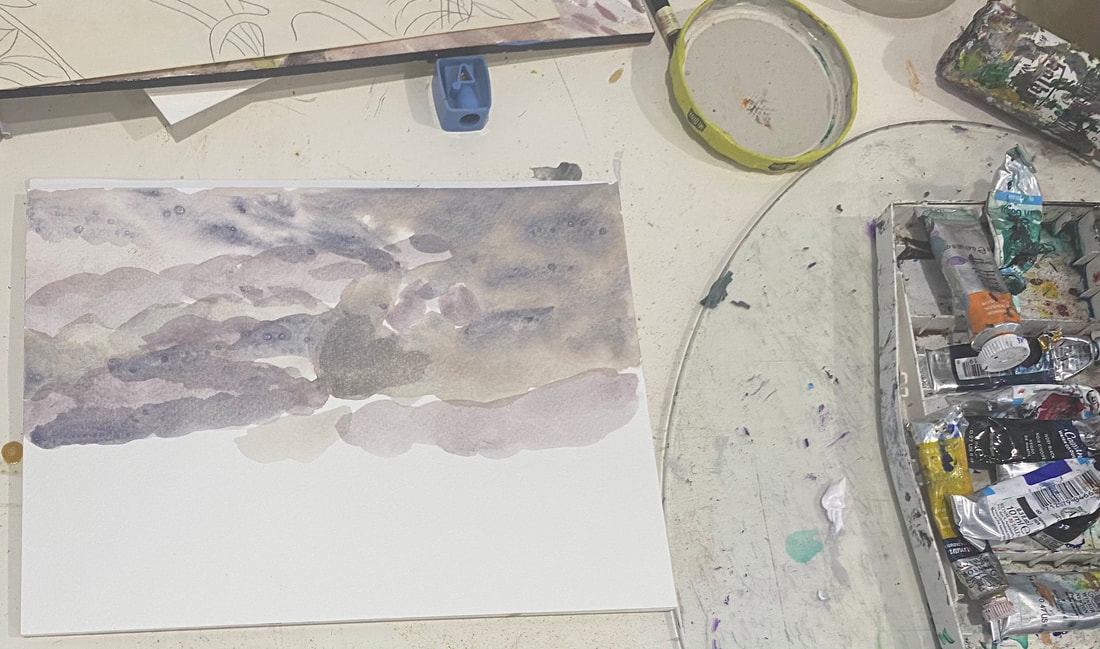
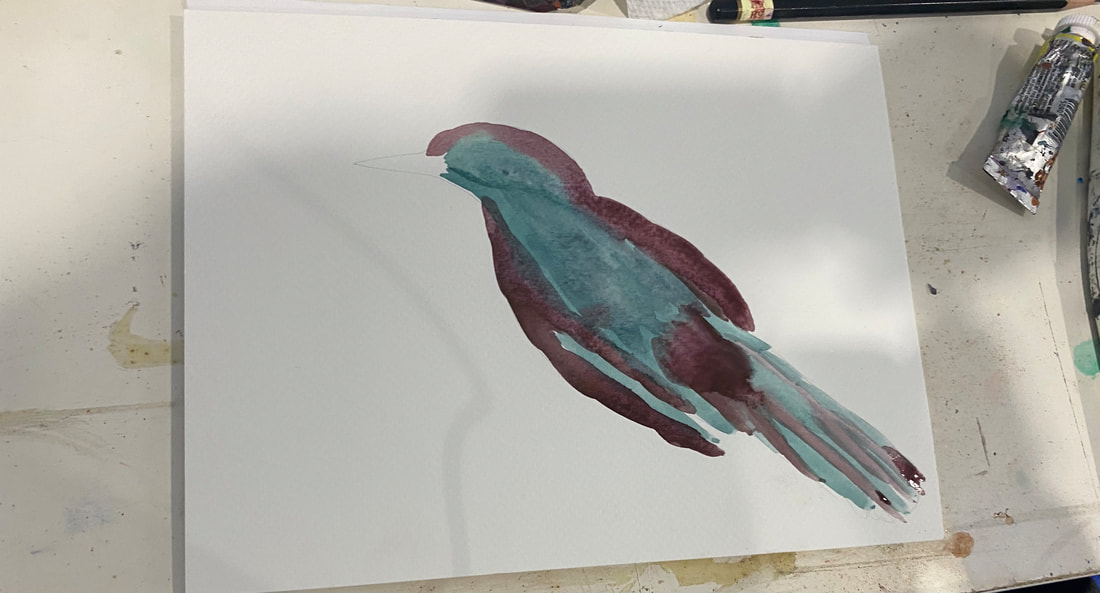
I’m learning things about painting clouds in watercolor while working on my current painting. At first, I just followed what I saw in my reference photo as best I could. After I put down a few shapes, though, I wasn’t happy with my results. My edges were too harsh. I tried wiggling my brush back and forth, thinking this would help me get the soft edges I was looking for. It helped, but it wasn’t enough. Then I thought to myself, you know, this is probably the perfect time to use wet on wet. Wet on wet is for when you need soft edges, which of course, is what I needed here. I thinly wetted the area I was going to paint and when I did, boy did I love the results. The paint was a little runny, but those soft, almost smokey edges seemed to almost create themselves. It takes a lot longer to build up your darkest darks using this method, but it’s worth it, as I’m finding. Note: After I've built up a few layers, I find that I can start using wet on dry again for the darkest shadows. Here's an updated picture. In Other news Mixing with Alizarin Crimson I found out that alizarin crimson makes a beautiful orange when mixed with cadmium yellow and a gorgeous purple and violet when mixed with cobalt blue. I found this out while experimenting with these colors in my mixed media art book in the 2nd craft studio of my community’s clubhouse, a room my family has unofficially dubbed the art room. Changing My Mind About The Bird In My Painting My goal for my bird in my painting has changed. You may remember me saying I wanted him to be stark black. Well, having seen how it’s coming along, I’m starting to think a more iridescent effect would be cool. I’m doing this by increasing the warmth of the purple and the coolness of the green, because it’s that contrast that’s going to give me shimmer. Also, because the essence of iridescence means that an object reflects the colors of the other objects around it, I’m bringing some of the orange of the pumpkin into the bird.
1 Comment
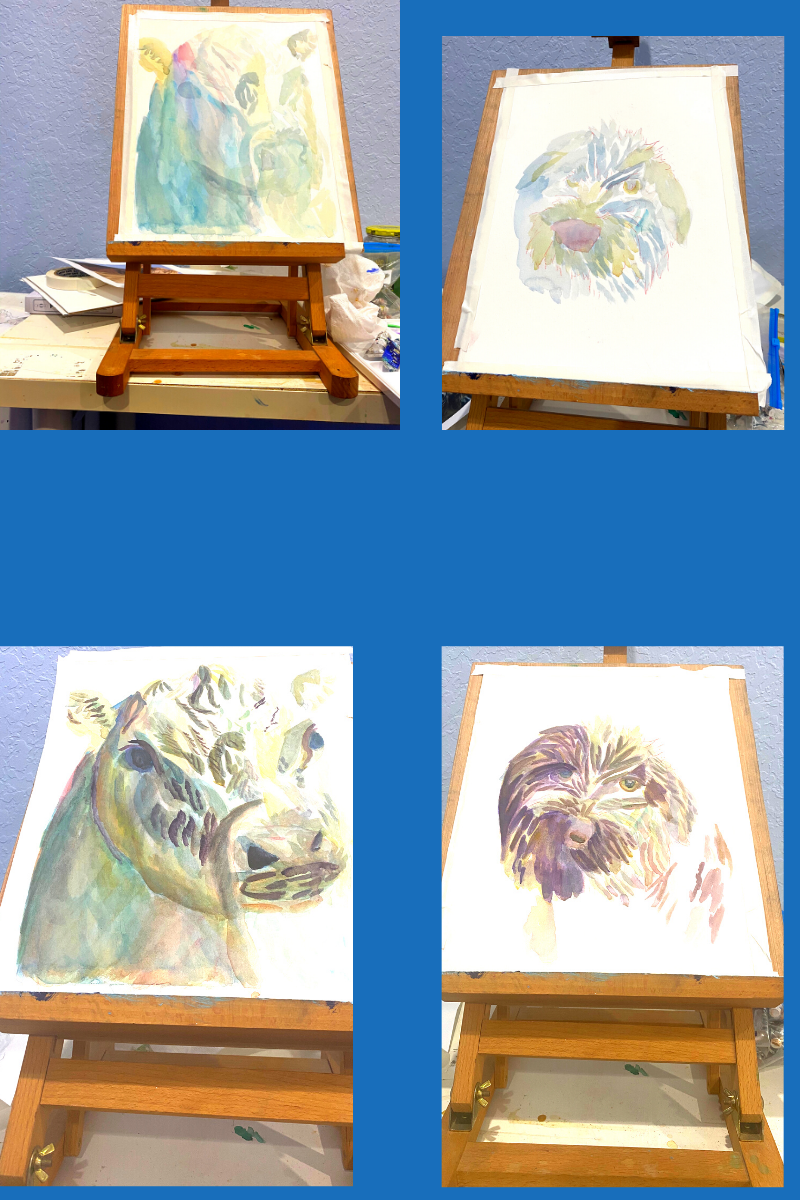
Jul 14 On Monday, Tuesday, and Thursday of this week, I’ve been taking a virtual workshop in painting animals in watercolor and I’d like to tell you a bit about what I’m learning. The class is taught by an artist named Alicia Farris. Lesson number one: Don’t use so much water I have the habit of relying on using tons of water to lighten a color. After all, it’s called watercolor, right? But in this workshop, I’ve learned to use proportionally less paint if I want my color to be lighter. In this way, I don’t have to use so much water and I have more control over my colors. I also don’t get that dreaded dark ring around lighter color that happens from there being too much water on the paper and the paint migrating toward the edges. Lesson number two: It’s better to build up dark colors by layering on the paper itself than by trying to mix them on the palette This is something I’d kind of already observed in my own work, but now I know not to be frustrated if a color doesn’t seem to mixing as dark as I want it. Lesson number three: I can use more than one complementary colors I’ve known about complementary colors and how they work together for a long time, but I’d been stuck on exact combination; ie, red and green, blue and orange, and yellow and purple. In this workshop I’m learning that I can use other color combinations to achieve the effect of combining complementary colors, as long as my color combination includes a warm and a cool color. For example, in working on my cow, I used burnt Sienna and raw Sienna to mute ultramarine and cerulean blue. Don’t layer two primary colors, though, unless you’re trying to make a secondary color, ie, don’t layer blue and yellow, if you don’t want green. Warm your blue with orange or maybe burnt Sienna. Lesson number three: Combining analogous colors creates a more vibrant color Like complementary colors, I knew what analogous colors were before I took this workshop. I had never thought about their potential to brighten other colors, though. I realize now that I’ve been using this principal, subconsciously in one of my favorite color combinations, cerulean blue with ultramarine blue. You can hear more about how I use this combination and why I love it here. Lesson number four: Think of each segment of the piece as it’s own entity This is another concept I already knew, but probably needed to be reminded of. This means just focusing on the area you’re painting and, for the time being, ignoring the rest of the image. You see, I’ve known this is tremendously helpful for a long time. I’ve even talked about it on my YouTube channel. But I still fall into the trap of trying to figure out how I’m going to paint an entire piece at once and getting overwhelmed. This obviously makes painting more stressful than it needs to be. Jul 14 Today we had the day off from the class, but Alicia was kind enough to hold a q&a to give us an opportunity to ask questions. I wasn’t sure if I was going to participate, but since I was sitting at my computer anyway while it was going on, I decided to pop on the q&a, even if it was just to listen to other people’s questions. I got some tips on mixing black and how to avoid blooms. The first one involves mixing ultramarine and burnt Sienna. I can use green to intensify or red to warm. The second one requires waiting until my previous layer is at least semi dry before adding more paint on top of it. During final hour of the broadcast, Alicia did a demonstration of on using negative painting to depict trees and I worked on my crow with pumpkins and storm clouds painting. I tried to keep what I learned about water in mind. Jul 15 Today was the last day of the class. We added some finishing touches to our cows and spent most of the class working on our dogs. I touched on this in my comments on lesson number three, but this time I was more conscientious of how the color I was putting down was going to effect what was underneath it. I had some blue in my dog and while I wanted to soften the blue, I didn’t want it to turn green, so instead of using yellow, I used raw Sienna instead. Ways This Workshop Inspired Me After taking this workshop, I want to practice negative painting more. I also want to do a series of painting dog’s eyes in watercolor, like the one's I did in acrylic. I think this workshop is going to change the way I think about the painting process going forward. I’ve always incorporated warm and cool tones into every painting, but I now I think I’m going to have it my head as I’m painting what temperature the color I’m putting down is. In my current project, the bird is green, which is a cool color and the pumpkins are orange, which is warm obviously. When I work on it again, I’m going to be thinking about if I want to put any warm tones over the bird and any cool tones over the pumpkins. If you're reading this at the time of posting, Ms Farris is holding this same workshop again in September. Like the other workshop, this one will also be virtual, through Zoom. I can't guarantee that spots will be available by the time you read this, but I thought I'd share the link, just in case.
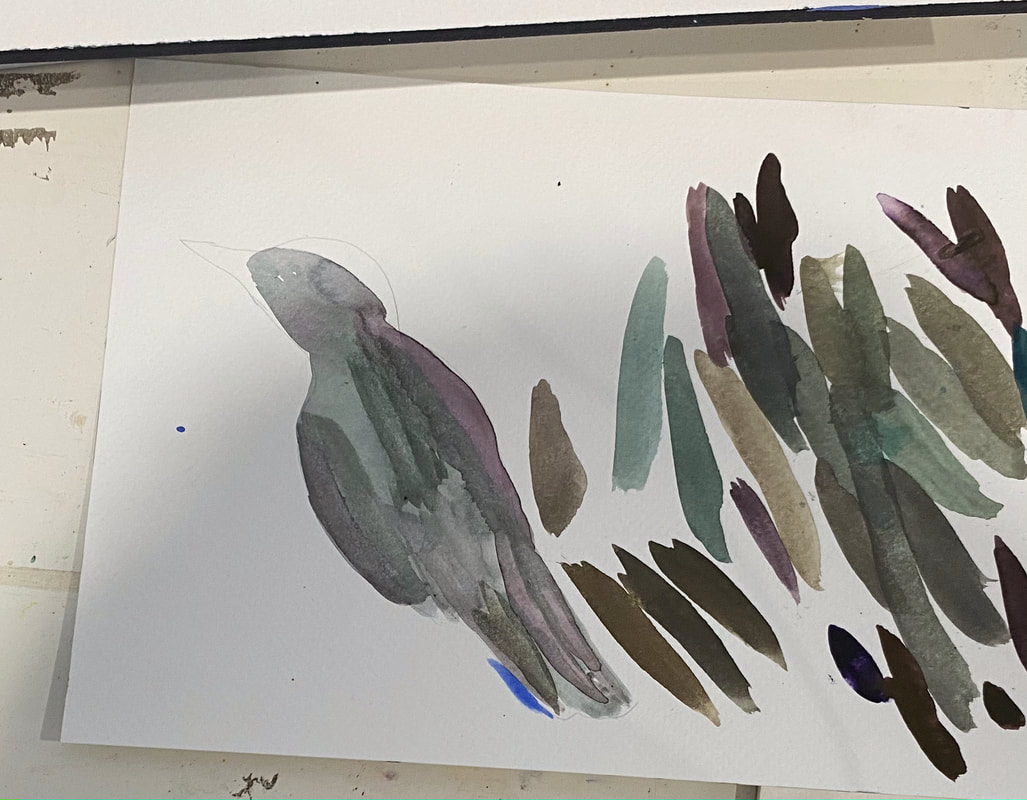
I said in my last post that I had doodled some clouds as practice for an upcoming painting. There was another reason I did it too, though and that’s stress relief. I hadn’t painted in a couple of weeks, and as you might guess, I was getting pretty antsy. I was almost feeling guilty for not doing any art. With my mental state at the time, though, I couldn’t handle the pressure of an actual project. I needed to do something where I had the luxury of not caring how it came out. Cheap pads of paper or boards are perfect for this. You can throw your project away when you’re done if you want. I don’t think allow myself to just play with paint often enough. It felt really good to it at that time. The stress lifted off of me for the moment. I’ve decided I’m going to paint my crow with a base of dark green and not black. He’s going to have purplish brown shadows on him. If I paint him solid black, he’ll look flat, like a silhouette. On July 7, I set about mixing a green for the bird. The well I mixed in already had a greenish yellow color in it. I want a very dark bluish green for my purposes. I thought I could start by mixing some ultramarine into the paint that was already in the well. This could be enough to get me the color I was looking for, I thought. As I dripped more and more blue in to the well, tested the color, and saw that it stayed brown, I knew this wasn’t the case. It was going to take my eons to get the color I was looking for this way, if it would work at all. I thought, I’ll use the green that’s in my tube and add blue to it. That’ll work. It seemed to for a bit, but I was surprised, and not pleasantly so, to find that after awhile, the more blue I added, the more brown and gray the color became. I thought the color that was already in the well must be muddying it up. I needed to clean the well of the old paint and try again. Later, in a clean well, I put my green and then mixed some blue into it. When I tested it, I liked the results. I decided to mix some red into it, thinking that, because red is the complement of green, this would help to darken and mute the color. When I did it, though, I must have mixed too much because it turned the mixture brown. I mixed more green and blue and I'm going with that. Then I put down some purple in another well and some yellow to mute and brown it out. I made a couple of sketches of the bird I’m planning to paint. I haven’t explored sketching in mediums other than pencil very much, but I’ve heard it can be a good way to plan a painting. Seeing how these colors look next to each other on paper gives me more clarity and more confidence than imagining them in my head. What's Happening With My Video? Well, I had to put my video demo of painting a blue heron on the back burner, due to technical difficulties. I was going back and forth with the Wondershare team and while they were very accommodating, I’d reached the point yesterday where there was nothing more I could do until I heard from them again. I moved forward and started editing my anhinga painting video. Well, great news! This morning I heard back from the Wondershare team again, and following their instructions, I was able to get sound back in my video! I can go back to editing it. That's all for now. I'll talk to you again next time.
I got a comment on an old video of mine asking if I’d made any videos on productivity and how to overcome laziness as an artist. It turns I’ve made several videos on these topics, which I directed the commenter to. Here's my playlist of them if you're interested. But, anyway, I don't mind making another post. I find that the best way to overcome laziness is to make what you want to do into a habit. For example, before the pandemic, I would get on the bus and go to a mall, that had a branch of my gym in it, and workout in the morning. In a very short amount of time, I didn’t have to muster the motivation to do this, because it was part of my routine. I even continued working out during the pandemic, even though I wasn’t going to a gym, because I’d already cemented the habit. I’m going to share three tips for developing a painting and drawing habit, the first two of which are inspired by the book Atomic Habits by James Clear. The first is the two minute rule. The Two Minute Rule Instead of telling yourself you’re going to sit down and paint for an hour, pick a habit that takes two minutes, or less, to complete. This may mean you don’t even paint. You might just set up your paints and brushes. Now if that’s all you end up doing, fine. You’ve completed the habit. But, you might find that once you see your paints and brushes set up, it feels natural to start painting. Before I had a place dedicated to painting, I would just tell myself I’m going to set my stuff up, set up my camera, set up my paints, everything. I wouldn’t even think about what I was going to paint. But once everything was set up, it was so easy at that point to just start painting. Now, when you’ve gotten to the point where setting up your paints and brushes no longer takes an effort, you might add another two minute or less habit on top of it. You might put some paint out onto your palette and just make a few strokes on the paper or canvas. If you’re drawing, you might draw some lines or scribbles on the paper. Remember, what you make here doesn’t have to impress anyone. You don’t even have to like it. This is just to get in the habit of making art. Writers swear by the two crappy pages a day rule to keep up their writing habit and we artists have to have our equivalent. I really believe if you actually start painting though, you’ll want to continue beyond two minutes. Habit Stacking The second tip is habit stacking. That just means you take a habit that you already do and tell yourself that after you complete this habit, or during it, if that’s convenient, you’re going to paint. For example, you might decide every evening after dinner, I will paint, or when I get home from work, I’ll paint. I personally find habit stacking an easier way to remain consistent with a habit than trying to do it at a certain time everyday, but if painting at the same time every day works for you, then do it that way. Make It Part Of Your Morning Routine That brings me to my last tip, which is to incorporate it into your morning. A piece of advice commonly given is if you have a goal, to carve out time in your morning routine to do something that gets you further towards that goal. For example, someone who wanted to be a writer might sit down at their computer and write a couple pages before they go to their 9-5 job. If you want to improve your painting, maybe even get to the point where you’re doing it for a living, then getting up a little bit earlier and painting for just ten, twenty minutes before work maybe just what you need. To make things easy on yourself, set up your work area than night before, just like if you were going to go for a run, you’d put your work out clothes and shoes by the bed. On the note of setting your stuff up the night before, I'd like to mention another version of the two minute rule and that's that any habit you want to do shouldn't take longer than two minutes to start, ie, remove as much friction between you and it as possible. For example, I remember Youtuber Thomas Frank saying that he kept his guitar out of the box because it made it super easy to pick it up and start practicing. The best advice I give for someone who wants to start painting or drawing regularly is have a special place to keep maybe a sketchbook and pencil. Don't have them behind or underneath something. That way, when it's time to do art, you can just grab them and get started. You could combine this tip with the last one by doing it after a morning habit you already do, like making your bed or making your coffee. Or you could combine it with the first tip and just paint for two minutes in the morning and call it done. Choose your painting time based on when you have the most energy. If you’re a morning person, don't tell yourself you'll paint in the evening after work. If you tell yourself you’re going to paint at a time when you’re not naturally energetic, you won’t be consistent and consistency in developing a habit is essential. This brings me to the most important part of this whole video and that’s that when it the time comes that you’ve set aside for your painting, you need to paint. Whether or not you feel like it. Whether or not you’re inspired. Like I said at the beginning, what you make during these sessions doesn’t have to impress anyone. If you just take your brush and move it across the paper for a few strokes, that’s fine. As long as you do something. In conclusion The two minute habit tip is for if you have zero motivation and you’re dragging your heels. Just commit to setting up your art supplies or something similar. You could spend two minutes looking up art classes or tutorials online. Habit stacking and morning routine are for when you feel motivated and excited to do art, but can’t seem to find the time to. I hope that helps. Future Plans On June 29, I went on Pixabay and looked for pictures of storm clouds for the Halloween painting I’m planning. I found some with bits of orange that I think are very fitting. The clouds are going to be behind a crow and a pumpkin for a painting I’m doing for Halloween. Here's a doodle of clouds I did. That's all for now. If you found this post through Google, why not sign up for my email list? That way you'll get all my posts sent right to your email.
|
Sara MillettPainter of portraits and wildlife Archives
November 2023
Categories
All
|
