|
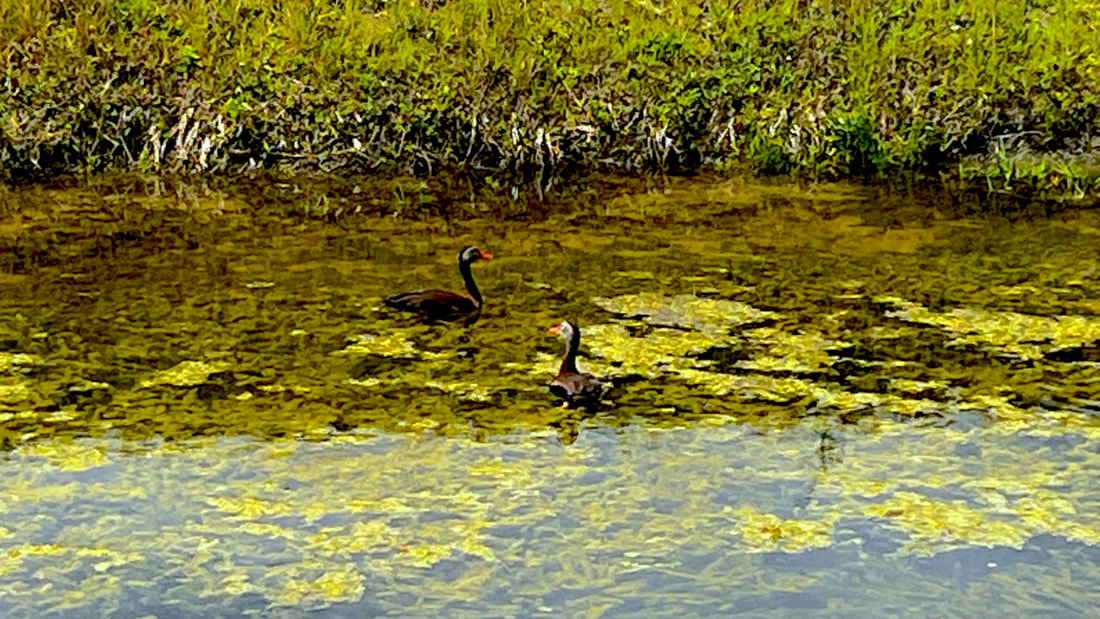
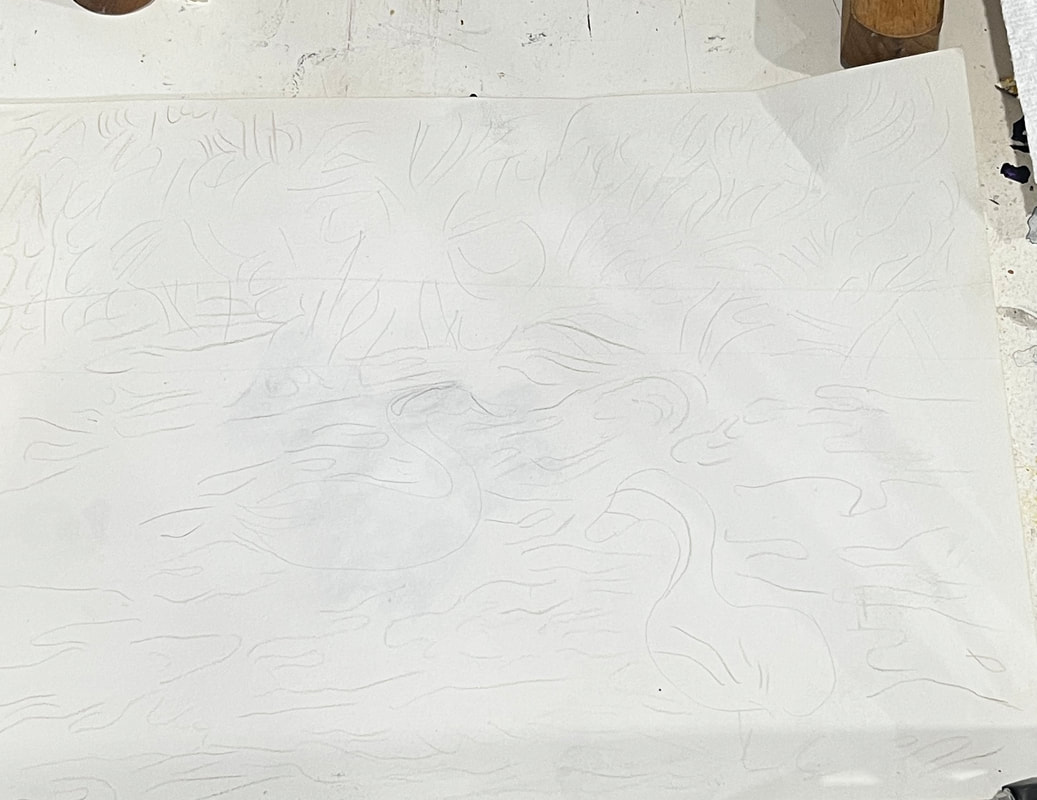
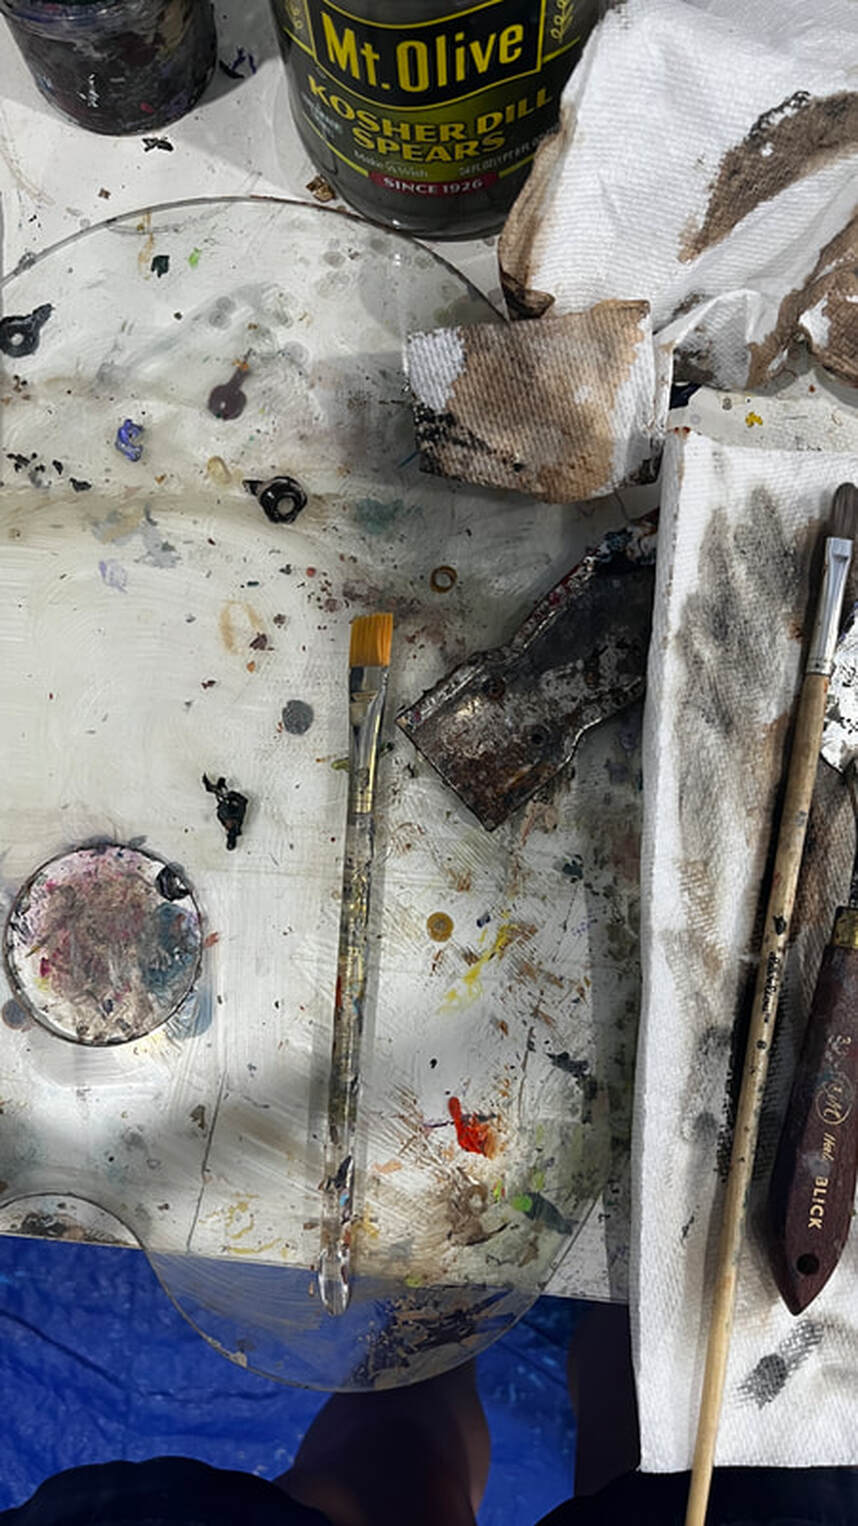
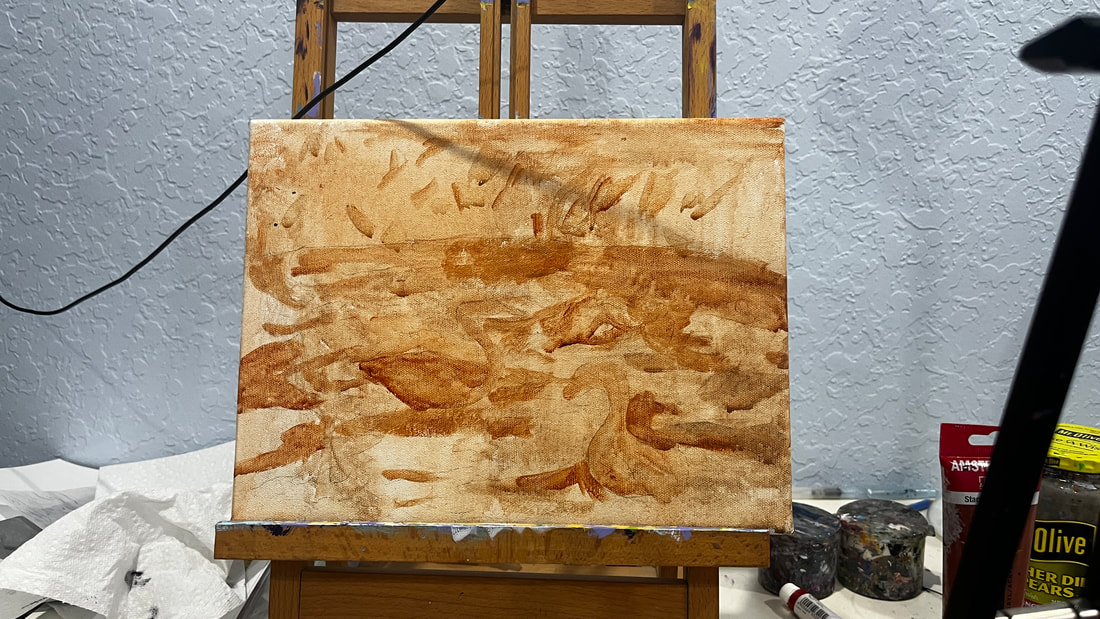
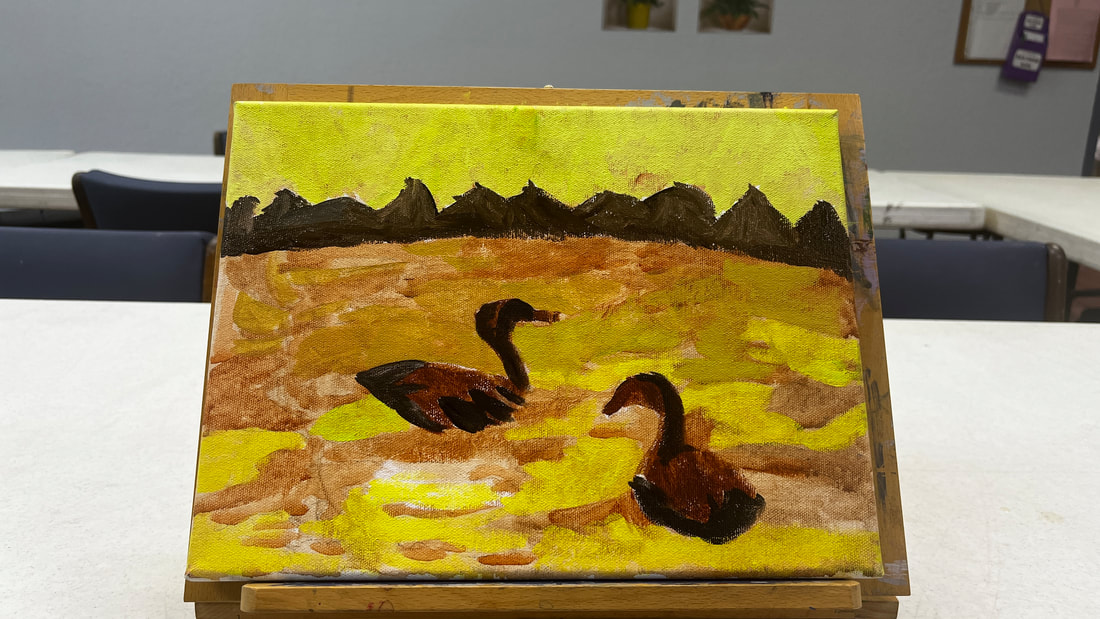
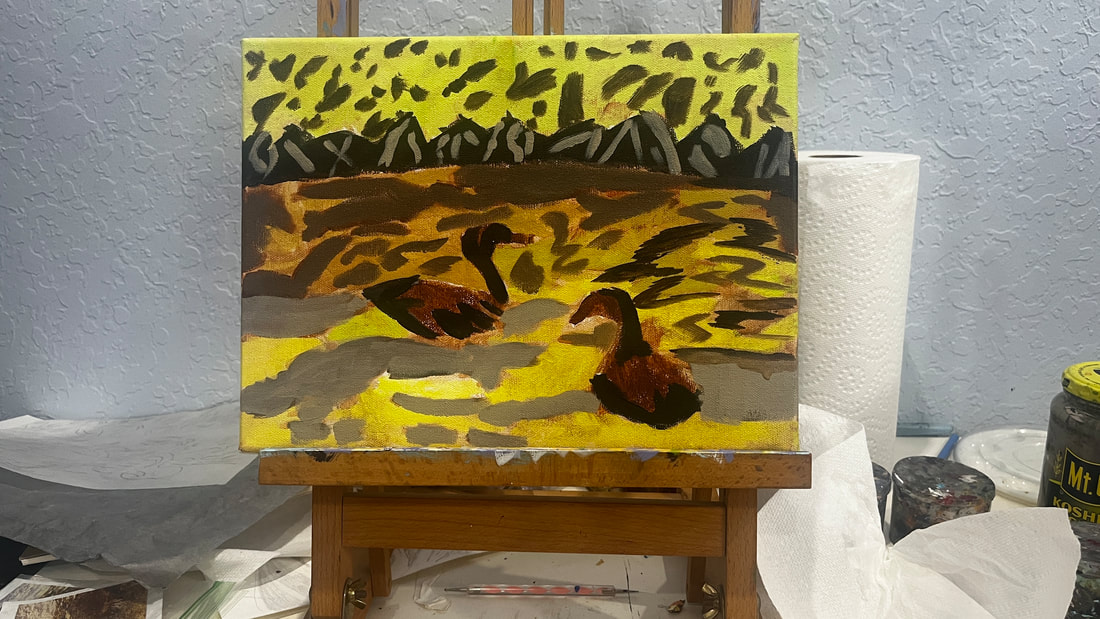
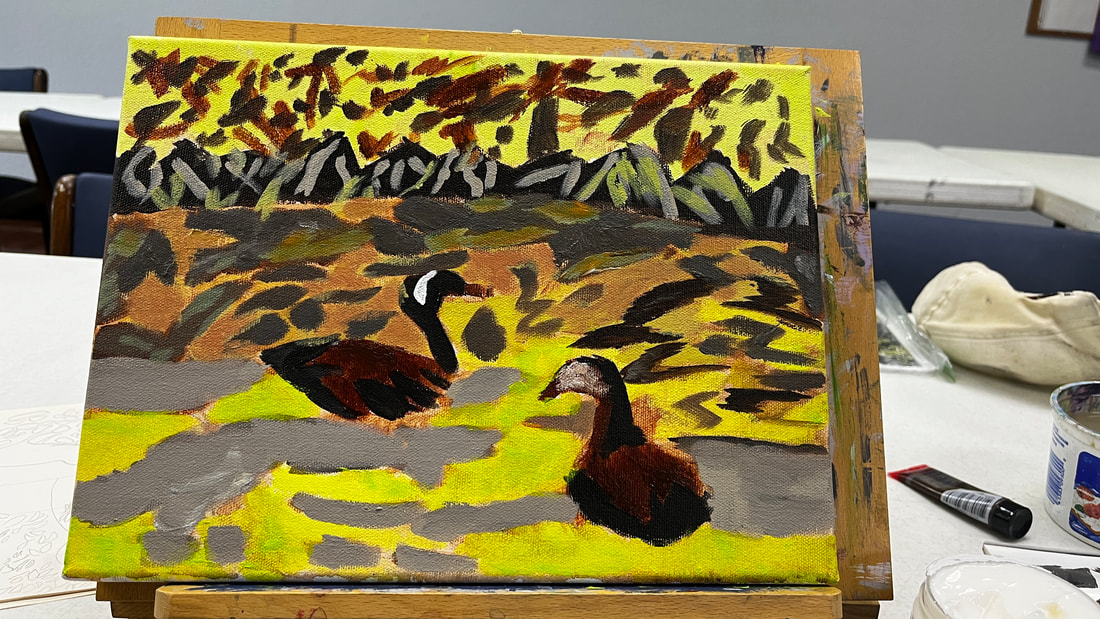
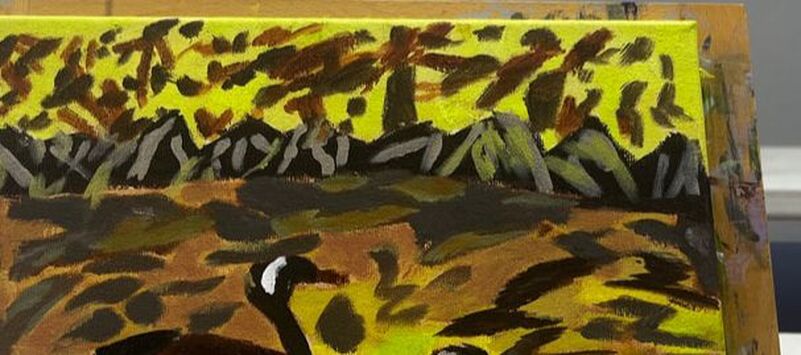
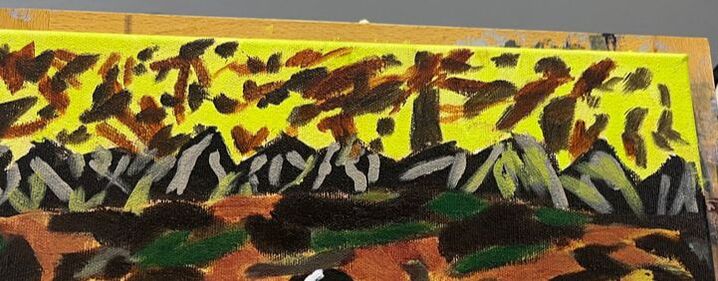
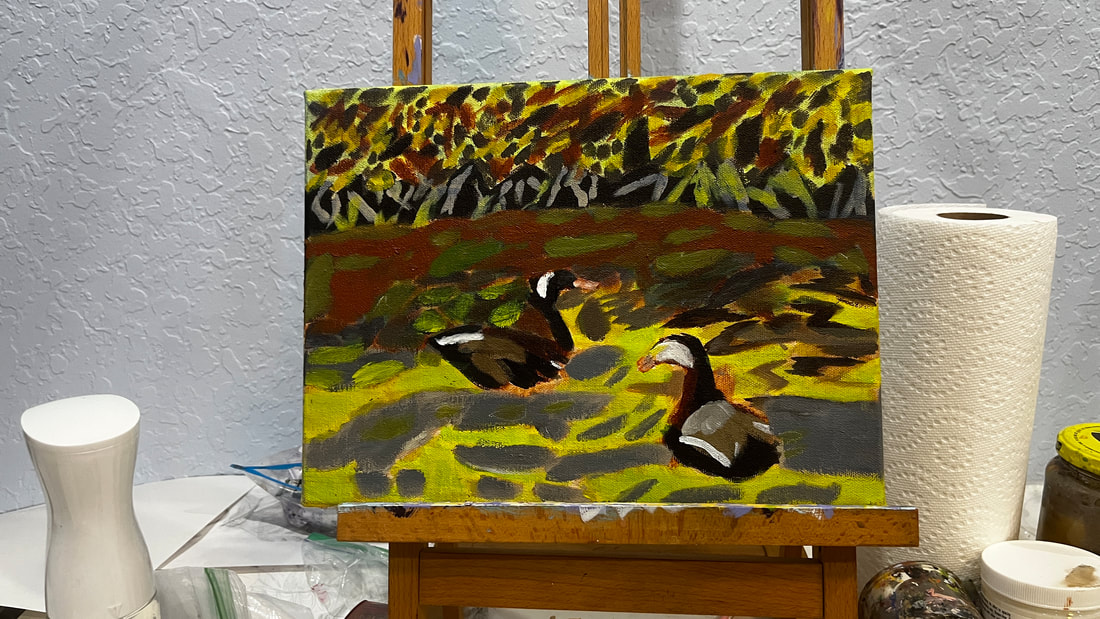
I’m planning to paint this photo, which I took in the canal behind my family’s house, in an impressionistic style. I already started practicing the looseness of this style with the preparatory sketch by holding my pencil far back from the tip. Holding my brush like this helped me move my wrist more freely, emphasizing basic shape and not detail. For this style, I want my brushstrokes to show more clearly, so to enable this effect; I’m planning to order a thickening medium for my more fluid paint. I plan to use more flat brushes than the filberts I usually use. I’ve decided to employ the fat over lean technique for this piece. I’m working in acrylics, not oils, so I technically don’t need to do it this way, but I wanted to get in the habit. I’m sitting in my community’s Art Room while writing this, and I’ve just put the first layers of color on the painting. You can probably see that it will need a lot more layers. I haven't even completely covered the underpainting in some parts. I have a lot of transparent colors, so to get them to cover the background, I painted titanium white over those parts first. Today I worked on creating the contrast between the part of the canal closer to the viewer and the region farther away from it. The part that’s closer to the viewer is significantly lighter. For today's entire session, I used different combinations of burnt umber, unbleached titanium white, and mars black. I purchased a jar of Liquithick acrylic medium from @liquitexofficial, which I used for the first time today. It gave the paint an almost custard-like texture on my palette. When I used it with brown shades, it even reminded me of a bit of pudding. The information on the container said this product wouldn’t make a difference in the opacity of the paint, so I was a bit worried it wouldn’t help me achieve my goal. With this in mind, I was pleasantly surprised. I think adding this medium did give me more opacity. I did already have paint on the canvas, however. I don’t know how well paint mixed with this product would cover a black canvas. I wanted even more contrast in the water, so I painted over the part of it that's closer to the bushes with a shade that had more red mixed in it. The idea is that the closer something gets to the viewer, the brighter it should be and the farther from the viewer it is, the duller it should be. Glazing would never be a significant technique with this piece, but I glazed over some parts to intensify the colors. For example, I glazed red in this area. Since red is already present, adding more red, and letting the original shade show through, doesn’t change the color, it just makes it more saturated. I added highlights to shape the ducks’ bodies. To make the shade for it, I mixed burnt umber and red to make burnt Sienna. I thought about what I would use to make a complement for burnt Sienna, and the conclusion I came to was green since it’s the complement to red, and Burnt Sienna is a red-based brown. So I mixed green into my red and burnt umber mixture, then mixed titanium white into that. Because these highlights were meant to add shade, I placed them along the curves of the ducks’ bodies. 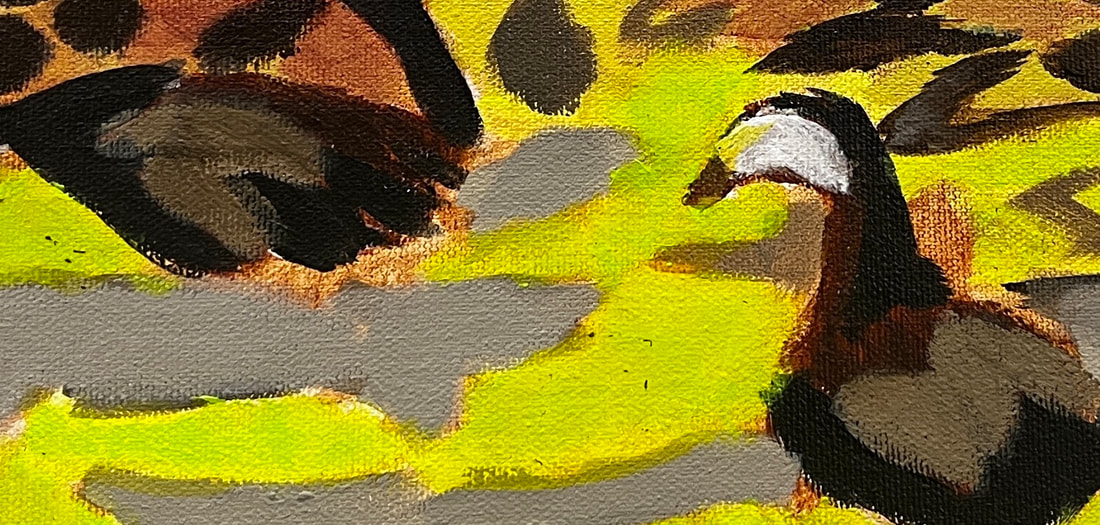 I added more brown to the bushes because they were looking a bit too plain. The color of the leaves in the upper half of the water needed to be changed to make them flow with those on the bottom. To recap, use thicker paint or a thickening medium, larger brushes, don't blend out your brush strokes, and use a heavy-weight canvas when doing impressionism.
0 Comments
Your comment will be posted after it is approved.
Leave a Reply. |
Sara MillettPainter of portraits and wildlife Archives
November 2023
Categories
All
|
